As I mentioned previously, when we bought the house there were no closets. Our renovation this year gave us two closets: one in the hallway and one in the bathroom but our bedroom was still sorely lacking. Since we moved in, we have been using a rolling hanging rod but Mike likes to hang everything including t-shirts. The small hanging rod we shared didn’t have enough room for his t-shirts and that was slowing tearing apart his sartorial soul. Poor Mike, poor t-shirts.
Two years was long enough. It was time to build a wardrobe!
Day 1
Before, our bedroom had a dizzying array of clothing organizers. Yuck:

It is surprisingly hard to find DIY wardrobe systems. There are a number of closet systems, but not wardrobe systems . We thought about going for a custom wardrobe build like California Closets but they are extremely expensive, around 10K or more. After lots of Pinteresting, it seemed our best bet was to ikea-hack the Ikea Pax wardrobe system to make it look more builtin.
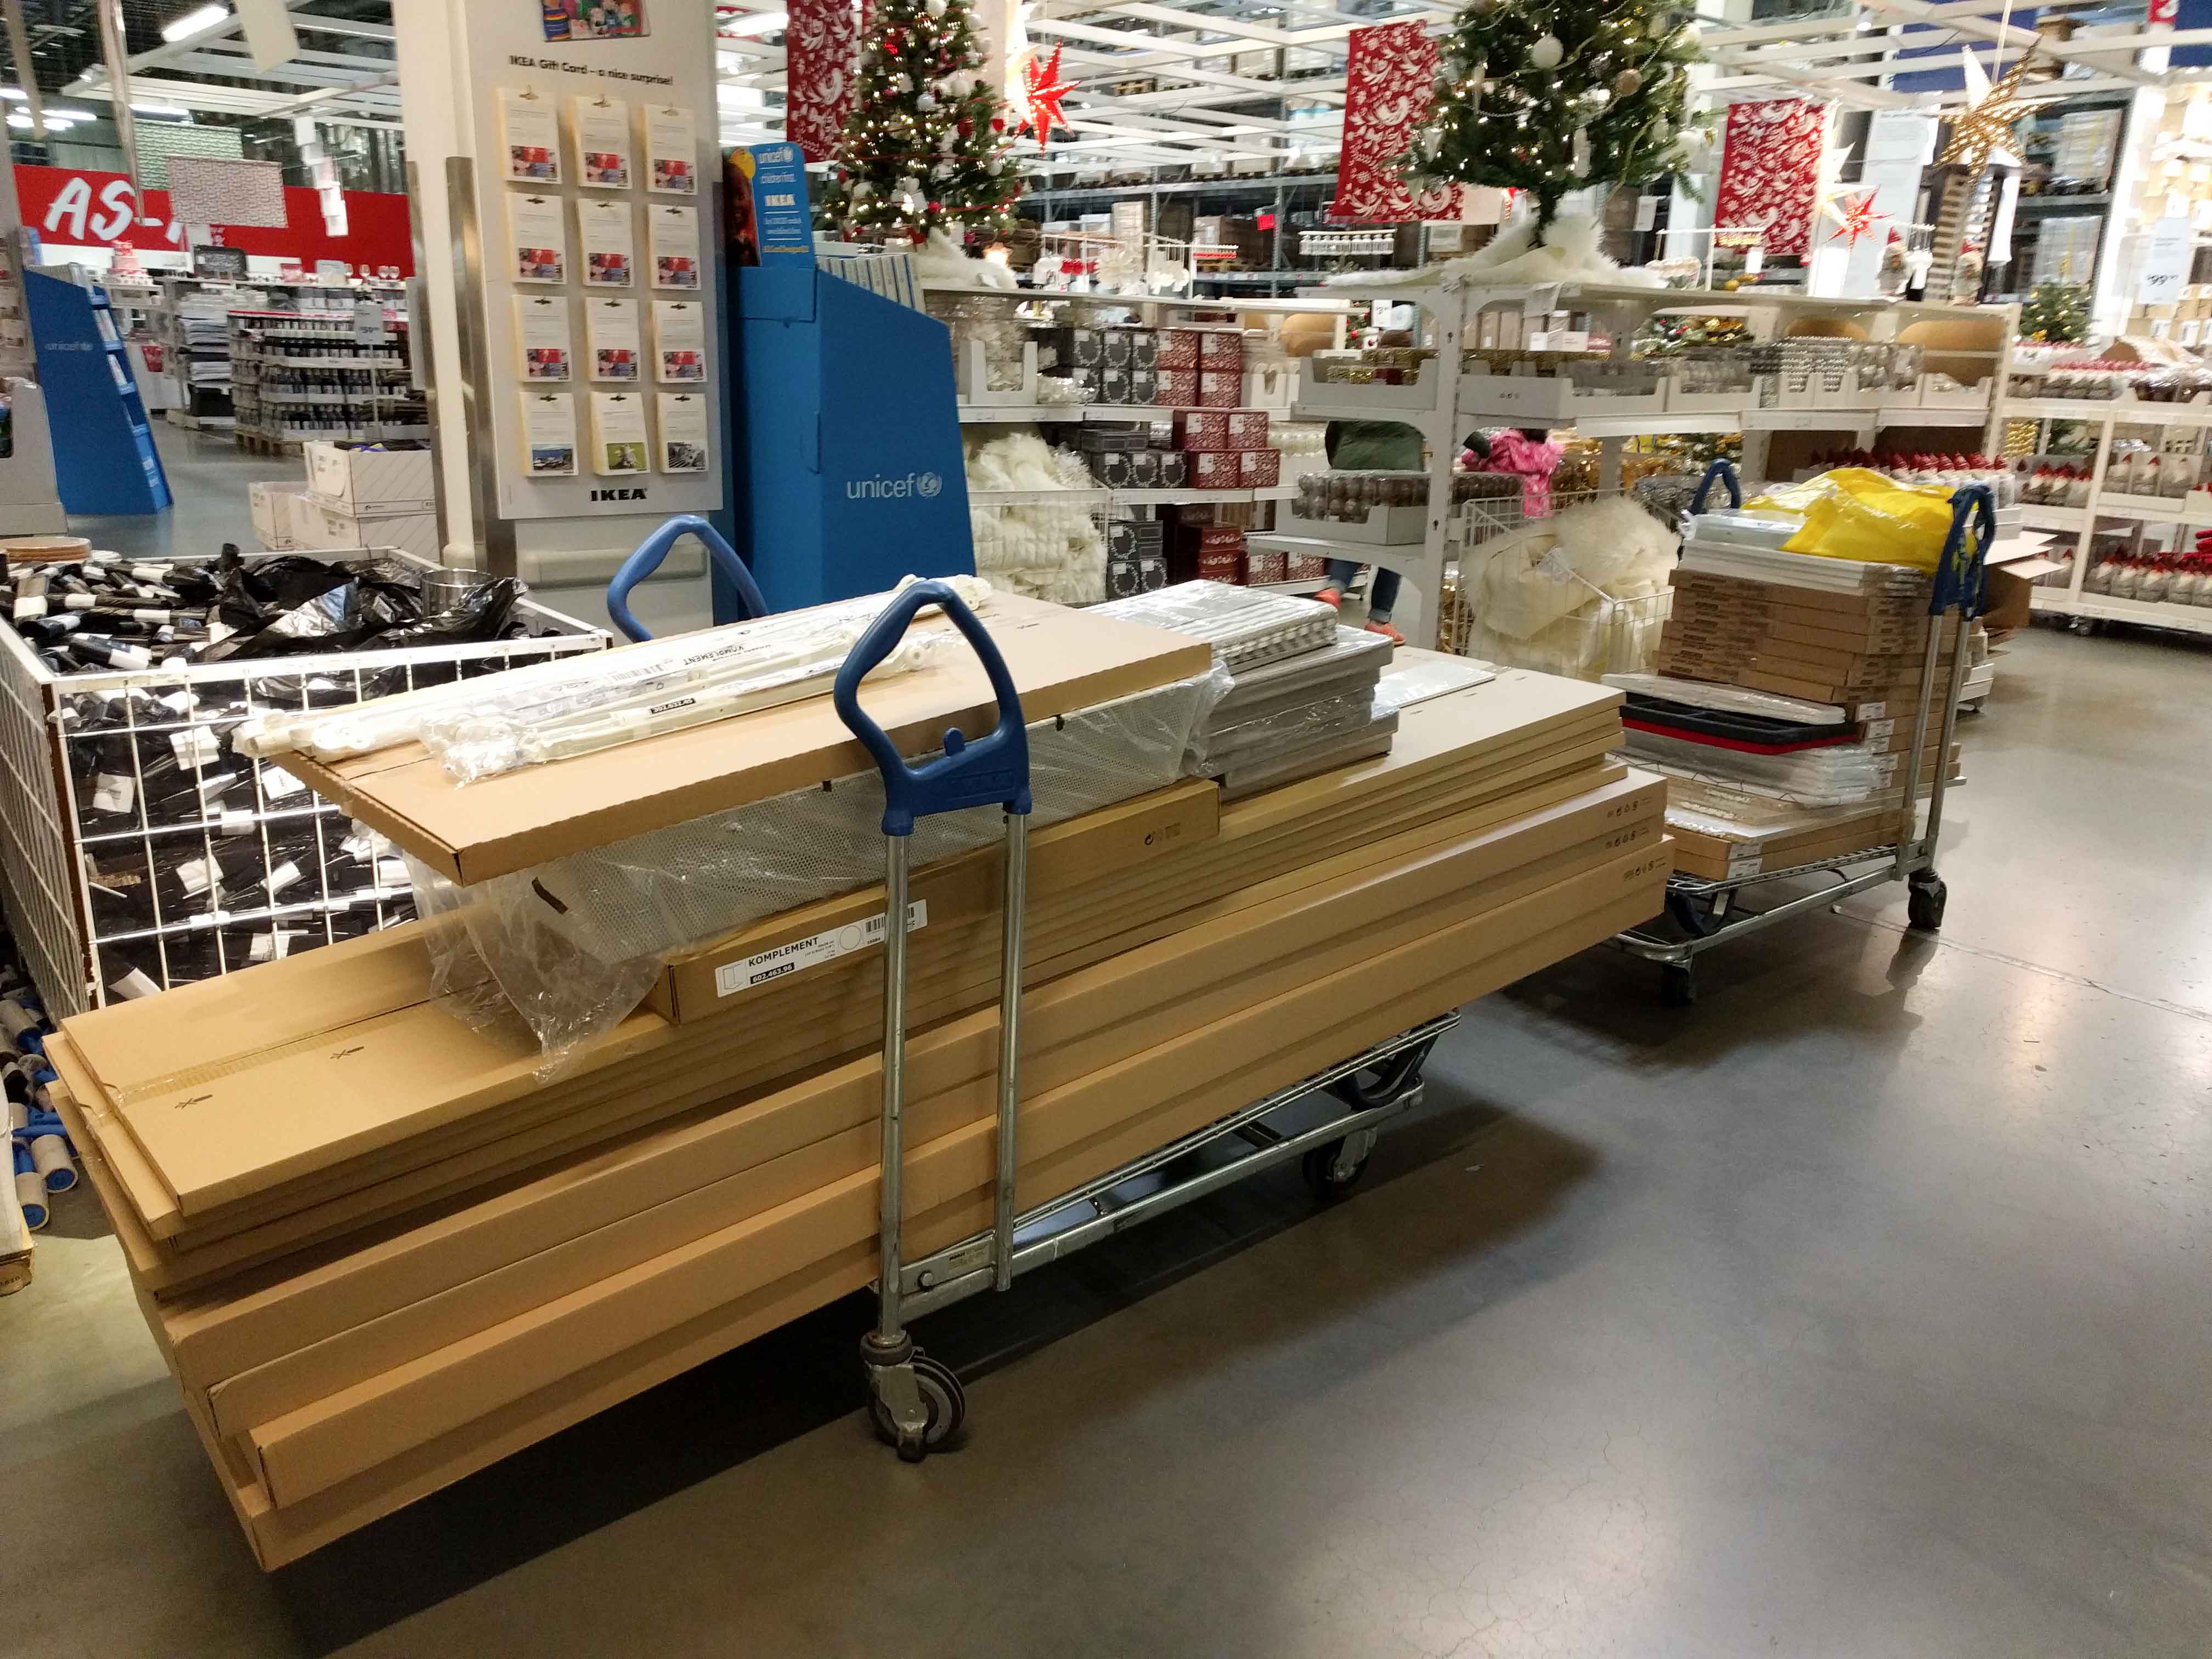
Off to Ikea we went with our Zipcar cargo van to transport the ridiculous number of boxes needed. We decided to splurge on soft closing doors & drawers so the total Ikea bill came to just over 2K.
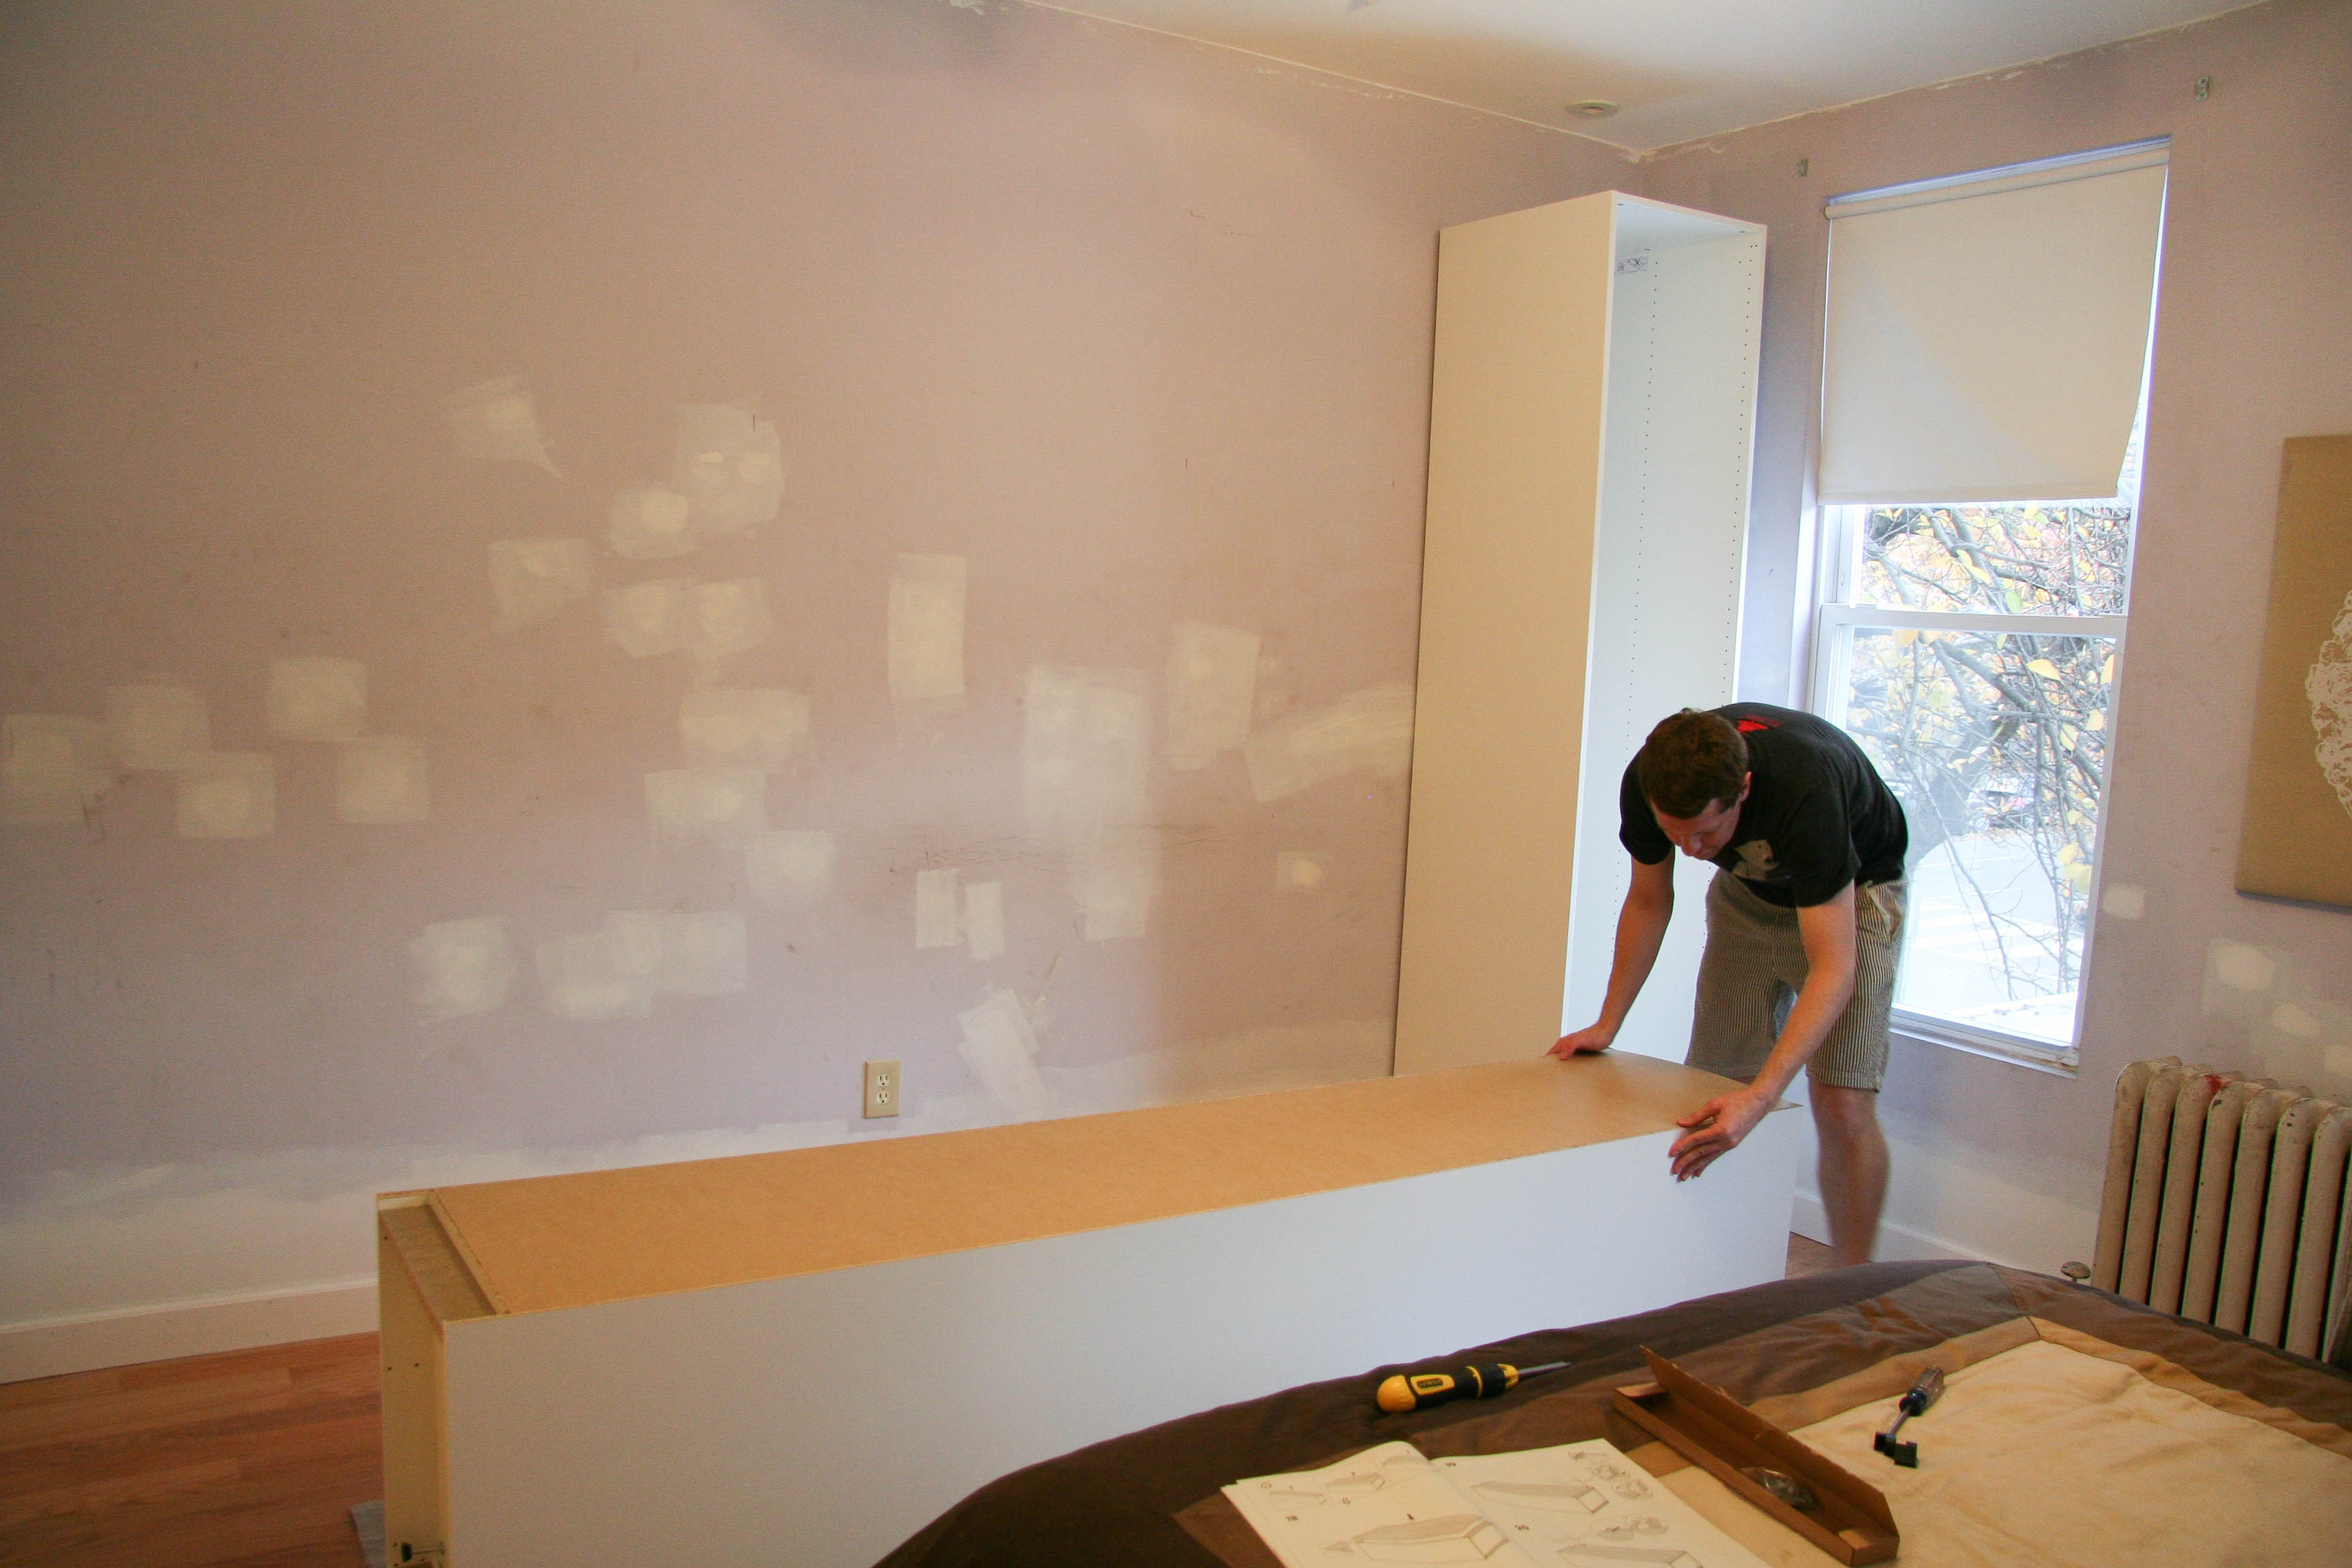
Then began a LOT of assembling. Here’s Mike putting together the first frame:
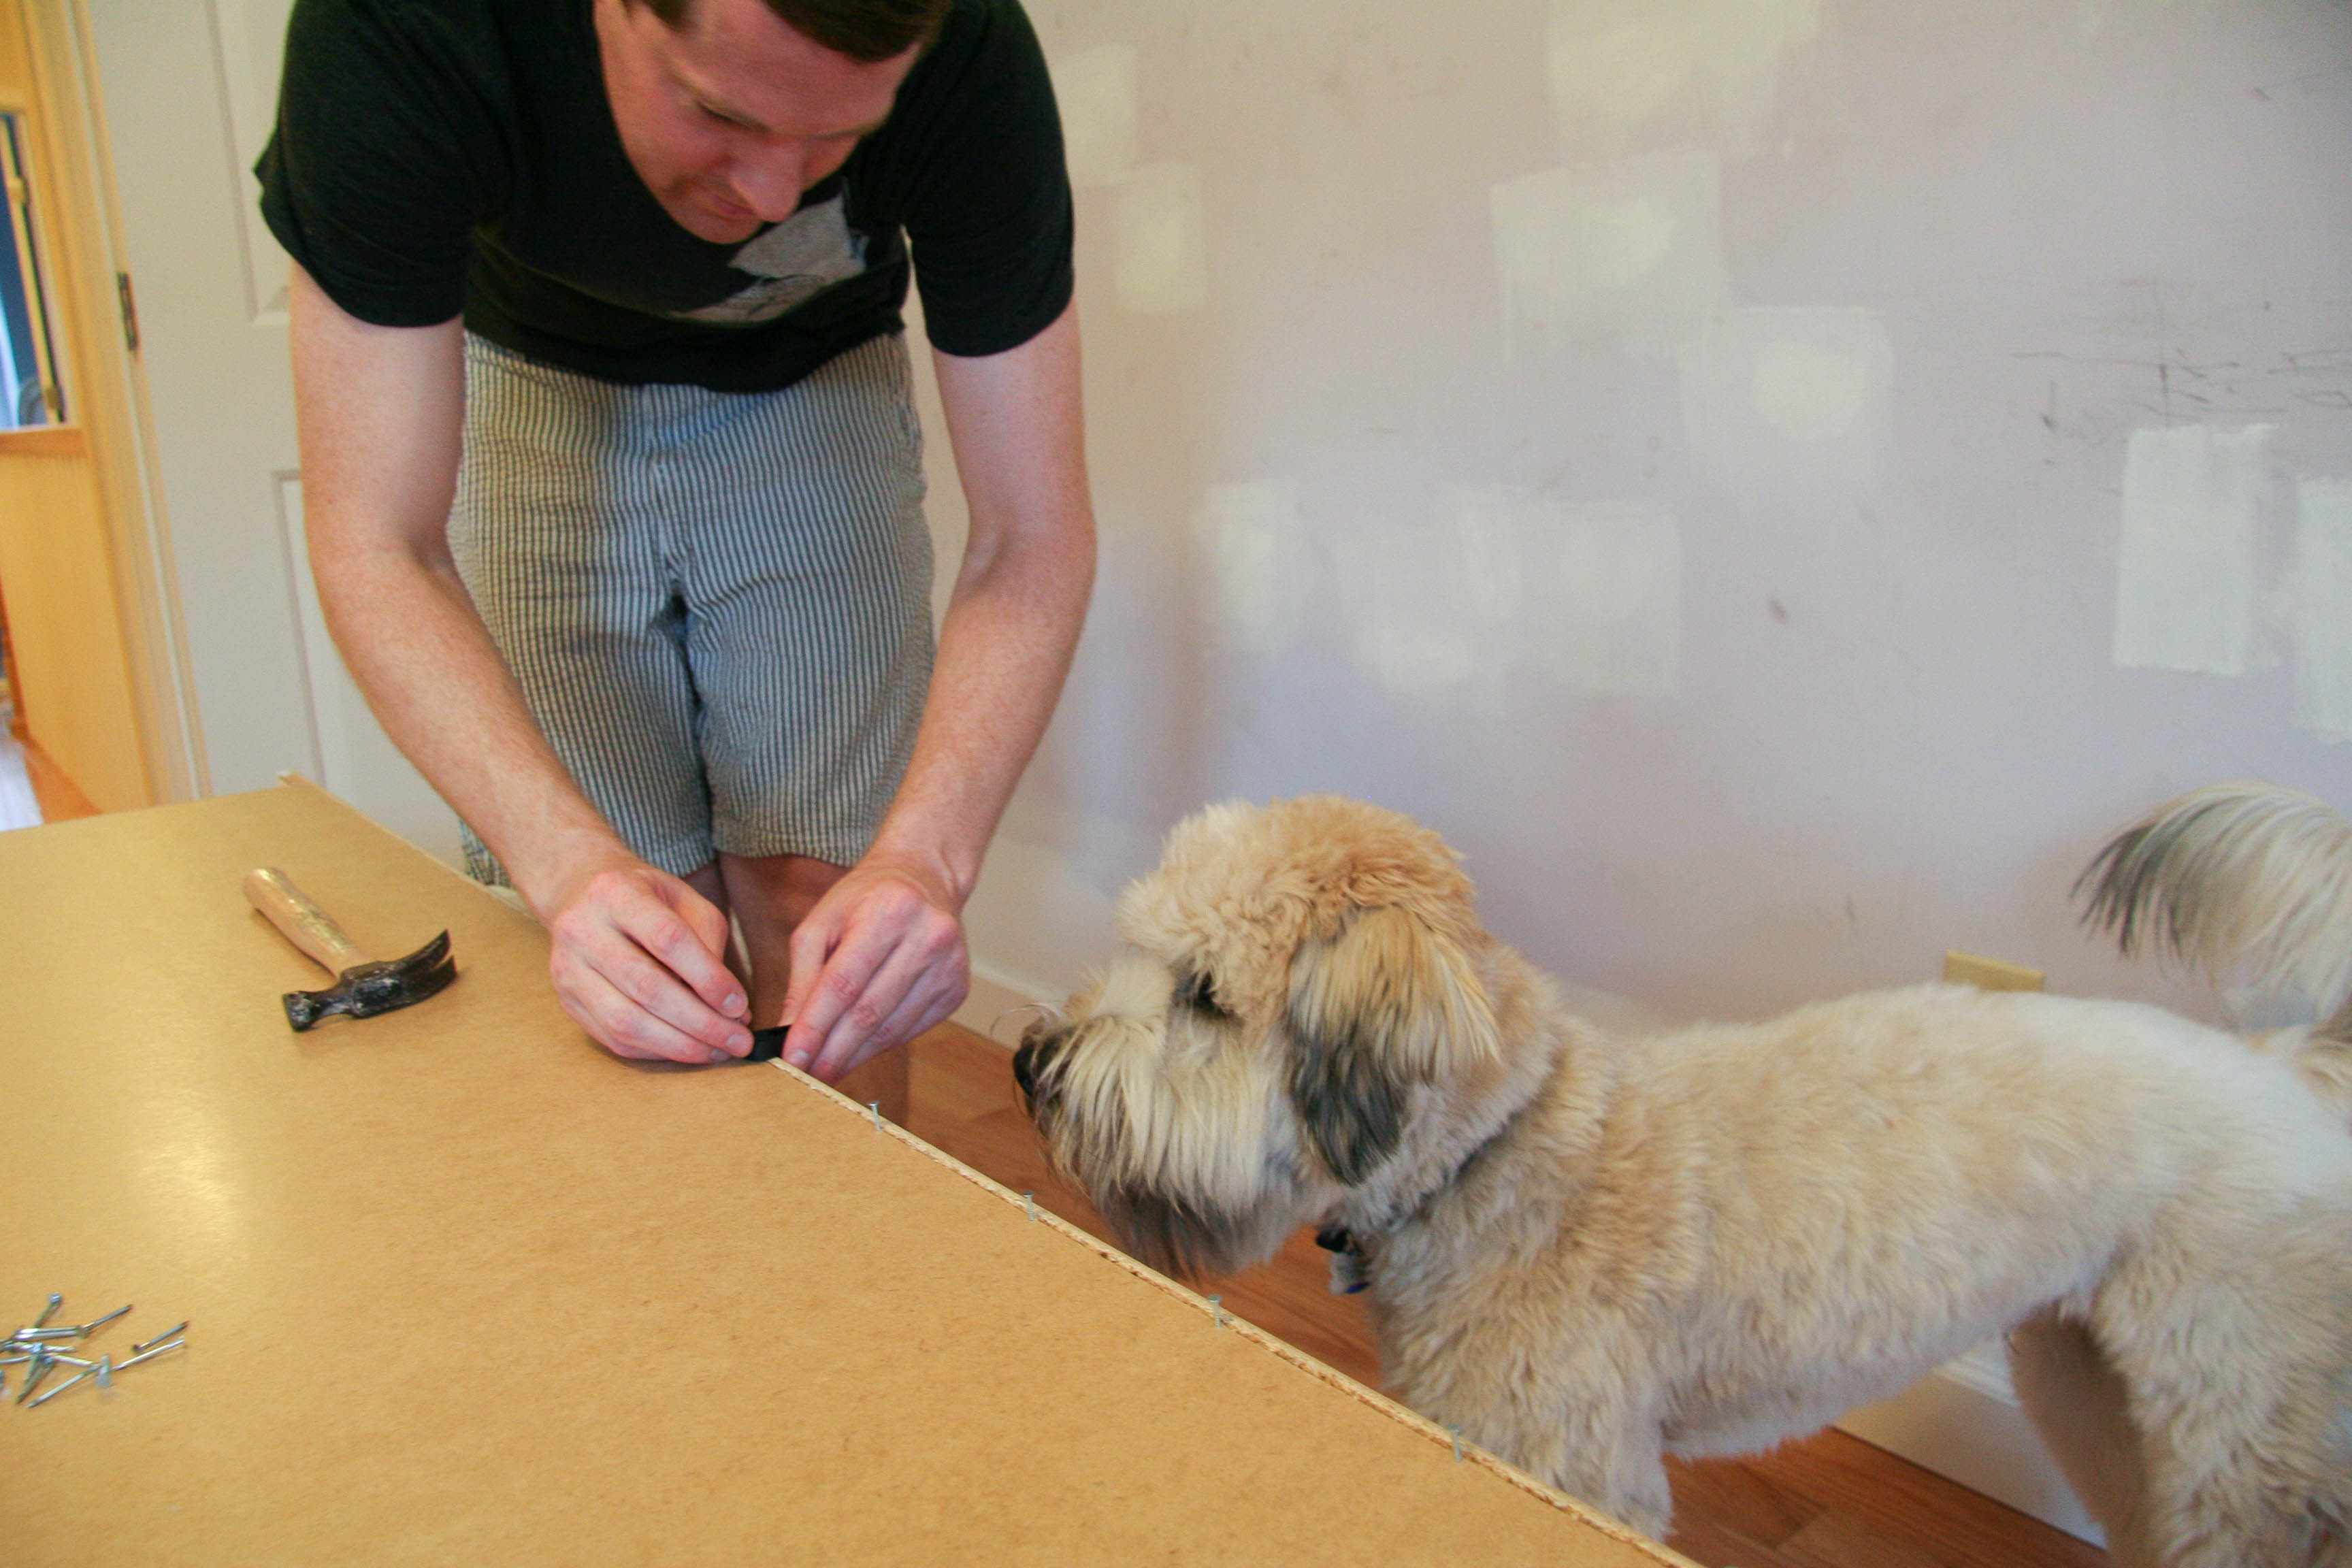
At first, Thambi was scared of the hammering but after about 10 minutes he decided he wanted to attack the hammer. Here he is inspecting to make sure it’s not alive:
By the end of that long first day, we had put together just the frames.

Day 2
You can see in the last picture that the wardrobe units look ok but the look isn’t cohesive like a builtin would be. It’s particularly obvious at the base of the units. This is where the “hacking” comes in. Essentially, the idea is to lift up the units so that we can run the baseboard underneath them. This is very similar to another Ikea hack we had seen on the interwebs.
Mike took some measurements and drew a diagram:
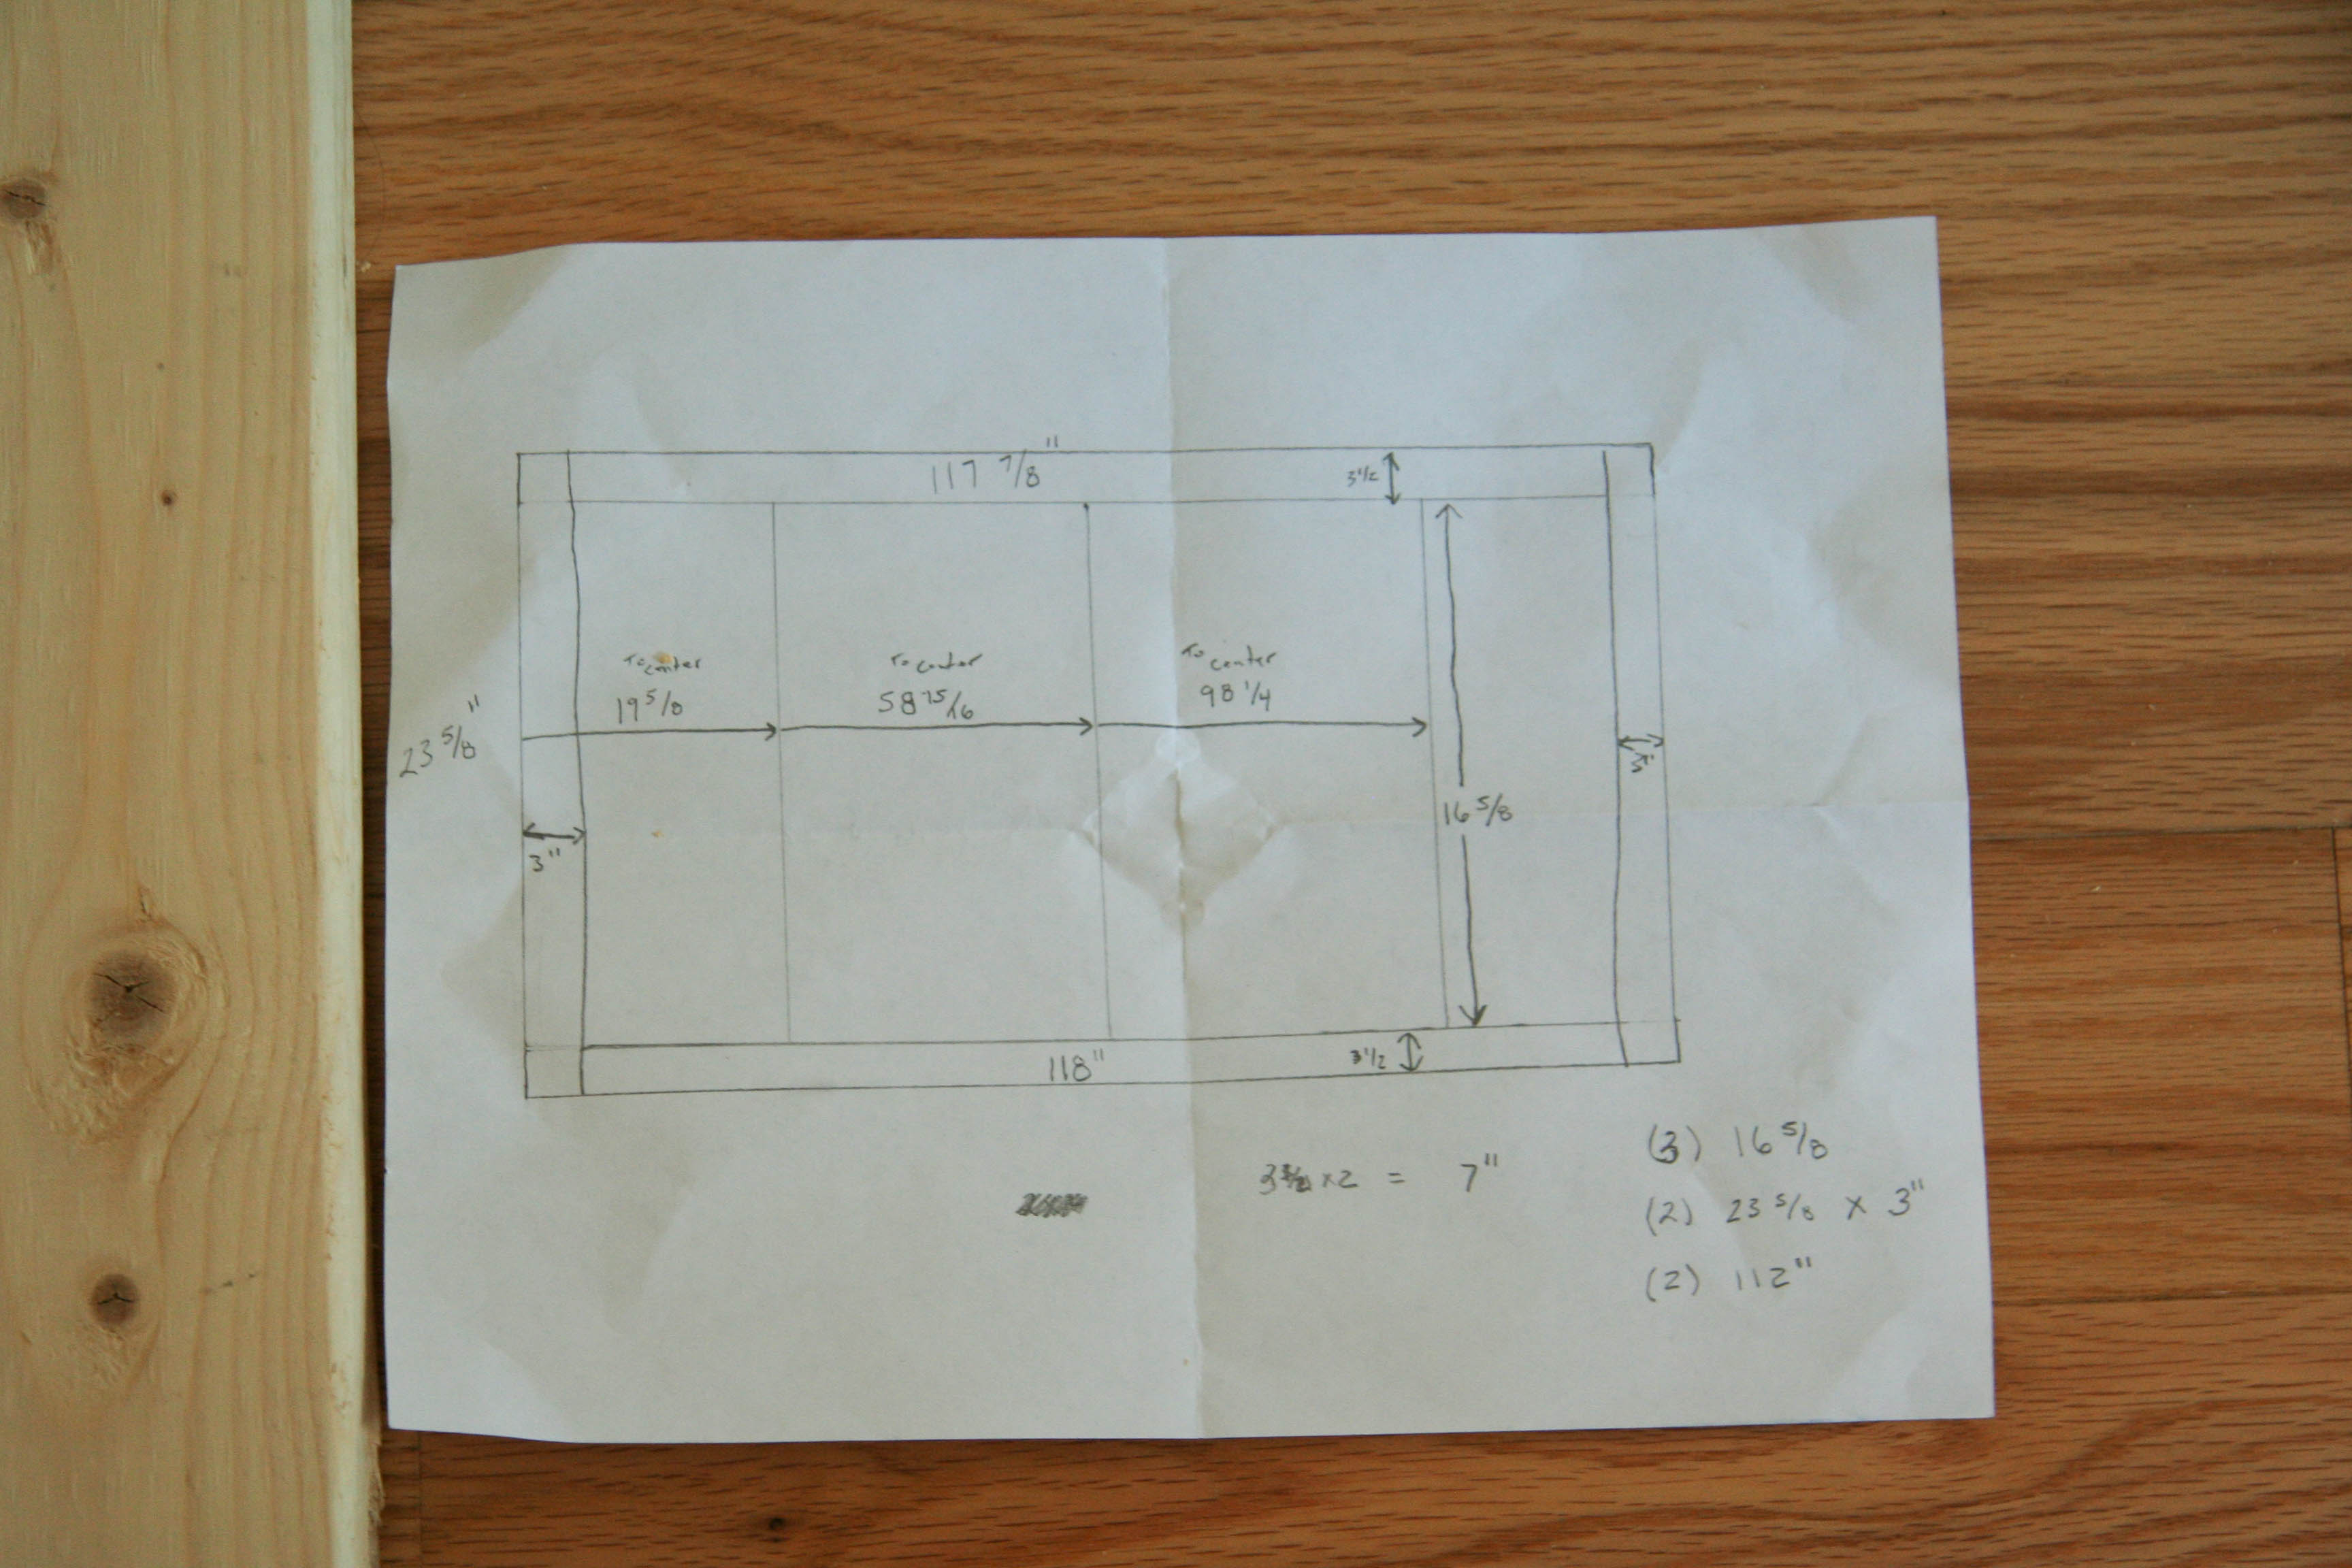
Then he went to Home Depot, bought some 2x4s and after some fun with his power tools, voila! A base was born:

Then we loaded the units on top of the base, did some leveling, some shimming, some more leveling, then some more shimming until it looked just right. Then began several hours of assembling the interior organizers.
Ikea has a virtual pax planner which makes it extremely easy to come up with an optimal configuration for each unit. When you’re done, it spits out a shopping list telling you which aisle each part of the unit is in for a particular Ikea store. When you’re assembling, it even tells you the number of the hole each shelf goes into!
Here’s what our virtual wardrobe looked like:

And here’s what our real-life one looked like as it was approaching completion:
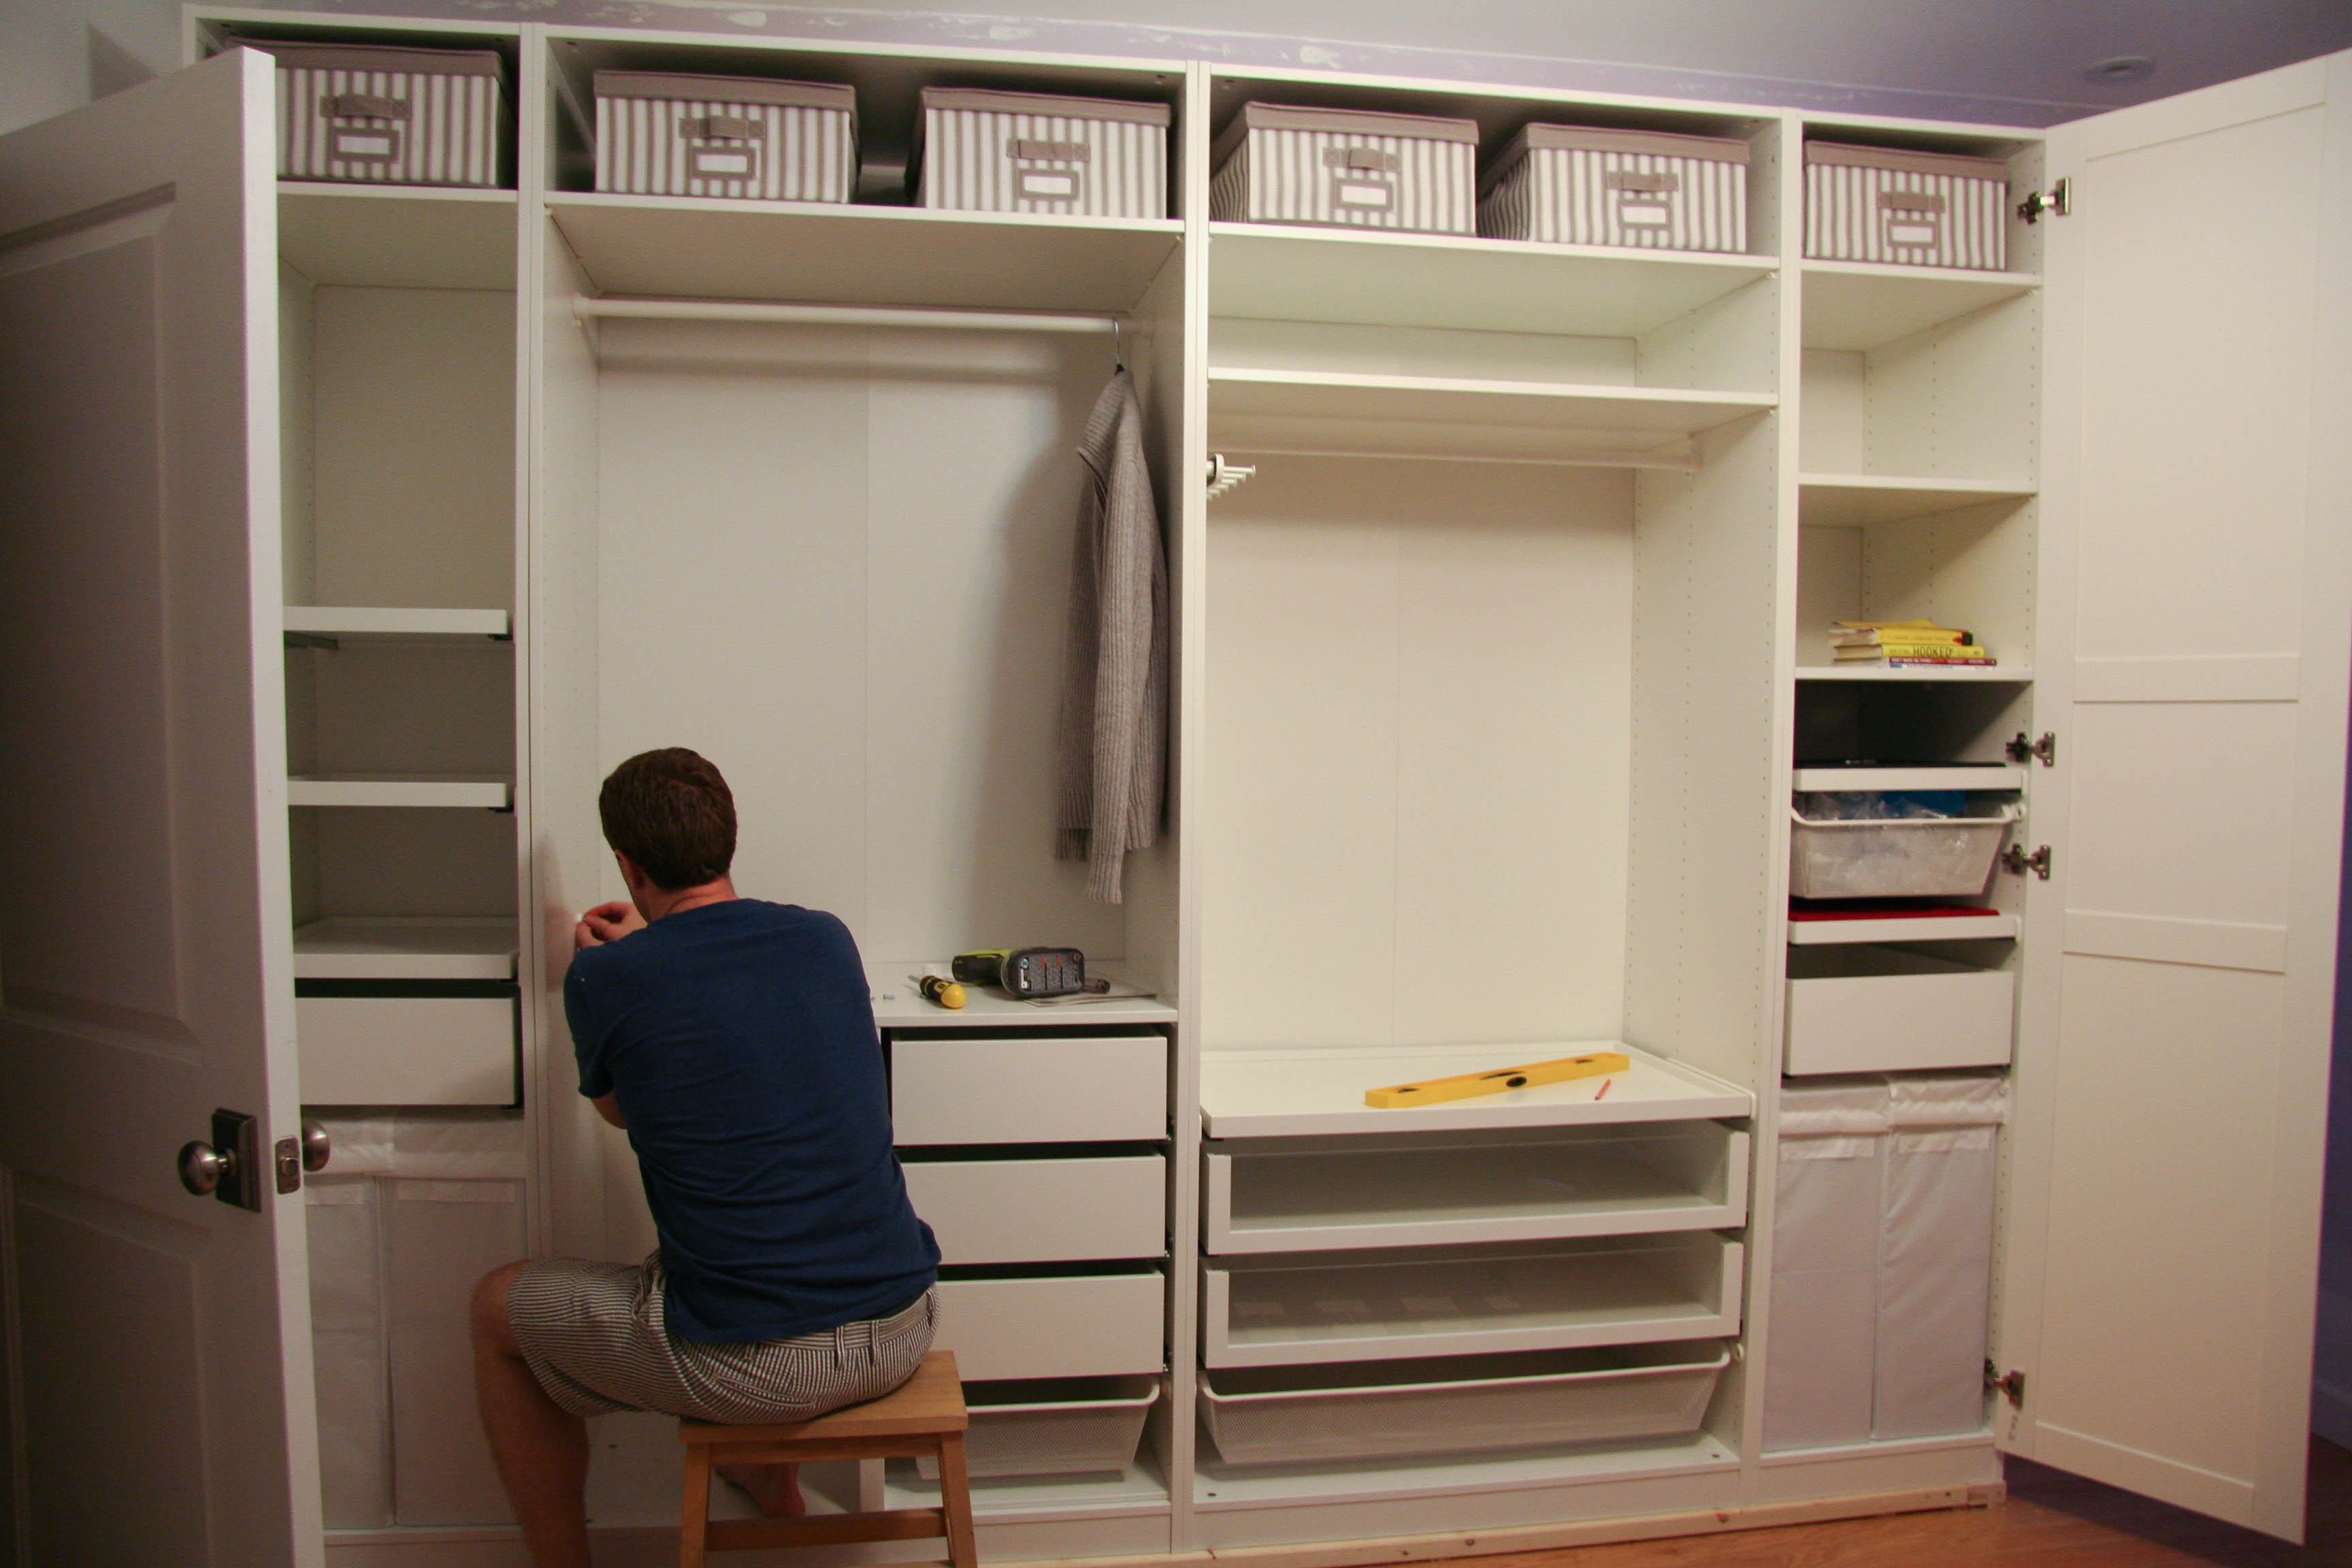
It’s so organized! This year, Ikea added a new style of Shaker door which looks more upscale than some of their slab options. They also had some nicer hardware options as well. Luckily for us, we didn’t have to do anything extra to make the facades look more expensive (note the puppy in the mirror. I swear that wasn’t planned):
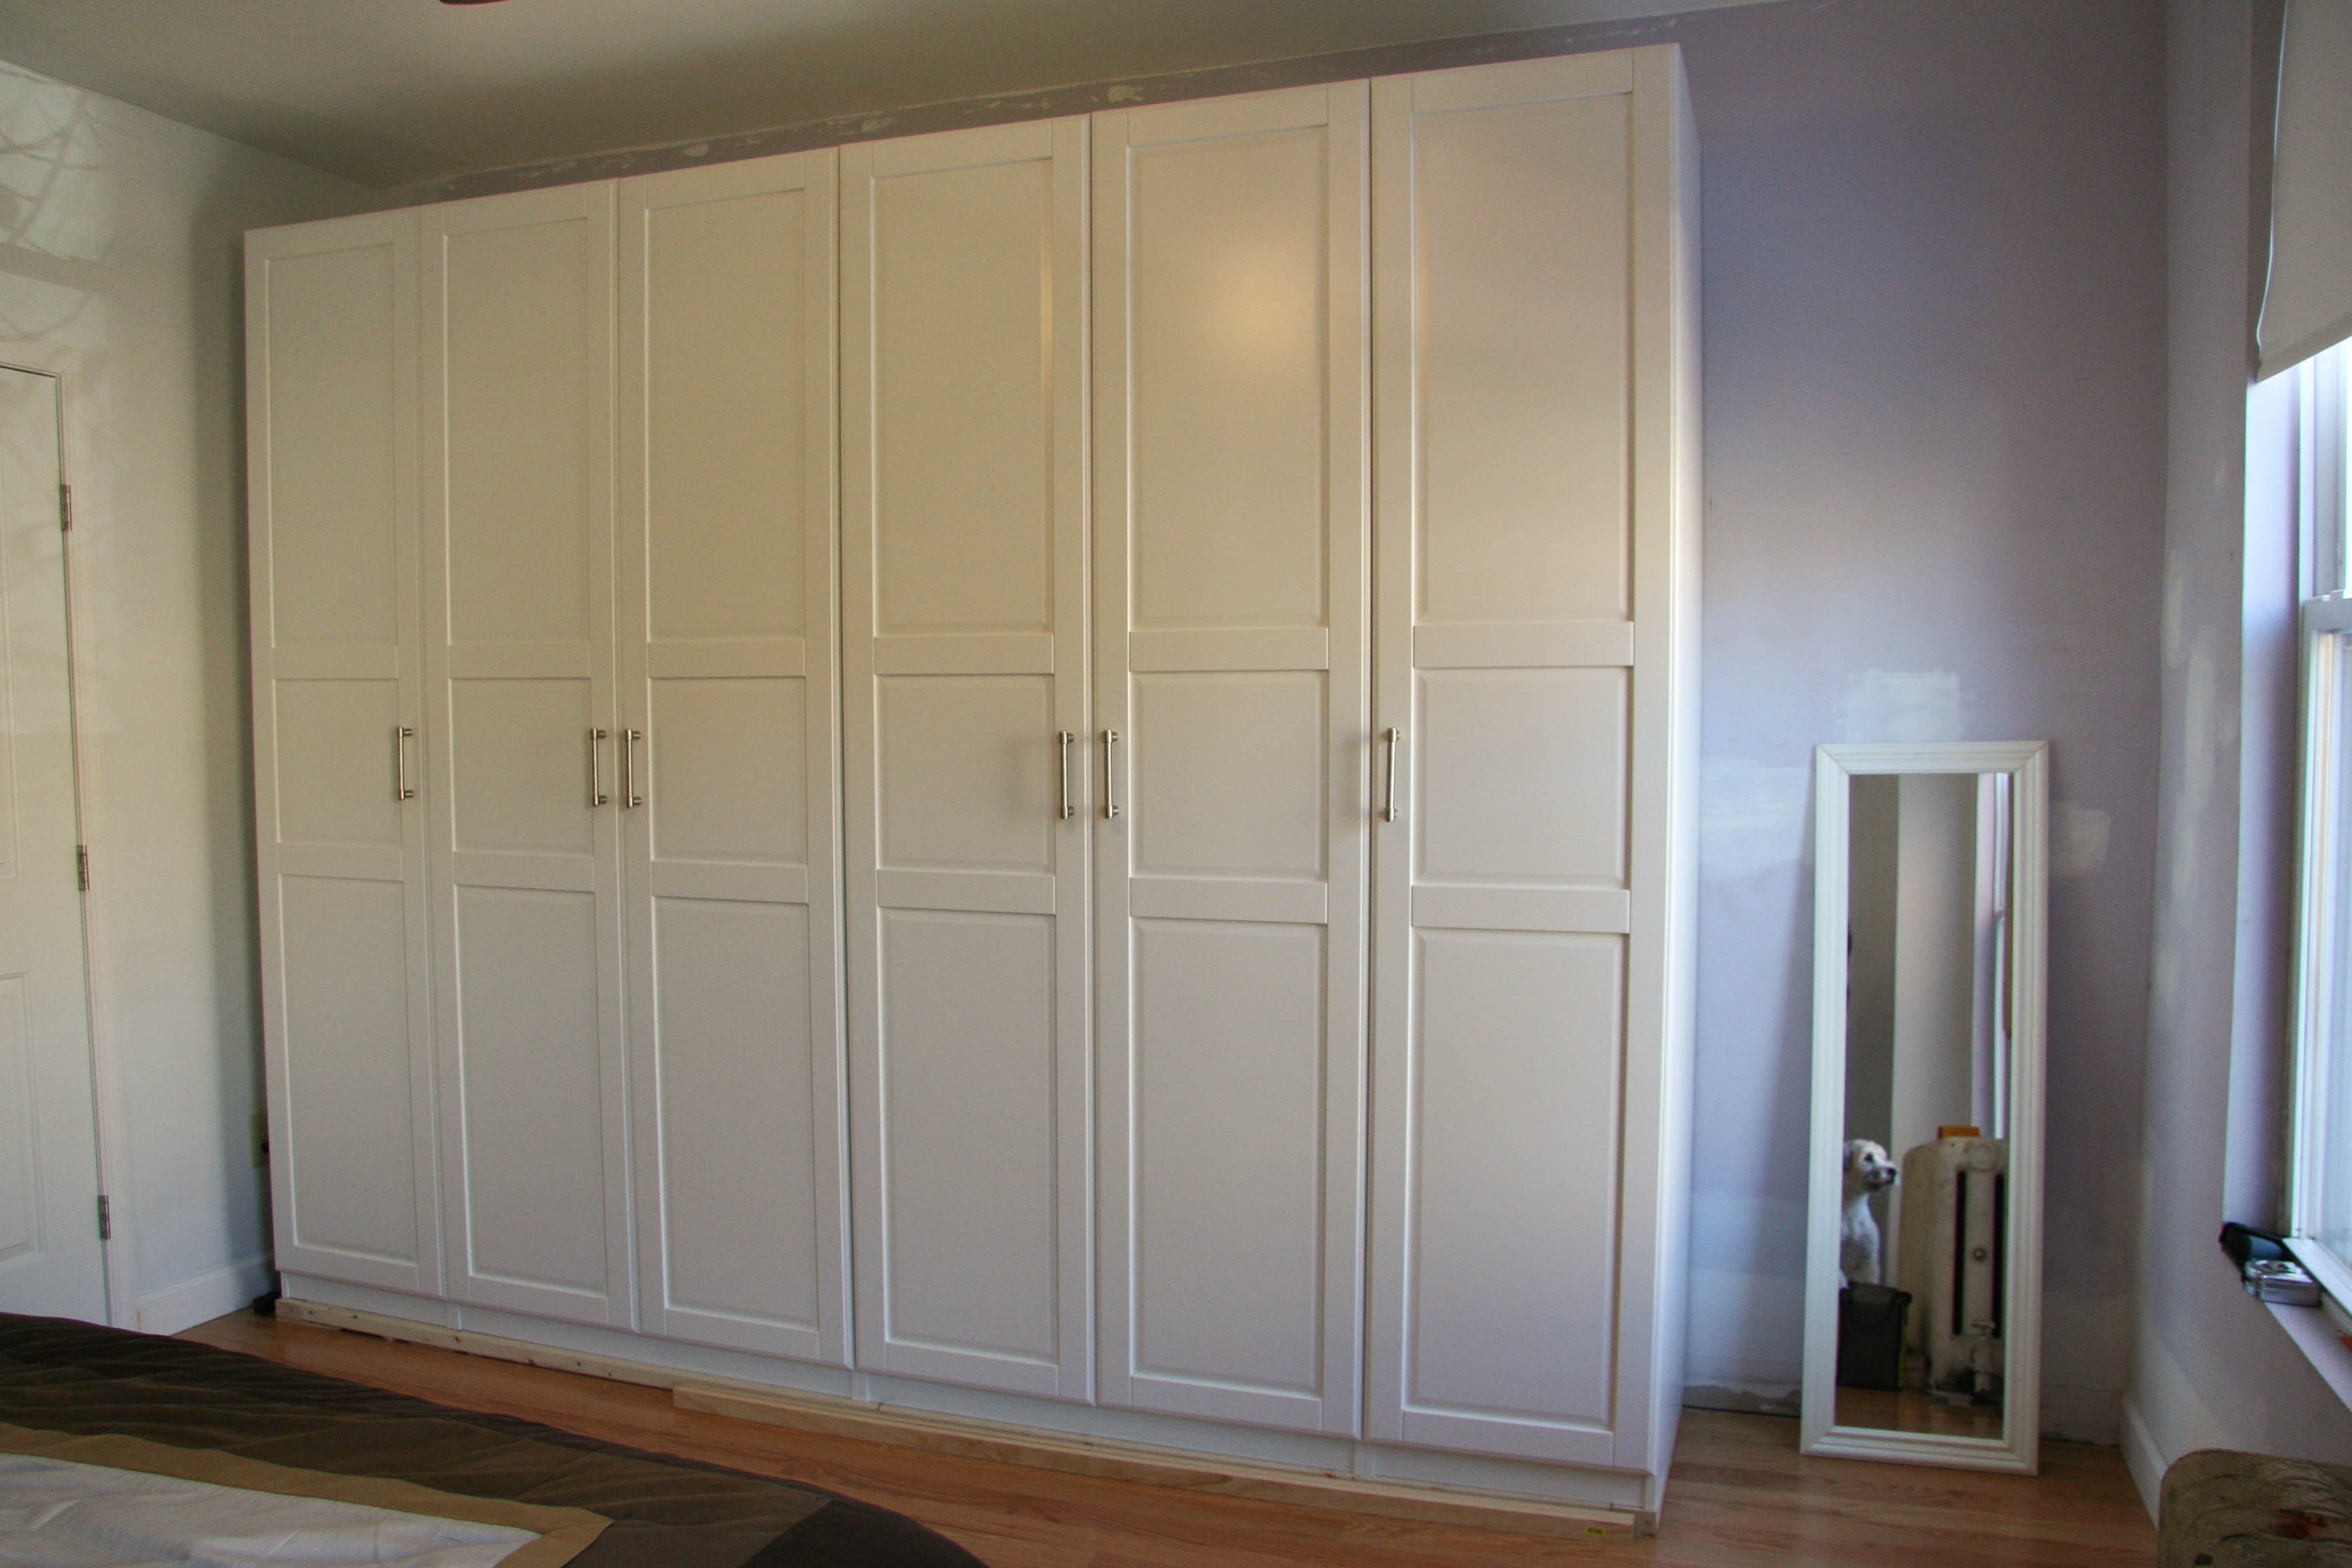
Over the next couple days we loaded all our stuff into the wardrobe and I’m pleased to announce that now I have more room to buy more clothes! Yay! Mike is also thrilled that I can buy more things! He LOVES it when I buy things! ;)
A few cool organizational highlights
- We each have 2 sets of laundry bins in the outer units. You can see this in the organizational pic up above.
- I have a pull out jewelry drawer - so handy for not getting all my necklaces tangled up.

- We have a hidden drawer that hides a little ironing board. The ironing board is also from Ikea and I think they must have sized it so it could fit into one of their wide wardrobes.

- Pull-out hooks for scarves and small purses
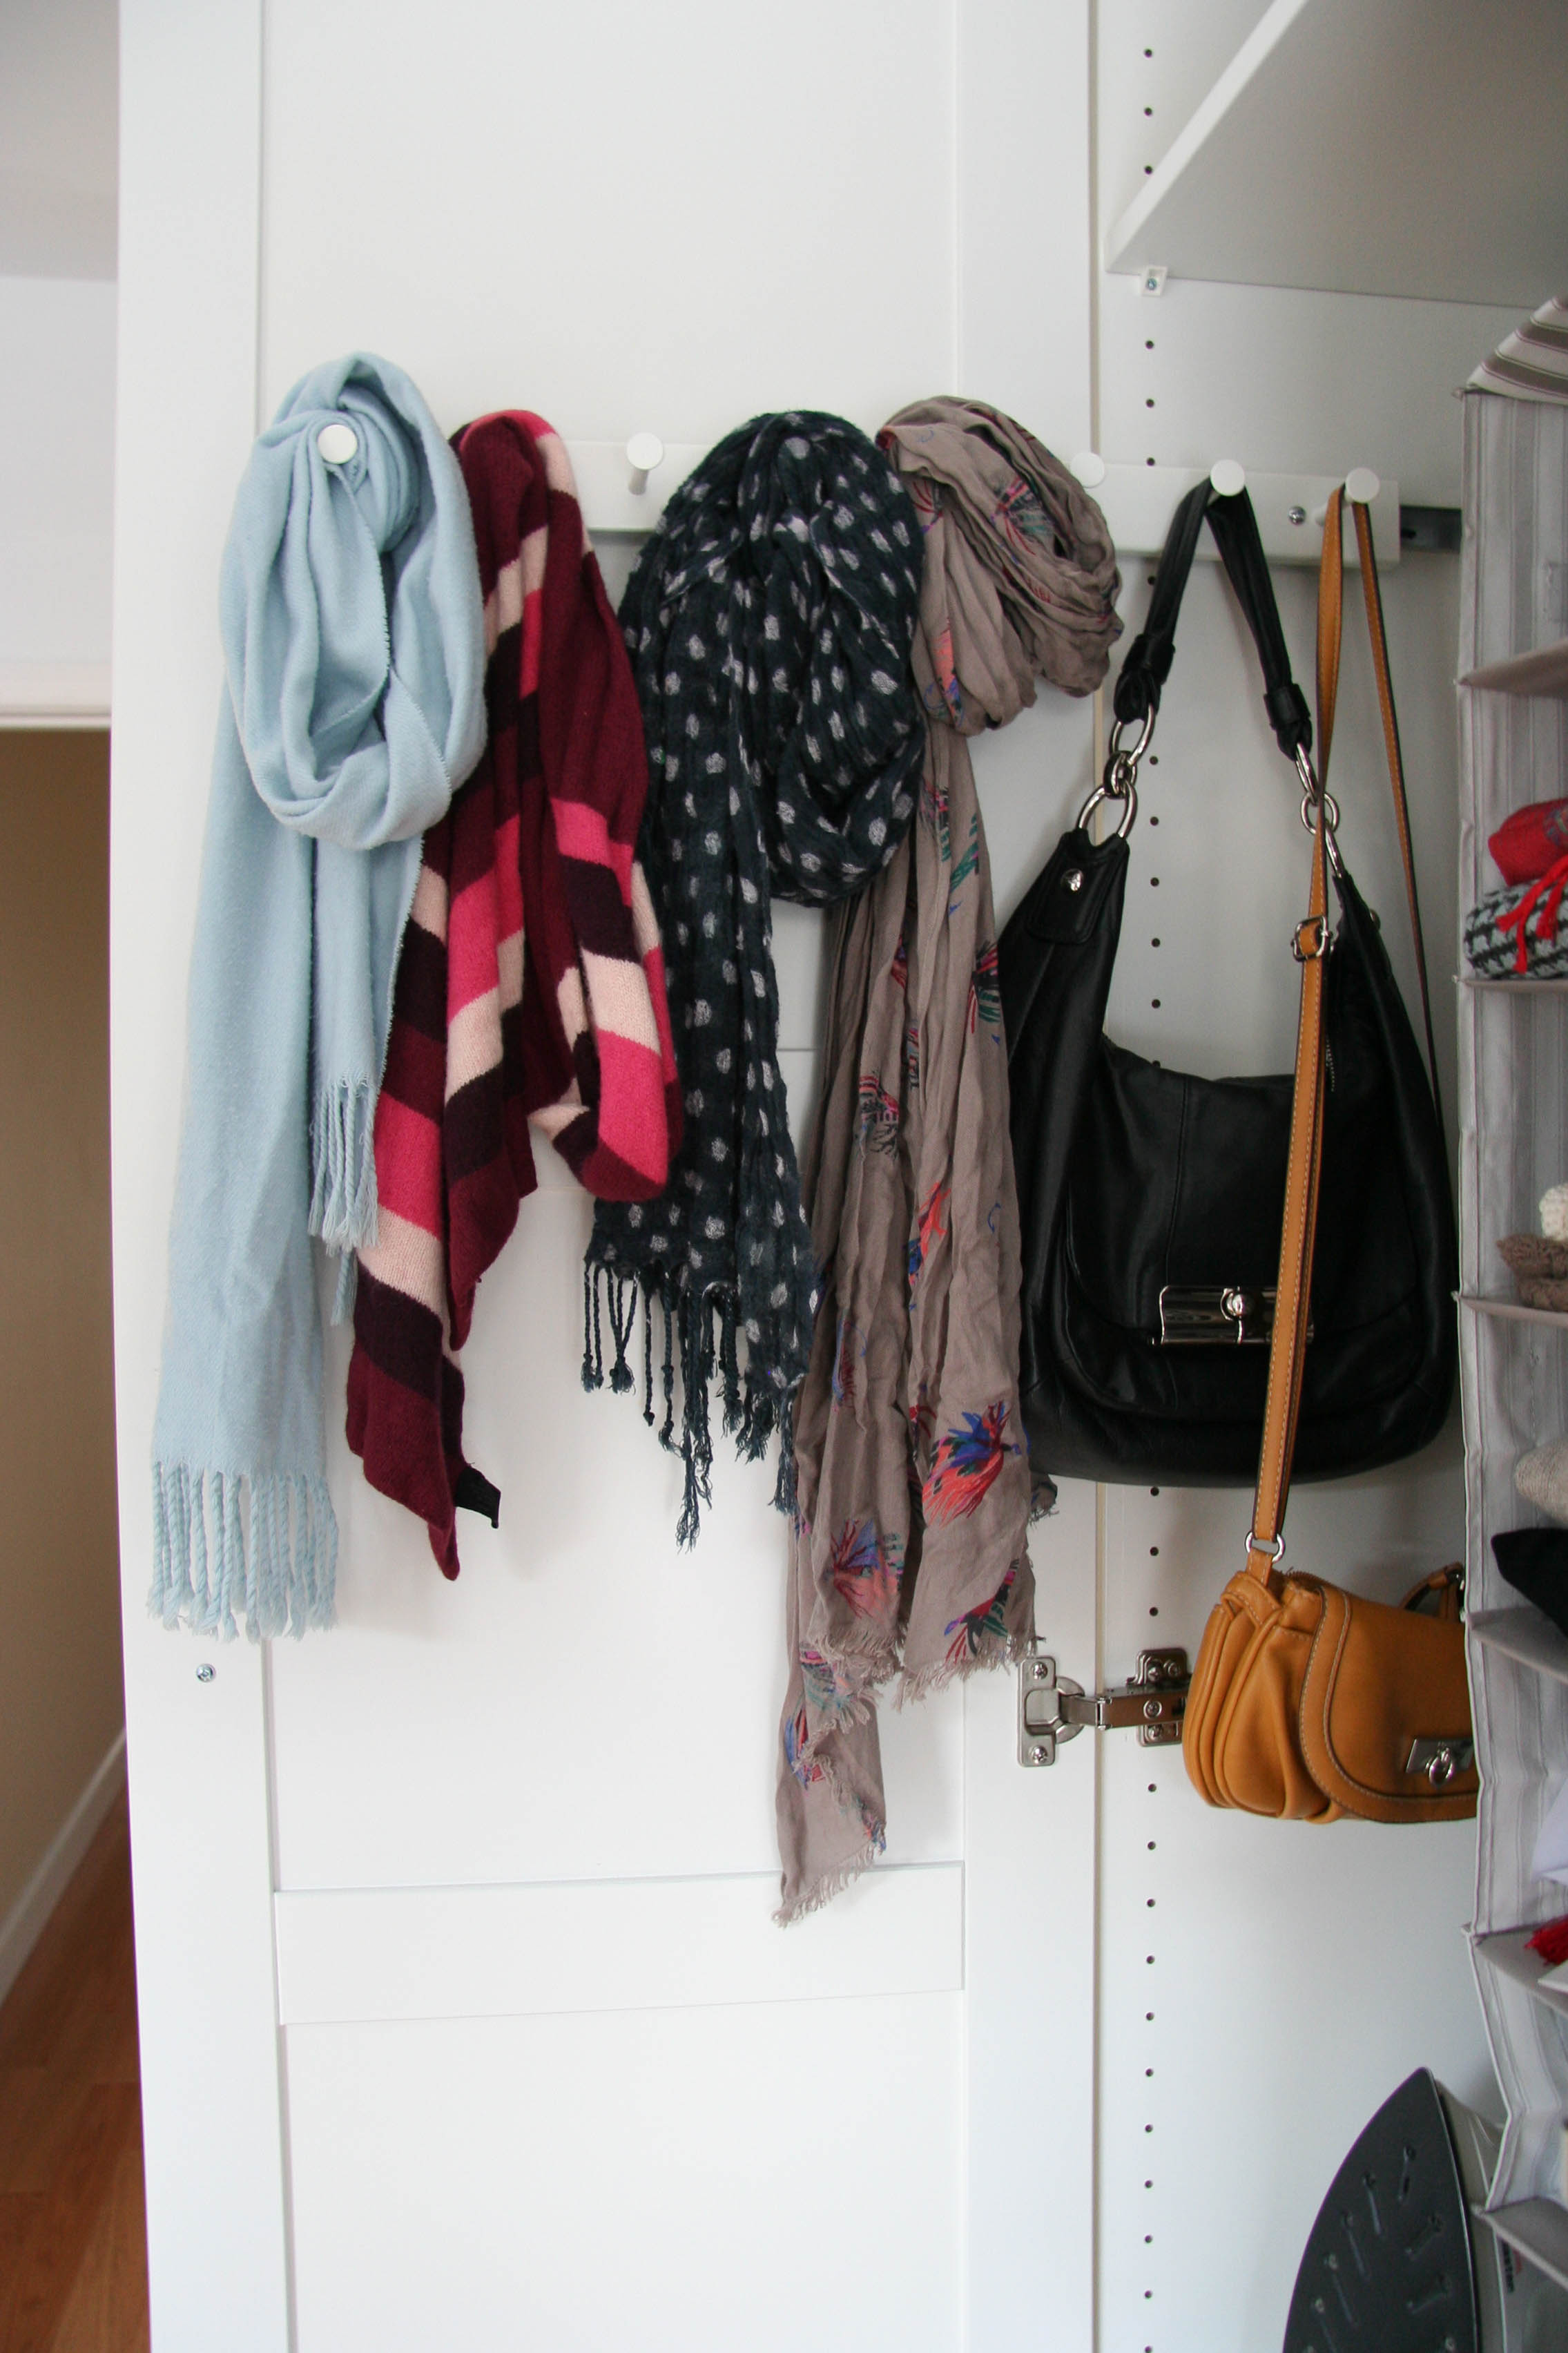
Ikea has thought of everything!
Day 3
A few days later, after more fun with power tools, Mike trimmed the baseboard and attached it to the base of the wardrobes. I think it makes a big difference. Thambi does too. See his look of serenity below:

And with that, Part 1 of the Wardrobe is complete! In Part 2, we’ll finish off the builtin look by framing the top and installing some crown molding or other such decorative trim. We haven’t started Part 2 yet and now it’s the holidays so might be a few months before this project is complete. In the meantime, our wardrobe is functional and Mike’s t-shirts are all neatly hung. Be sure to mention how crease free they are next time you see him in one.
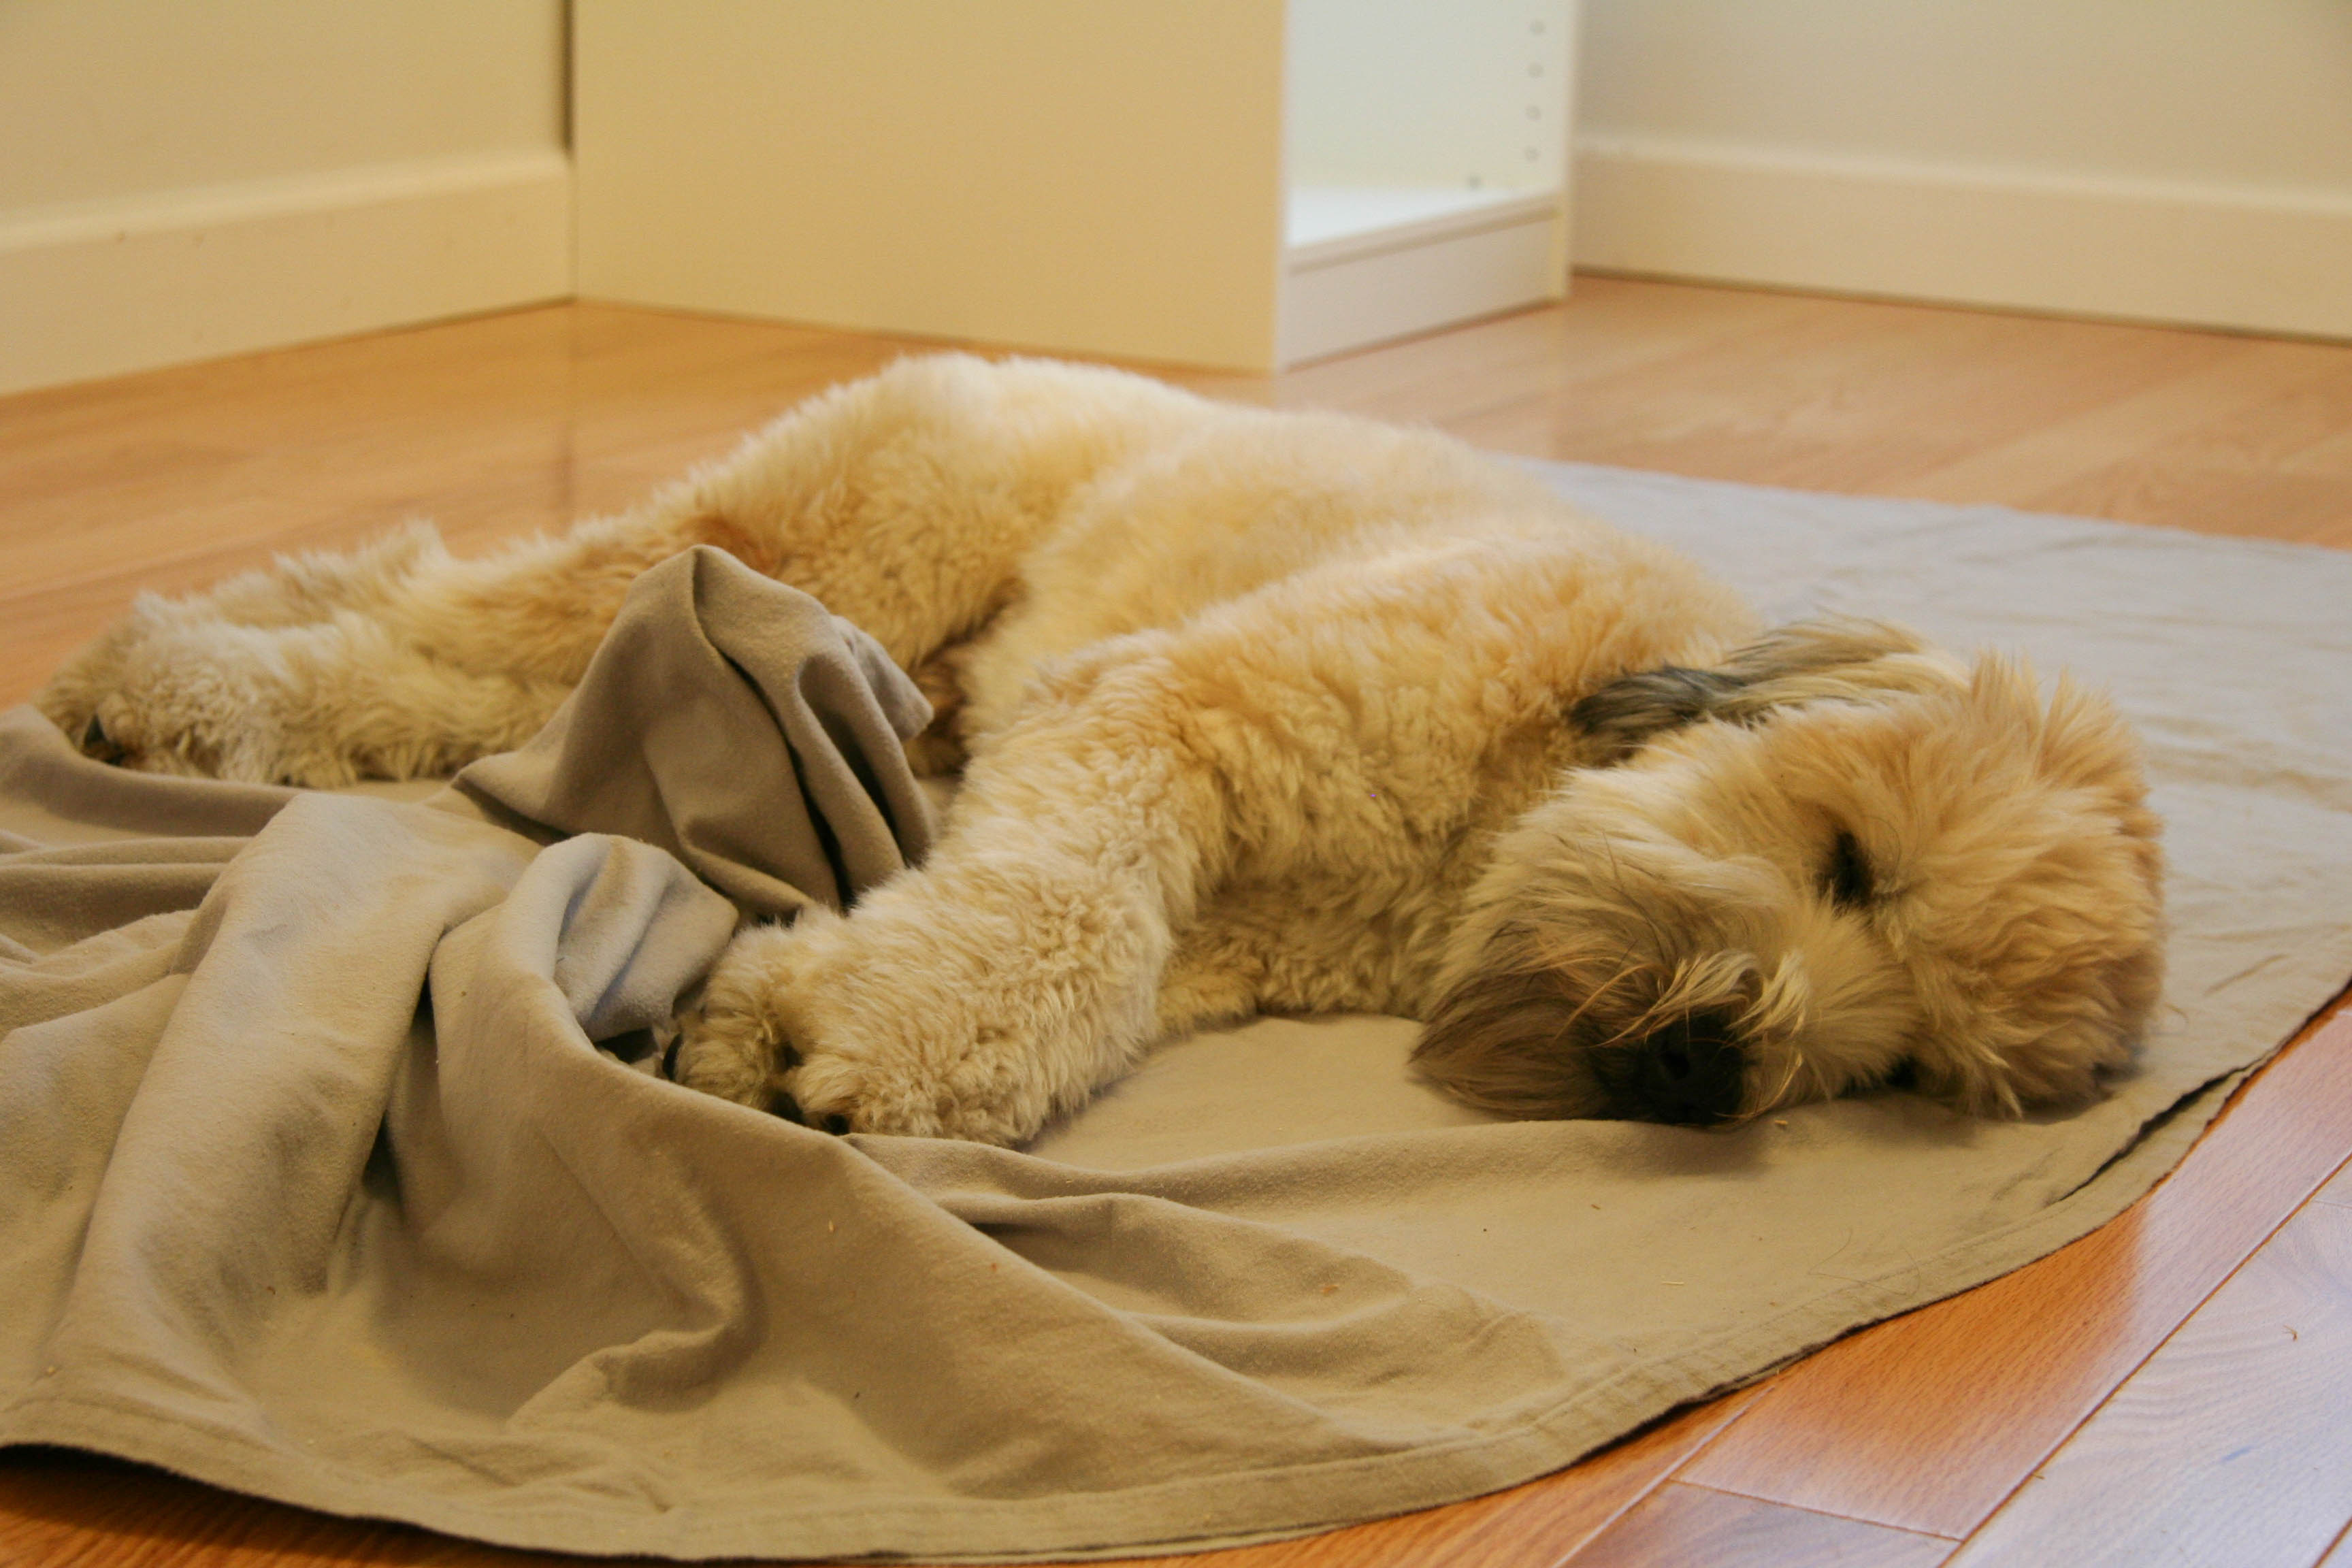
And now…a puppy picture.
After watching us assemble the wardrobe, Thambi got jealous of the sheet which we were using to protect the unit & floor. He laid down and sleepily guarded the sheet from future wardrobe units.
