For awhile, I had convinced myself that I was ok with our kitchen. We plan on doing a big basement and kitchen renovation in the future but after the renovation of 2016, we just wanted a few years to just enjoy the house. But as the living room has been coming together these past few months (more on this in a future post), the jankiness of the kitchen has just started to irritate me as the eye is naturally drawn to the jankiness. And it is quite janky.
Then an Apartment Therapy post popped up on my Pinterest feed that showed how to use countertop paint to fake the look of granite. The post also had cabinets that looked a lot like our cabinets so the transformation seemed within reach.
Our kitchen looked about the same as it did when we painted it back in 2015. You can read about that here:
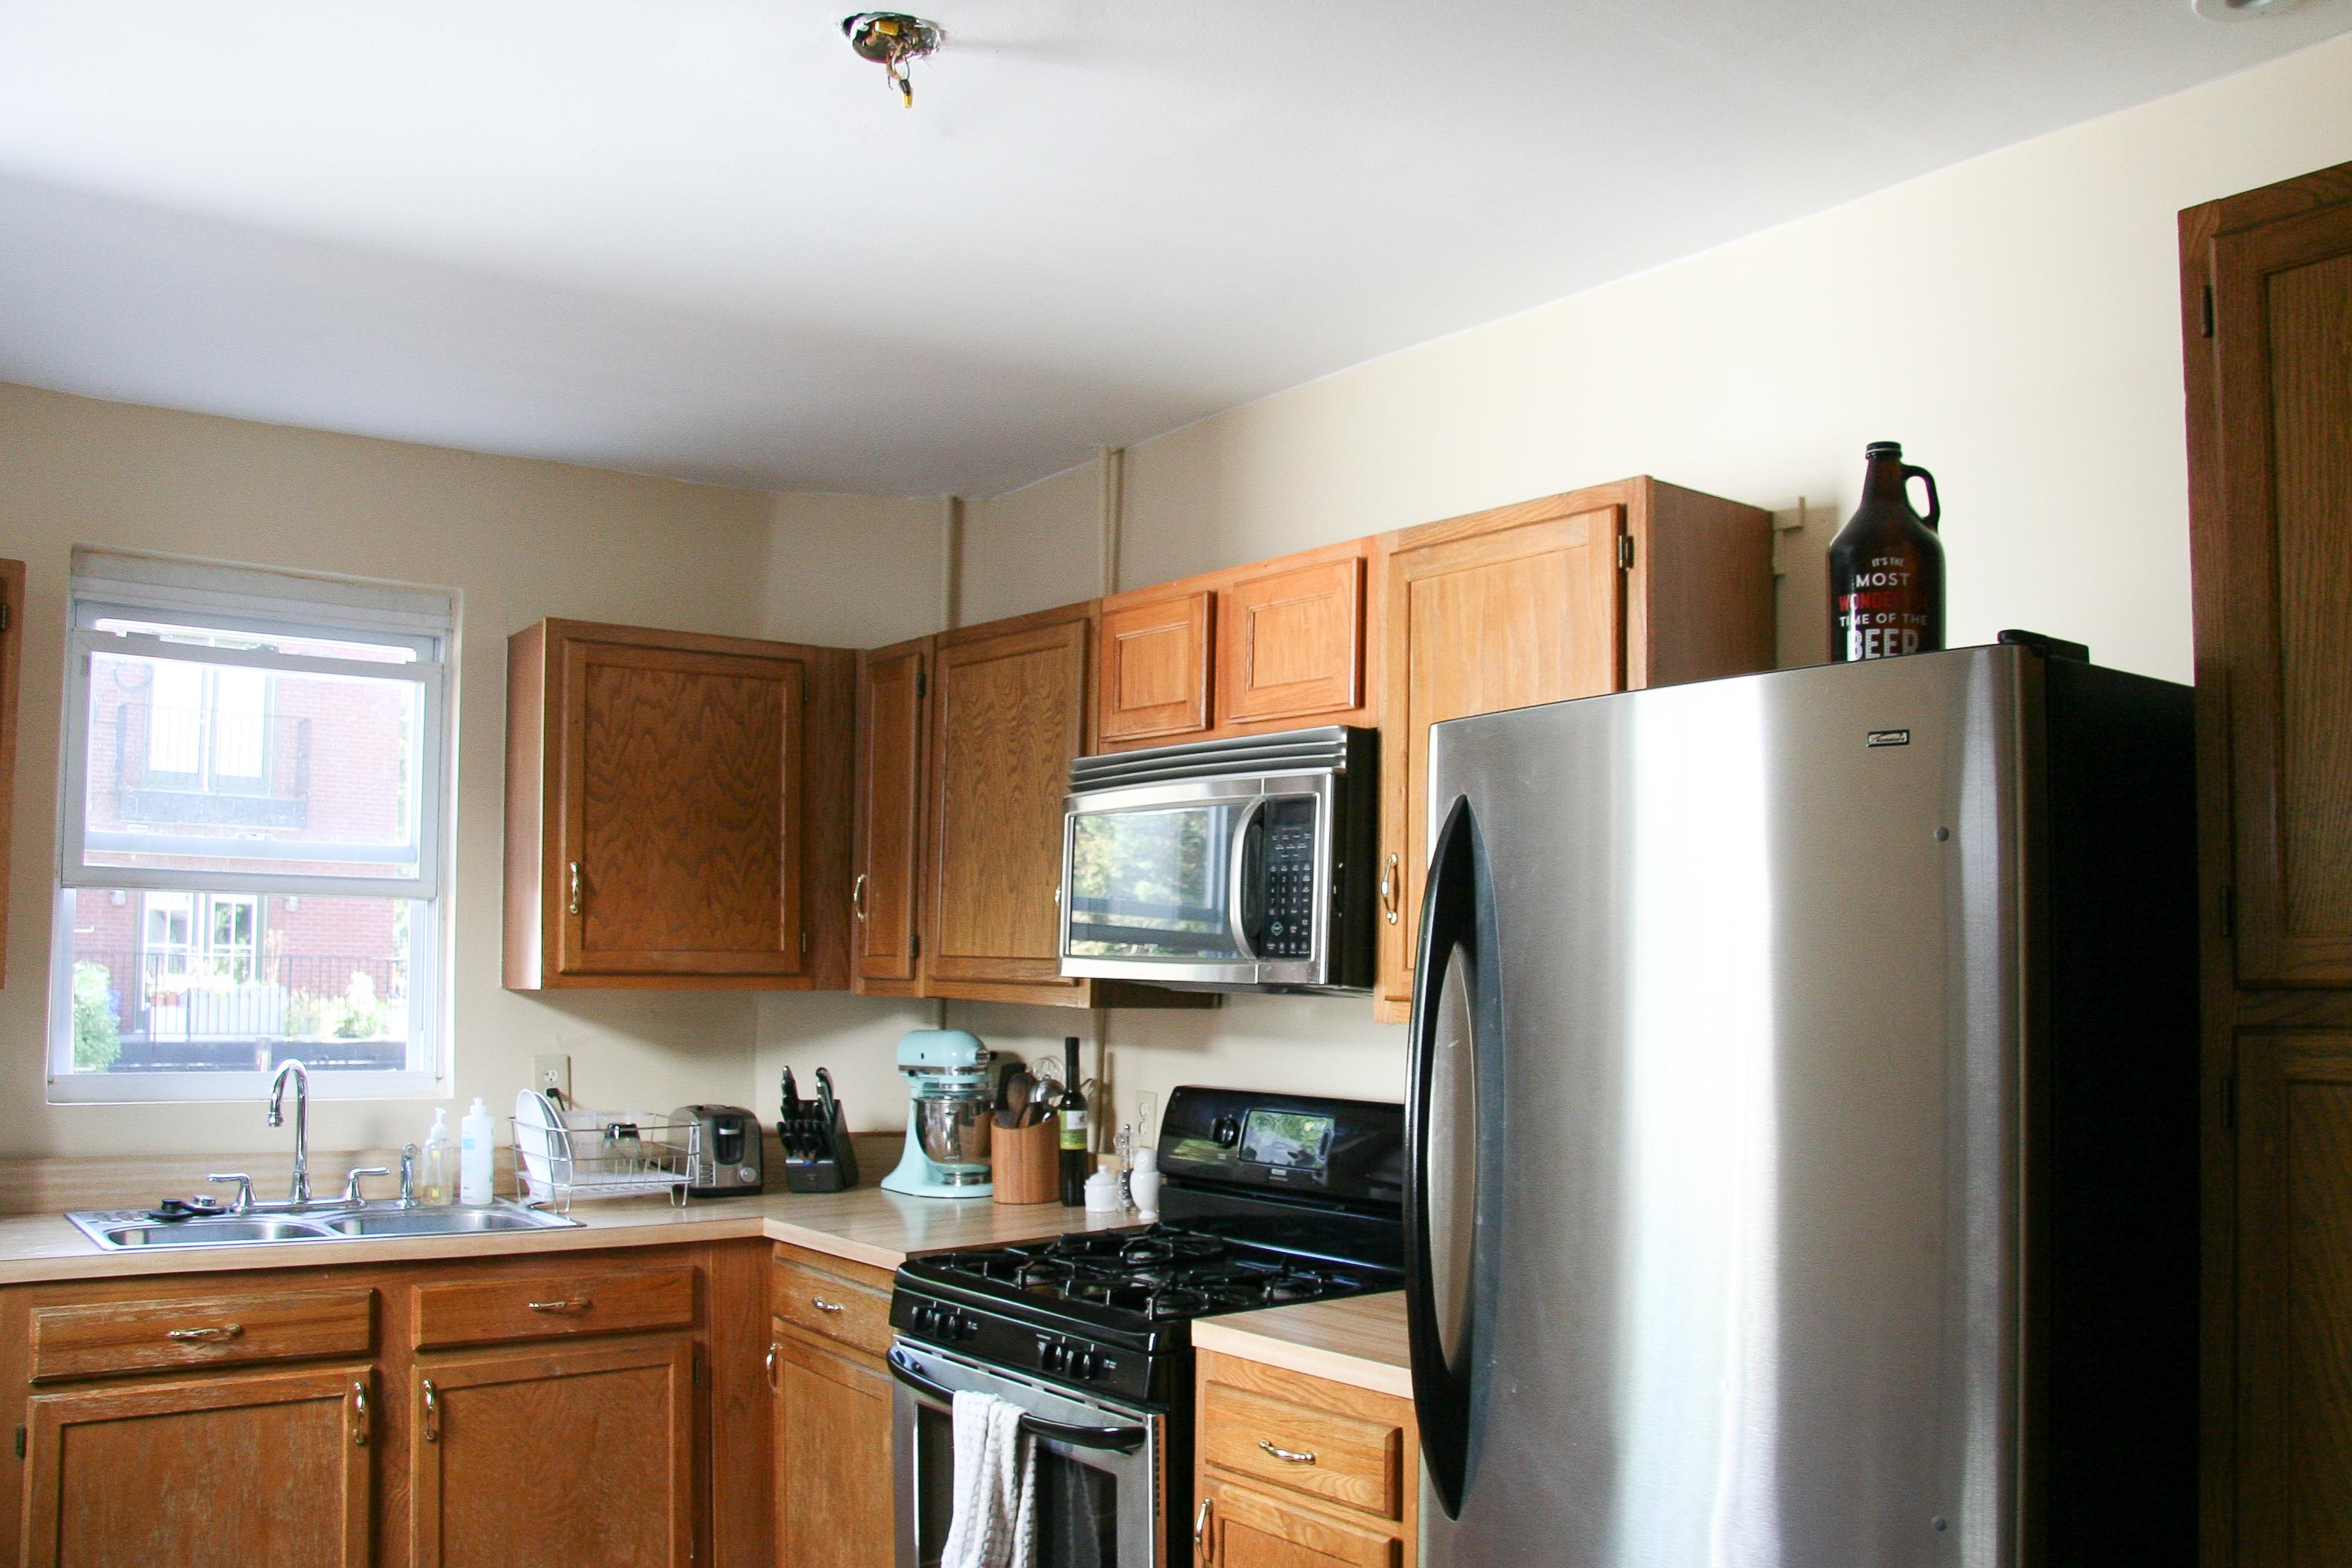
It was definitely better but the kitchen still had a patchwork feel. You can see that the cabinets above the microwave don’t match the other cabinets; they must have been added later. It just screams of sadness and the 70s. Yuck:

Weekend 1: Painting the cabinets
As always the most painful part is the prep work. We decided to take off all the cabinet doors and Mike rigged up a system so we could paint the cabinets quickly. In addition to taping, we had to also de-grease and sand everything which took FOREVER!

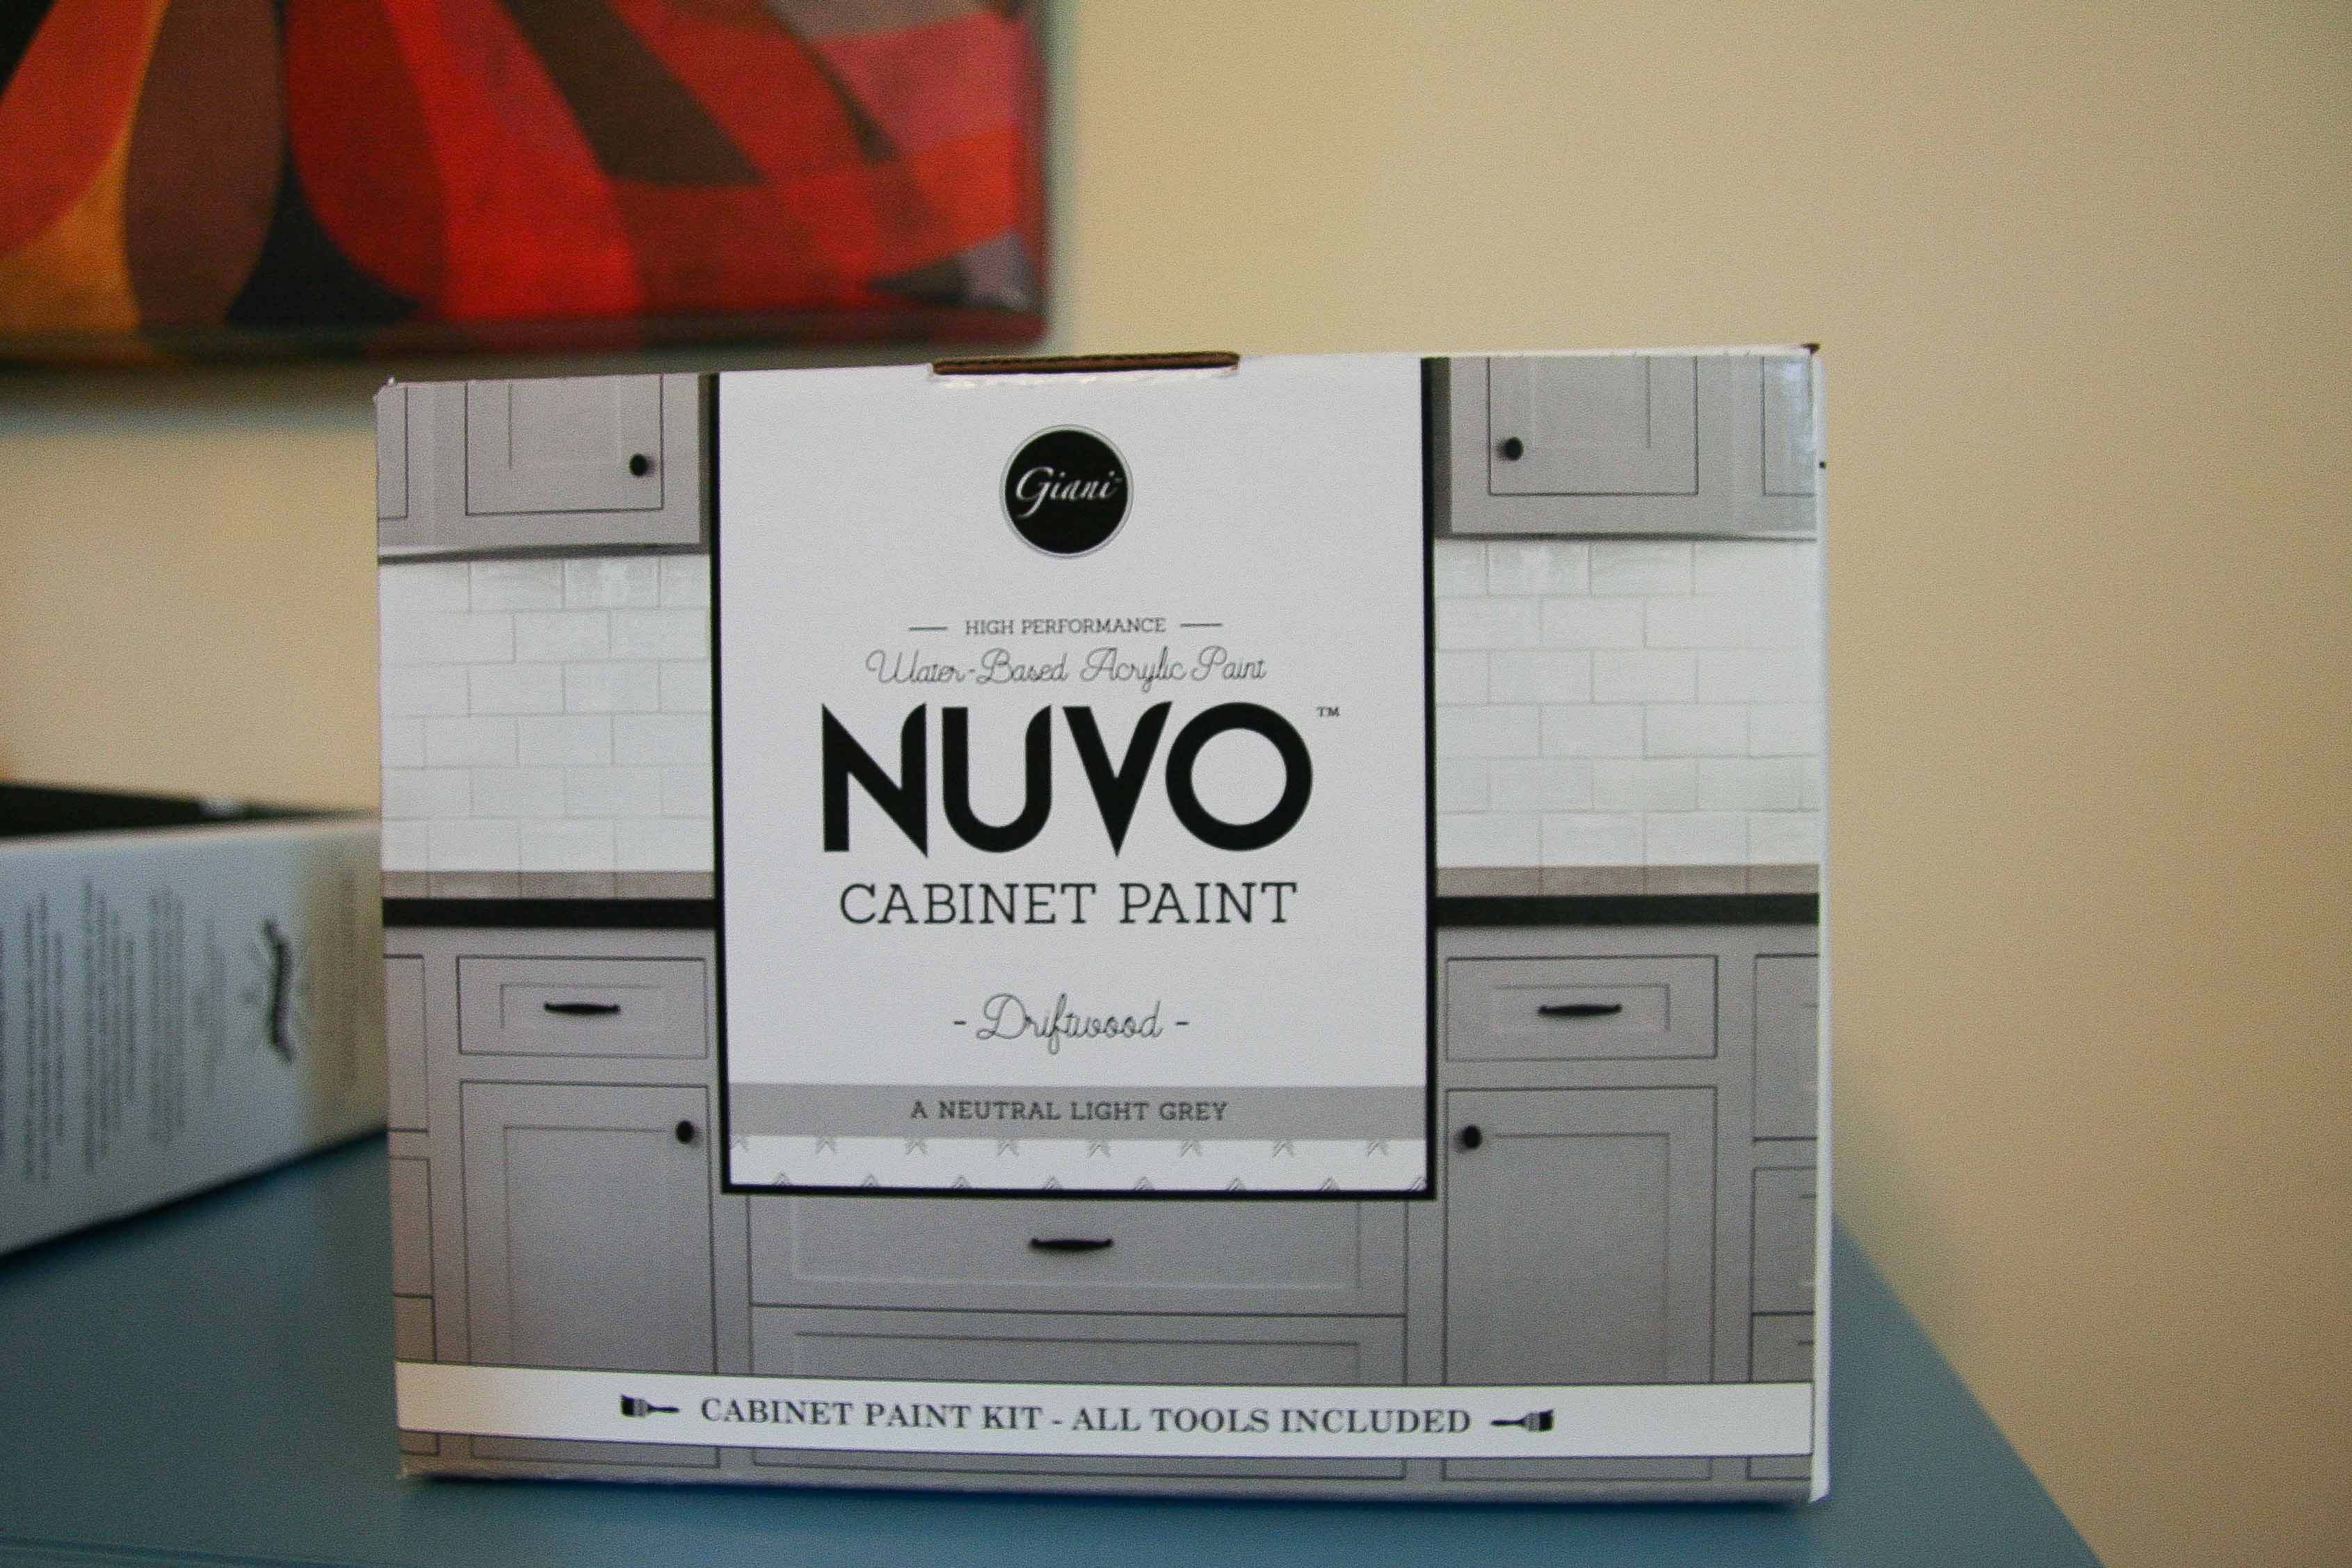
Now the fun part! We chose Giani cabinet paint in a light gray, specifically Driftwood. This kit came with paint & supplies and was only 70 bucks!
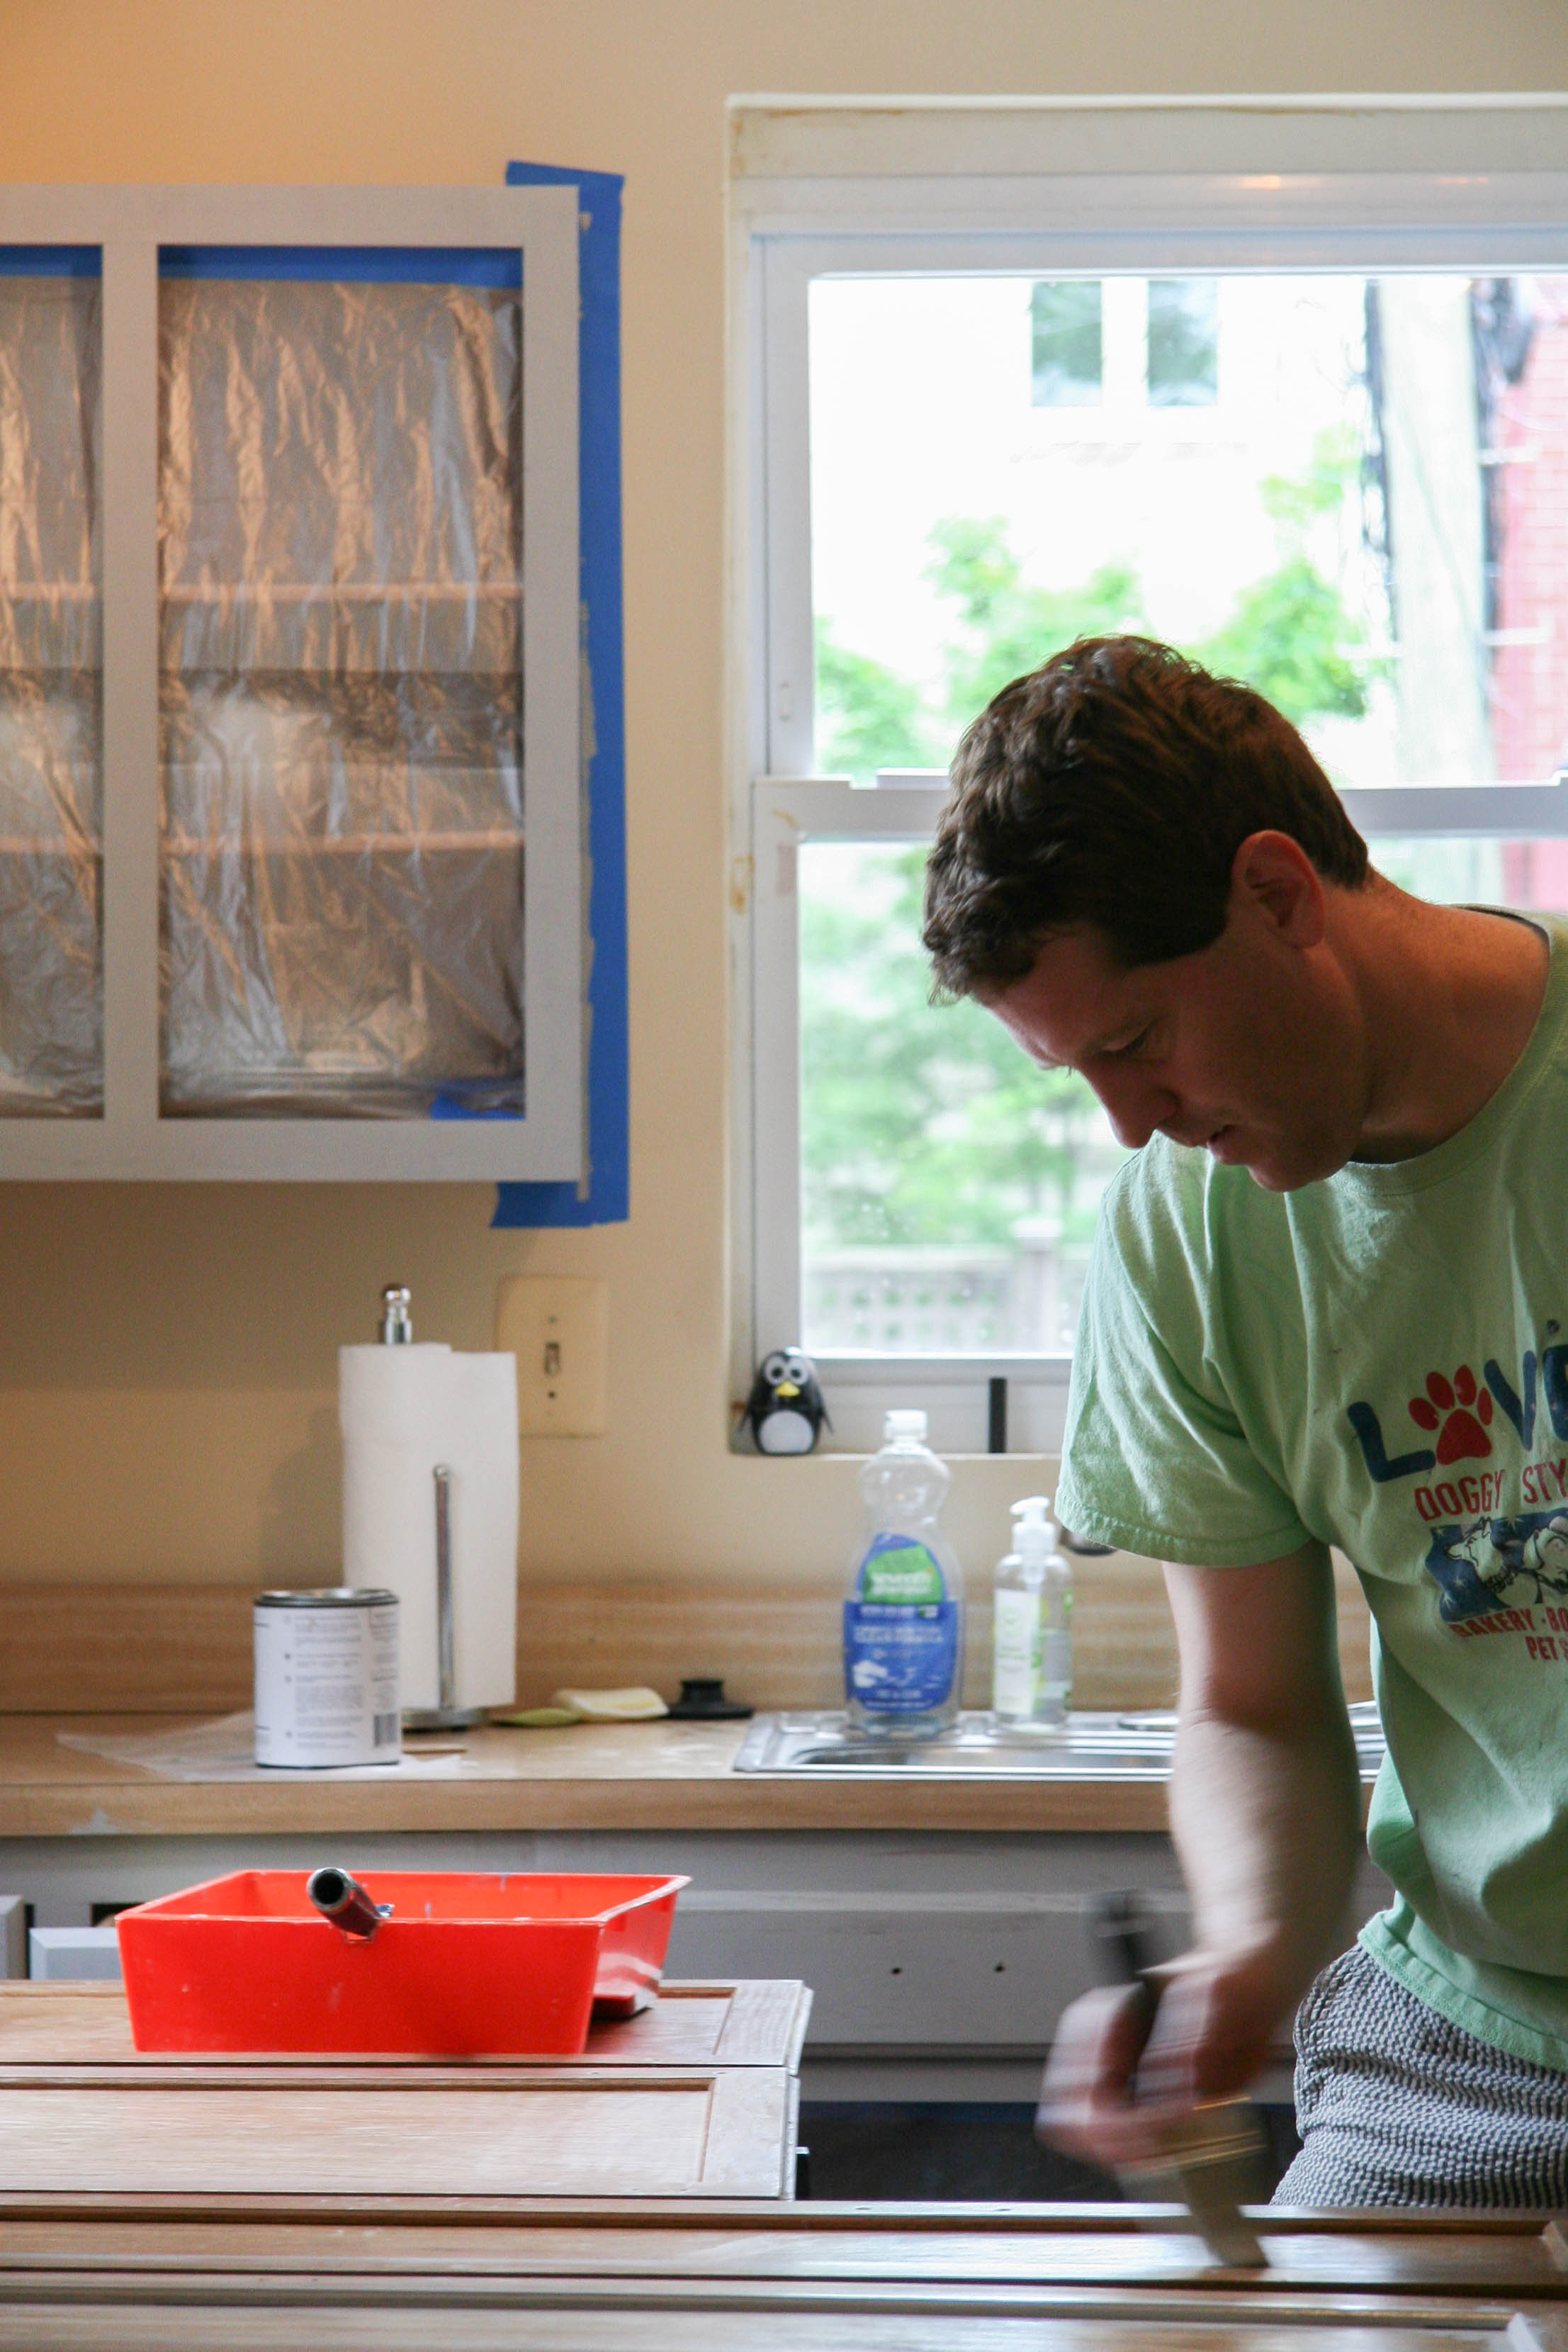
An action shot of Mike painting some cabinet doors. You can see that the painted trim is already making a big difference:
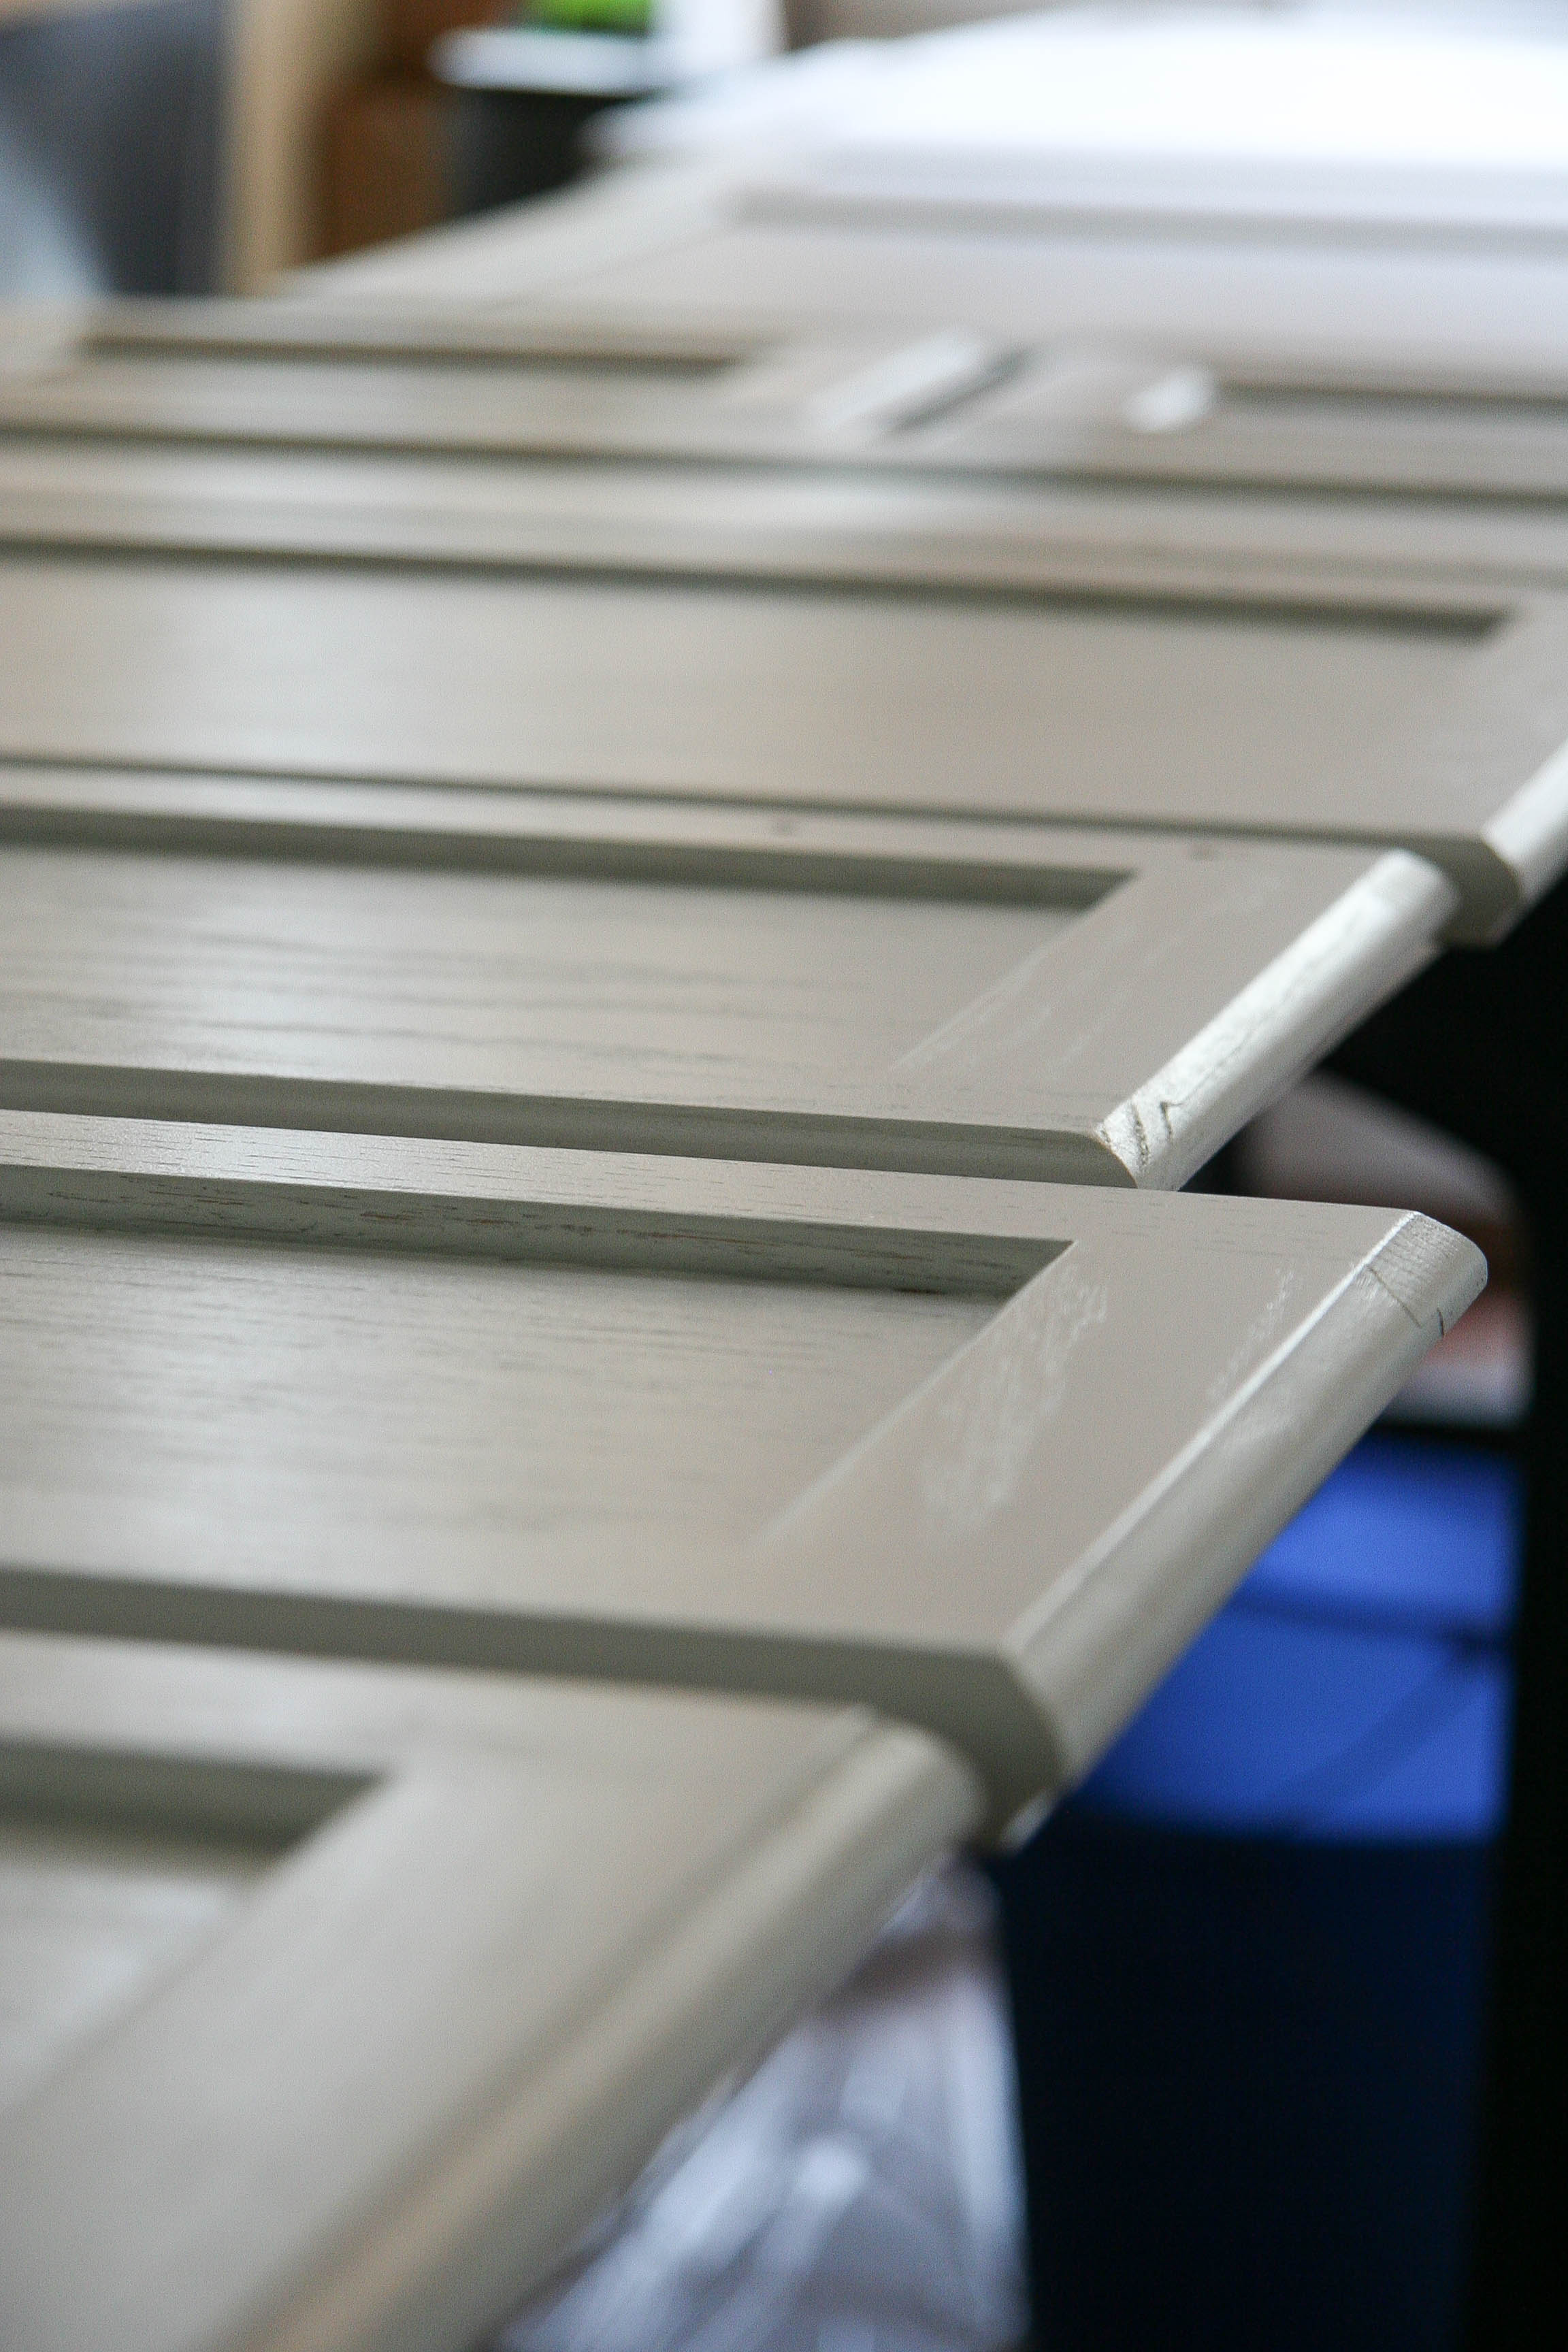
Ahh these doors look great. See the wood grain coming through:
And after a weekend full of painting, here is the kitchen put back together! You can see that we also bought new hardware, hinges and pulls, although they aren’t all up yet.
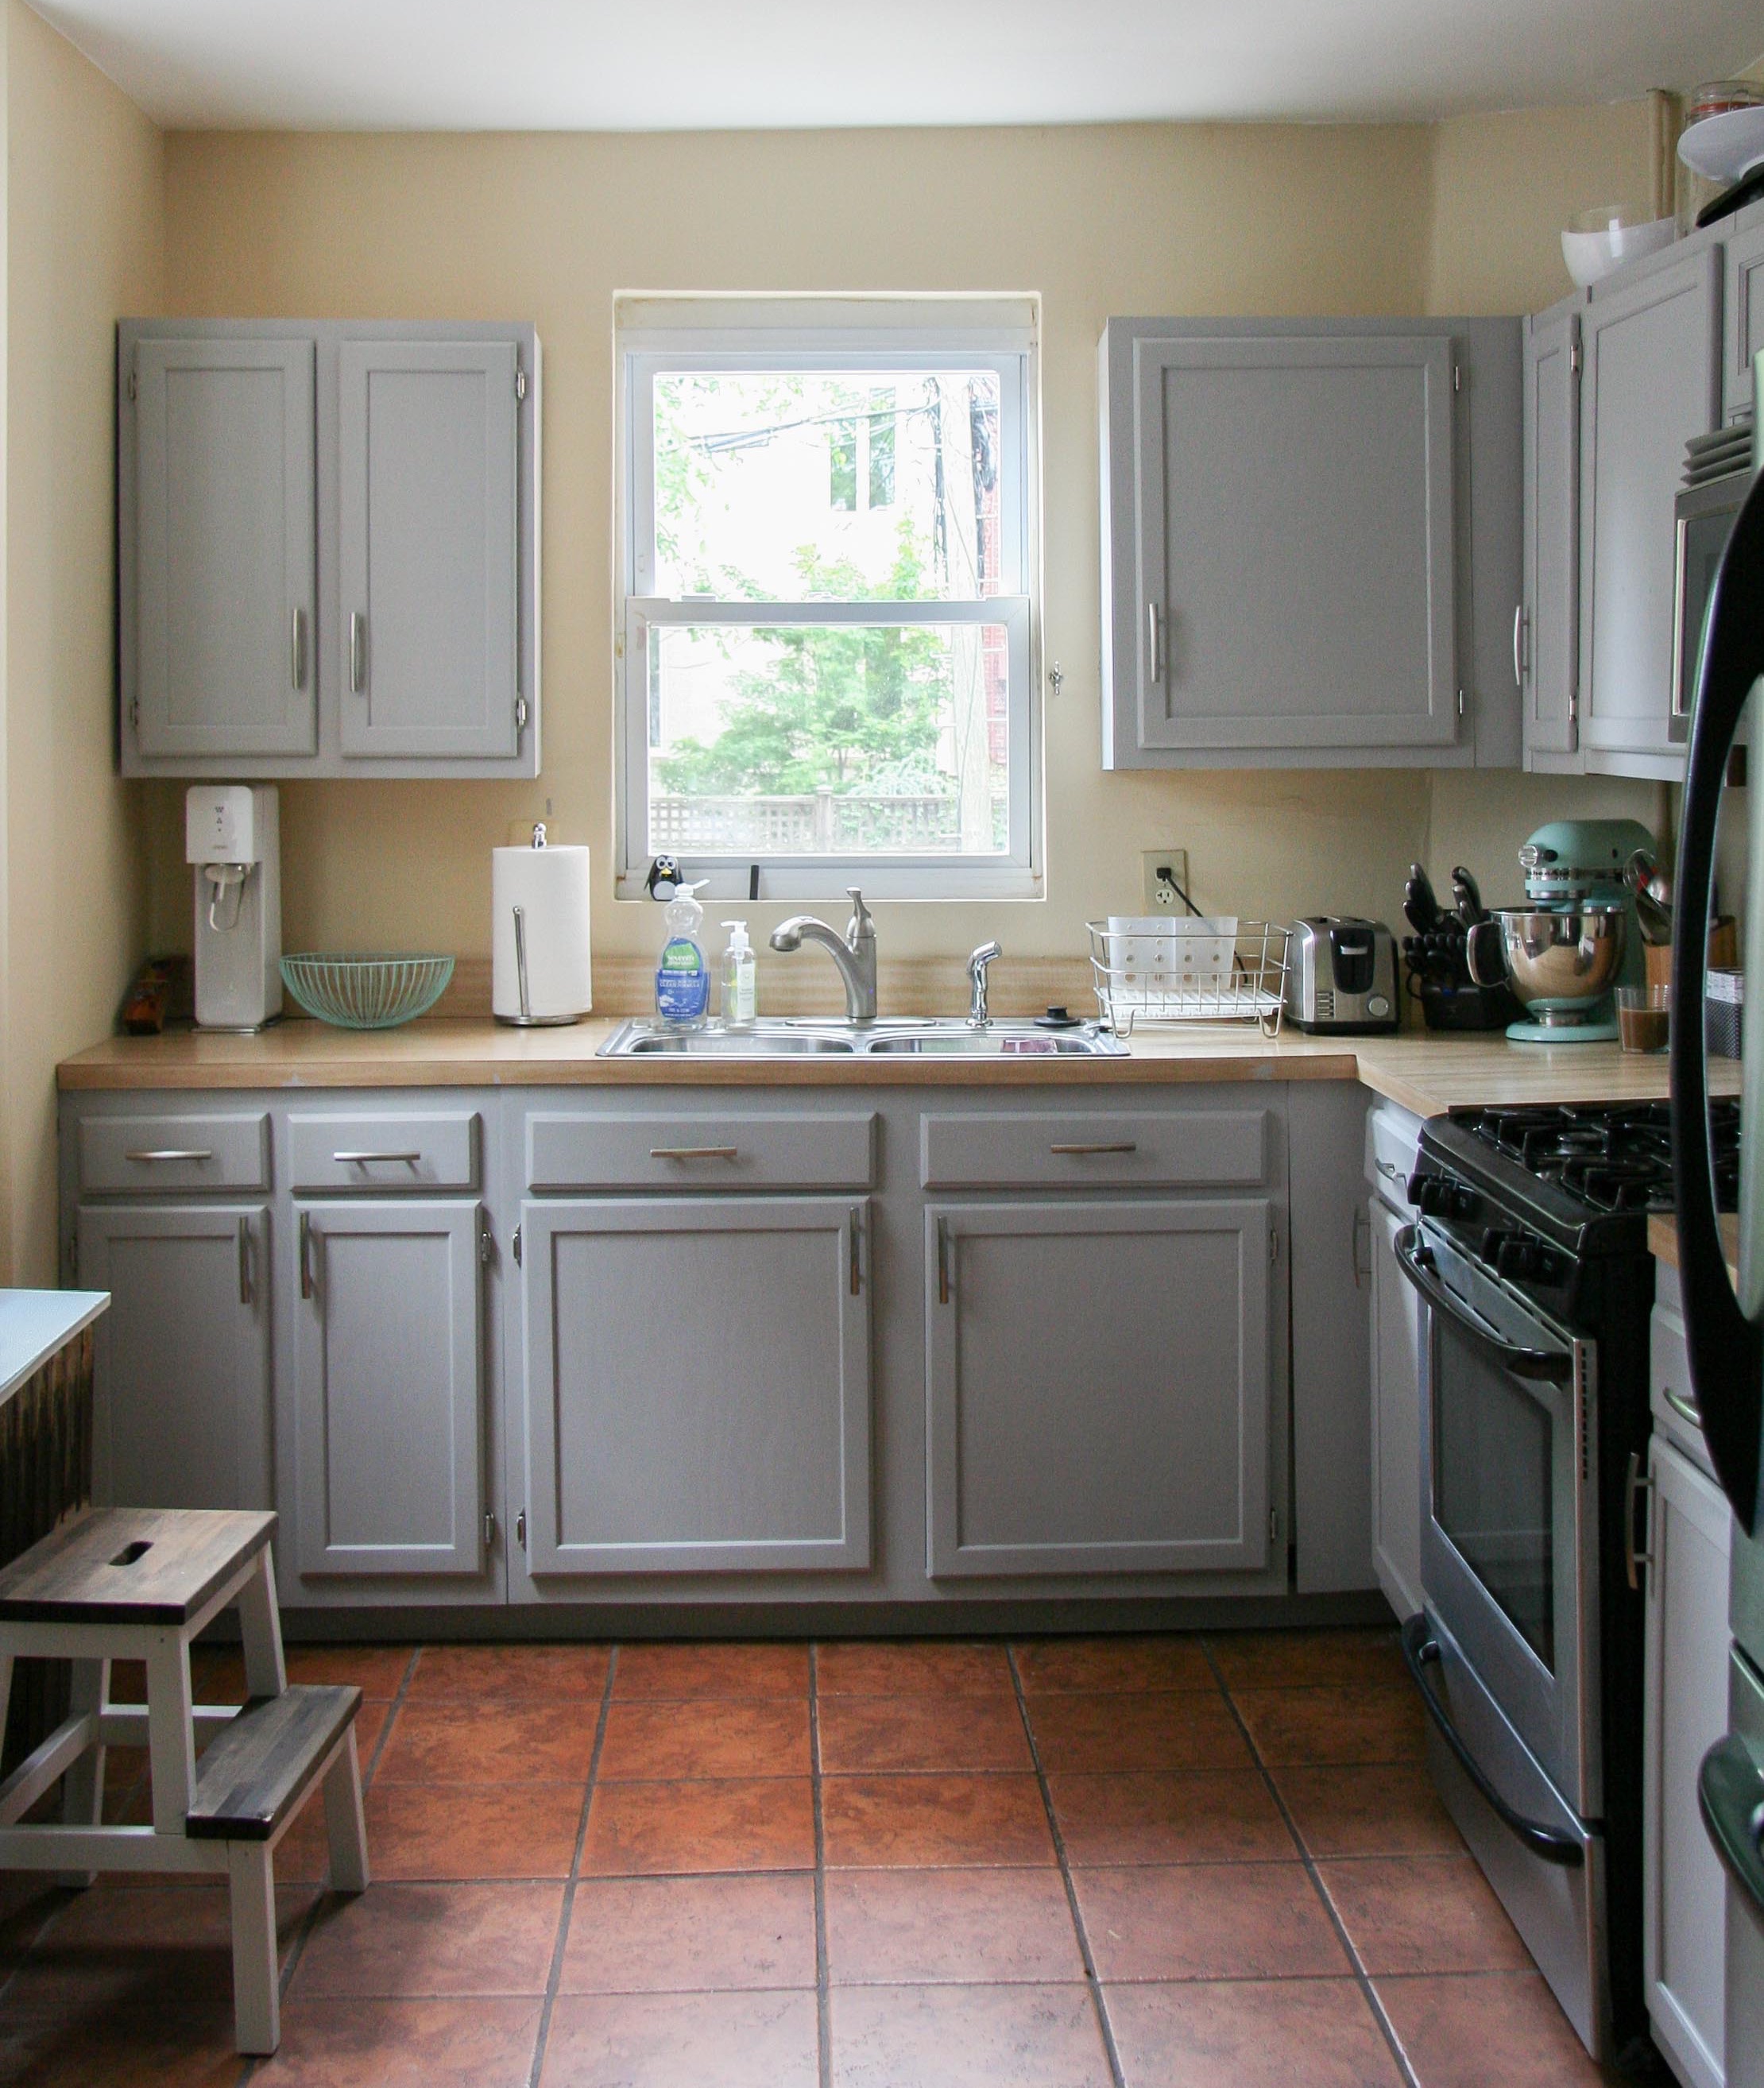
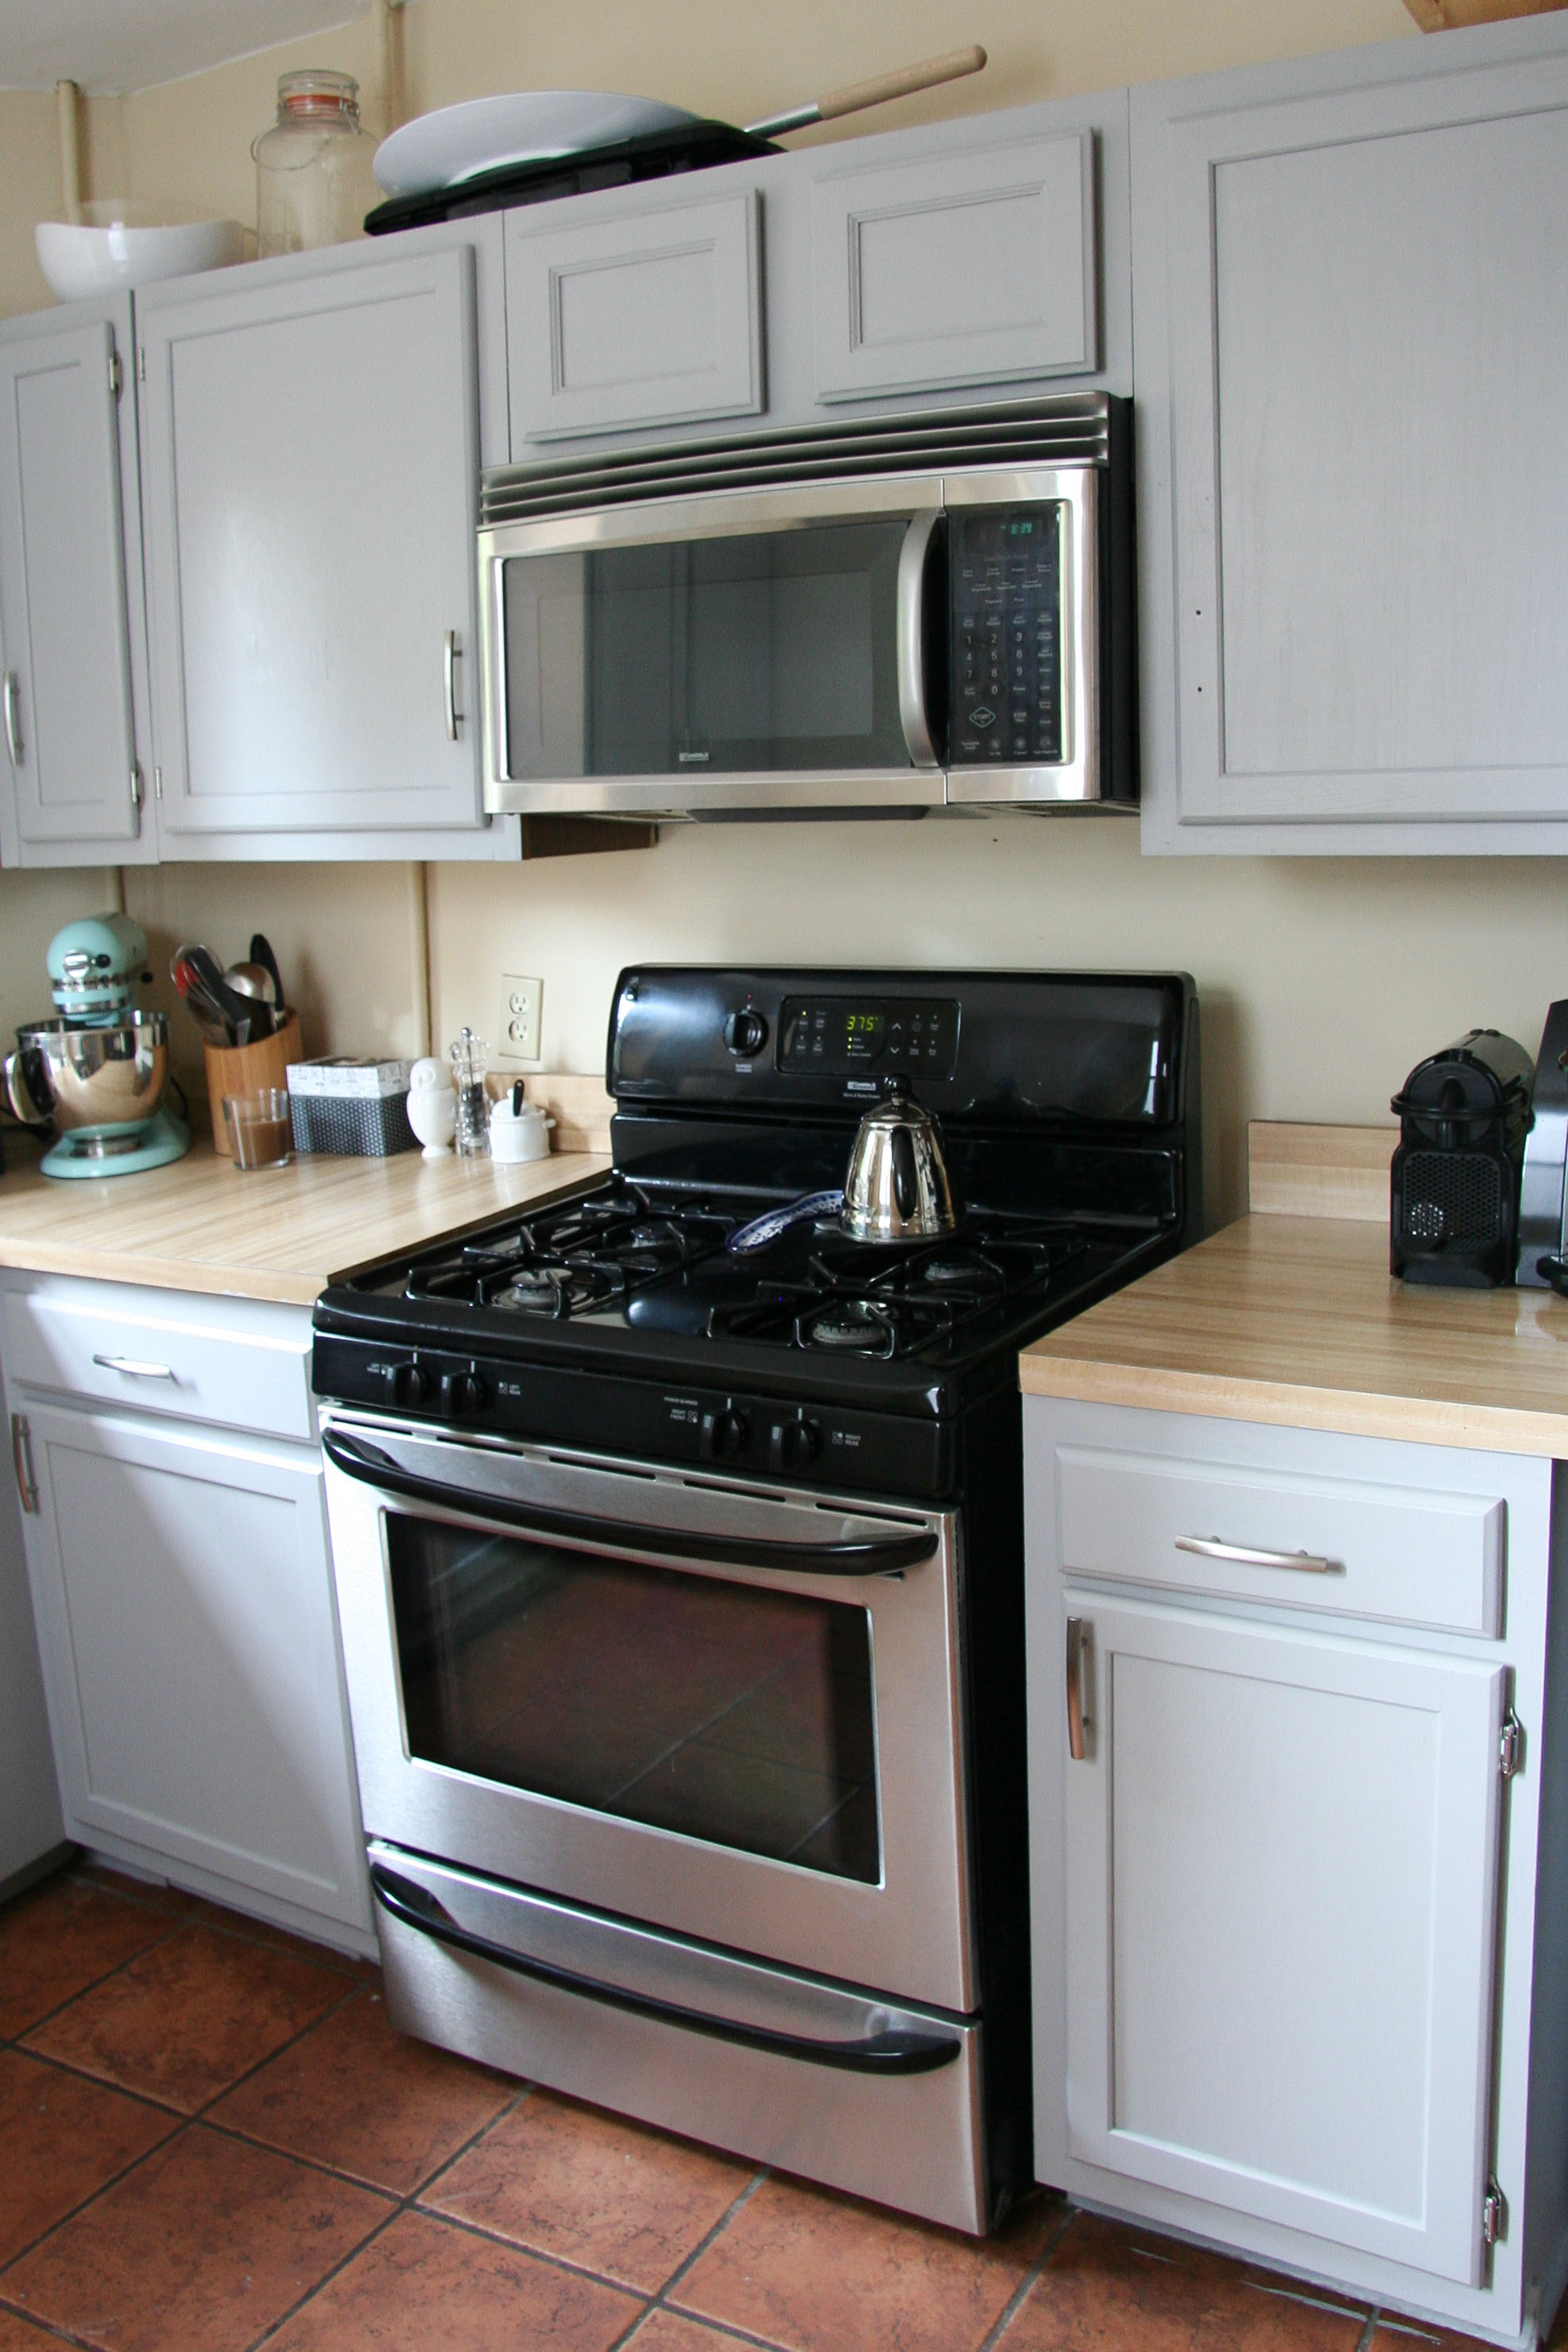
It already looks a lot more modern in here!
Weekend 2: Painting the countertops
We used Giani countertop paint for the faux granite look. It involved a lot of sponging and I was a little nervous it would look terrible. But since the countertops already looked bad, it couldn’t get any worse right?? There were A LOT of steps so I started on a Friday night.
That base coat is DARK. There’s no going back now!
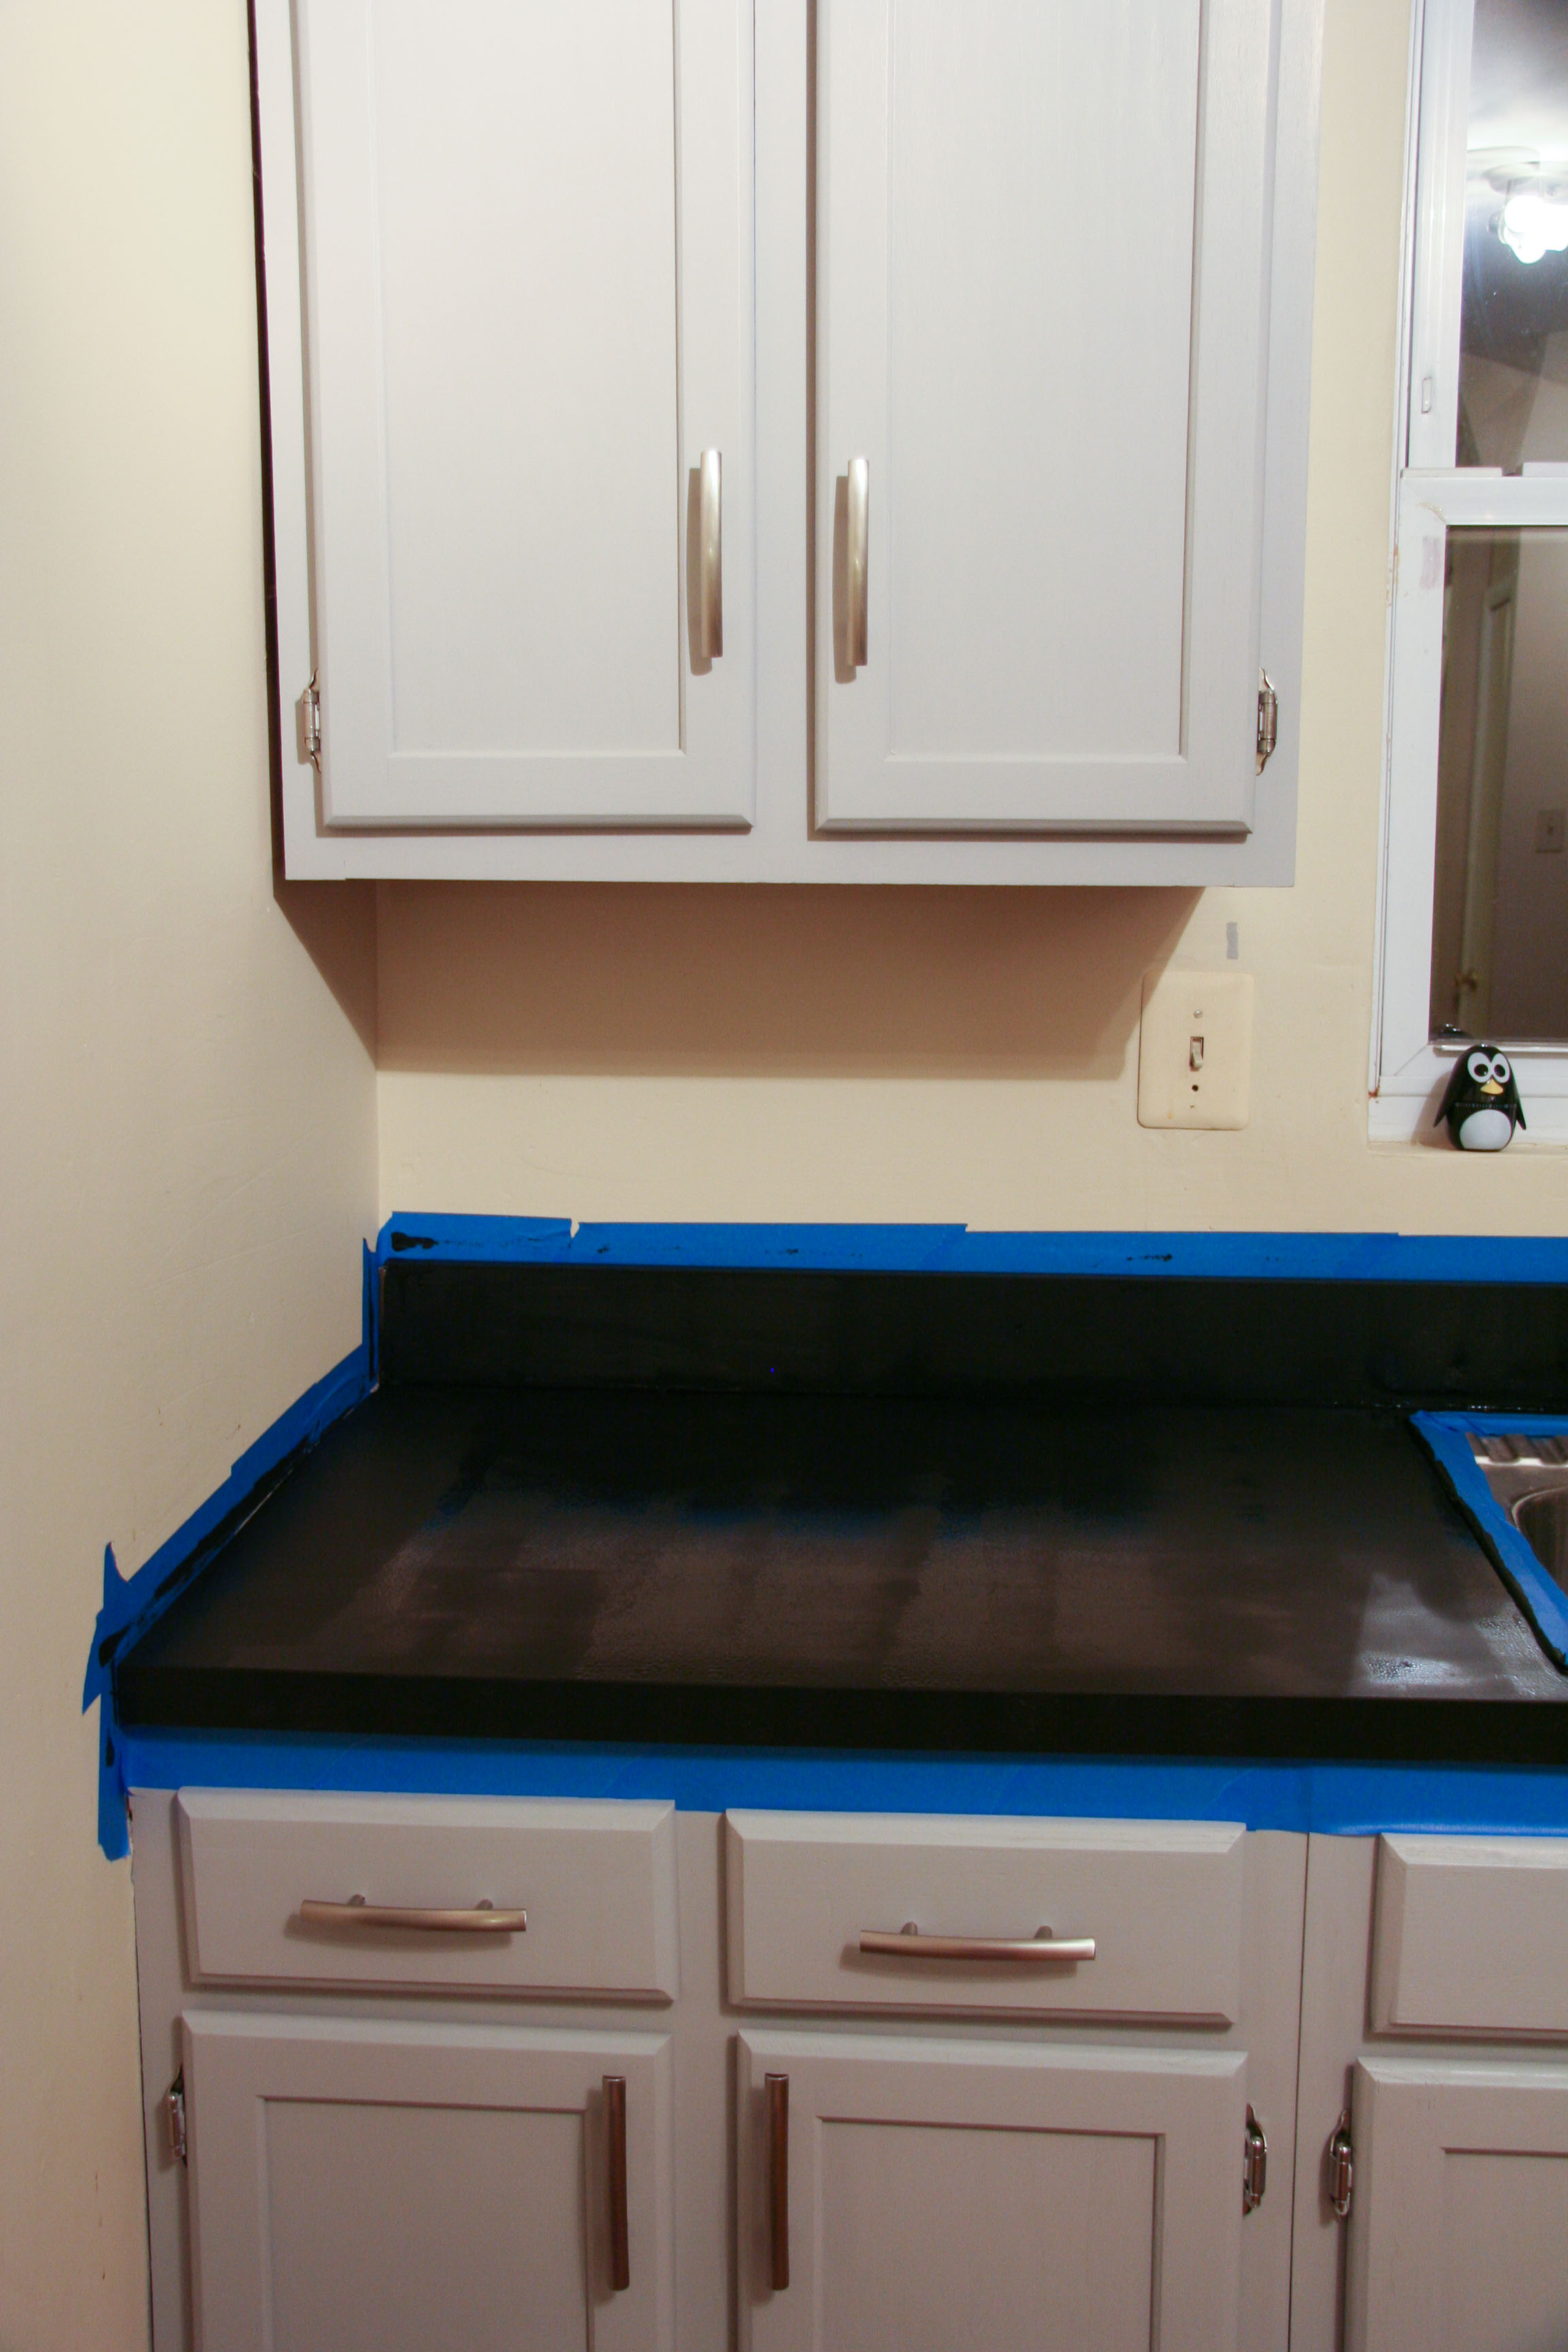
Early Saturday morning, I got started on the sponging:

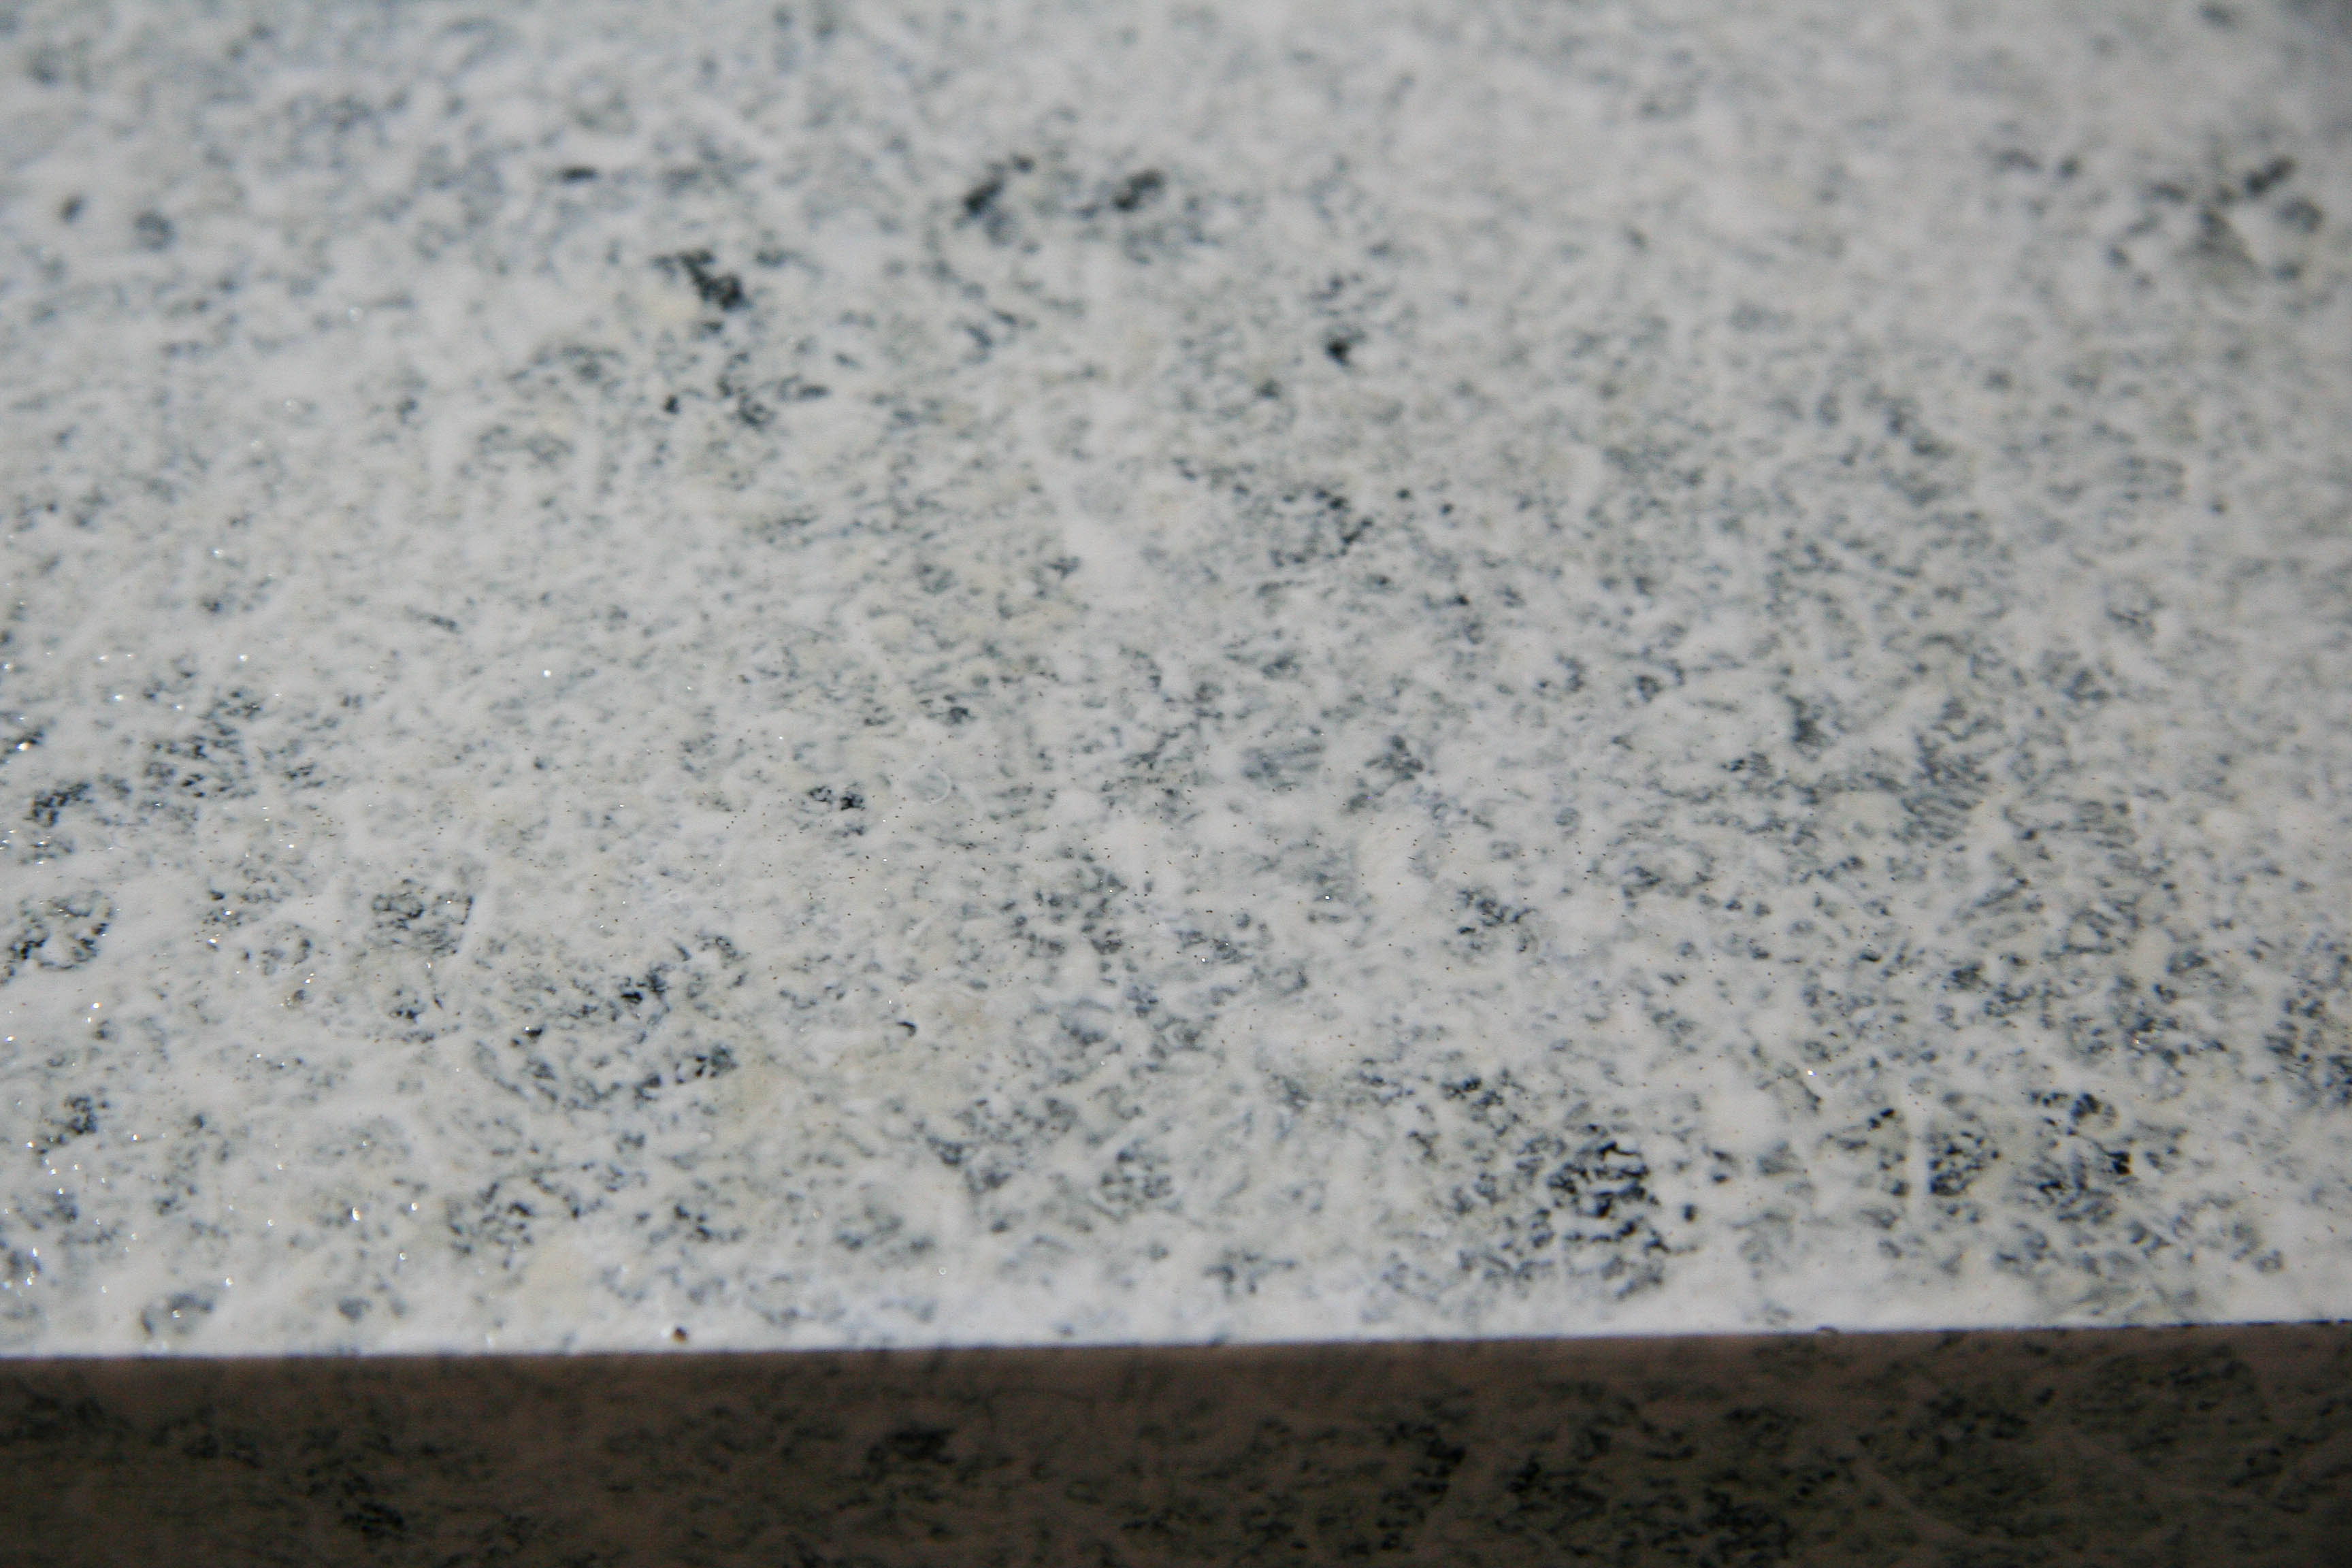
There were 3 different colors that I had to layer in sections. After the first coat, I sponged on more white to brighten up the counters. You can see the difference that made in this picture:
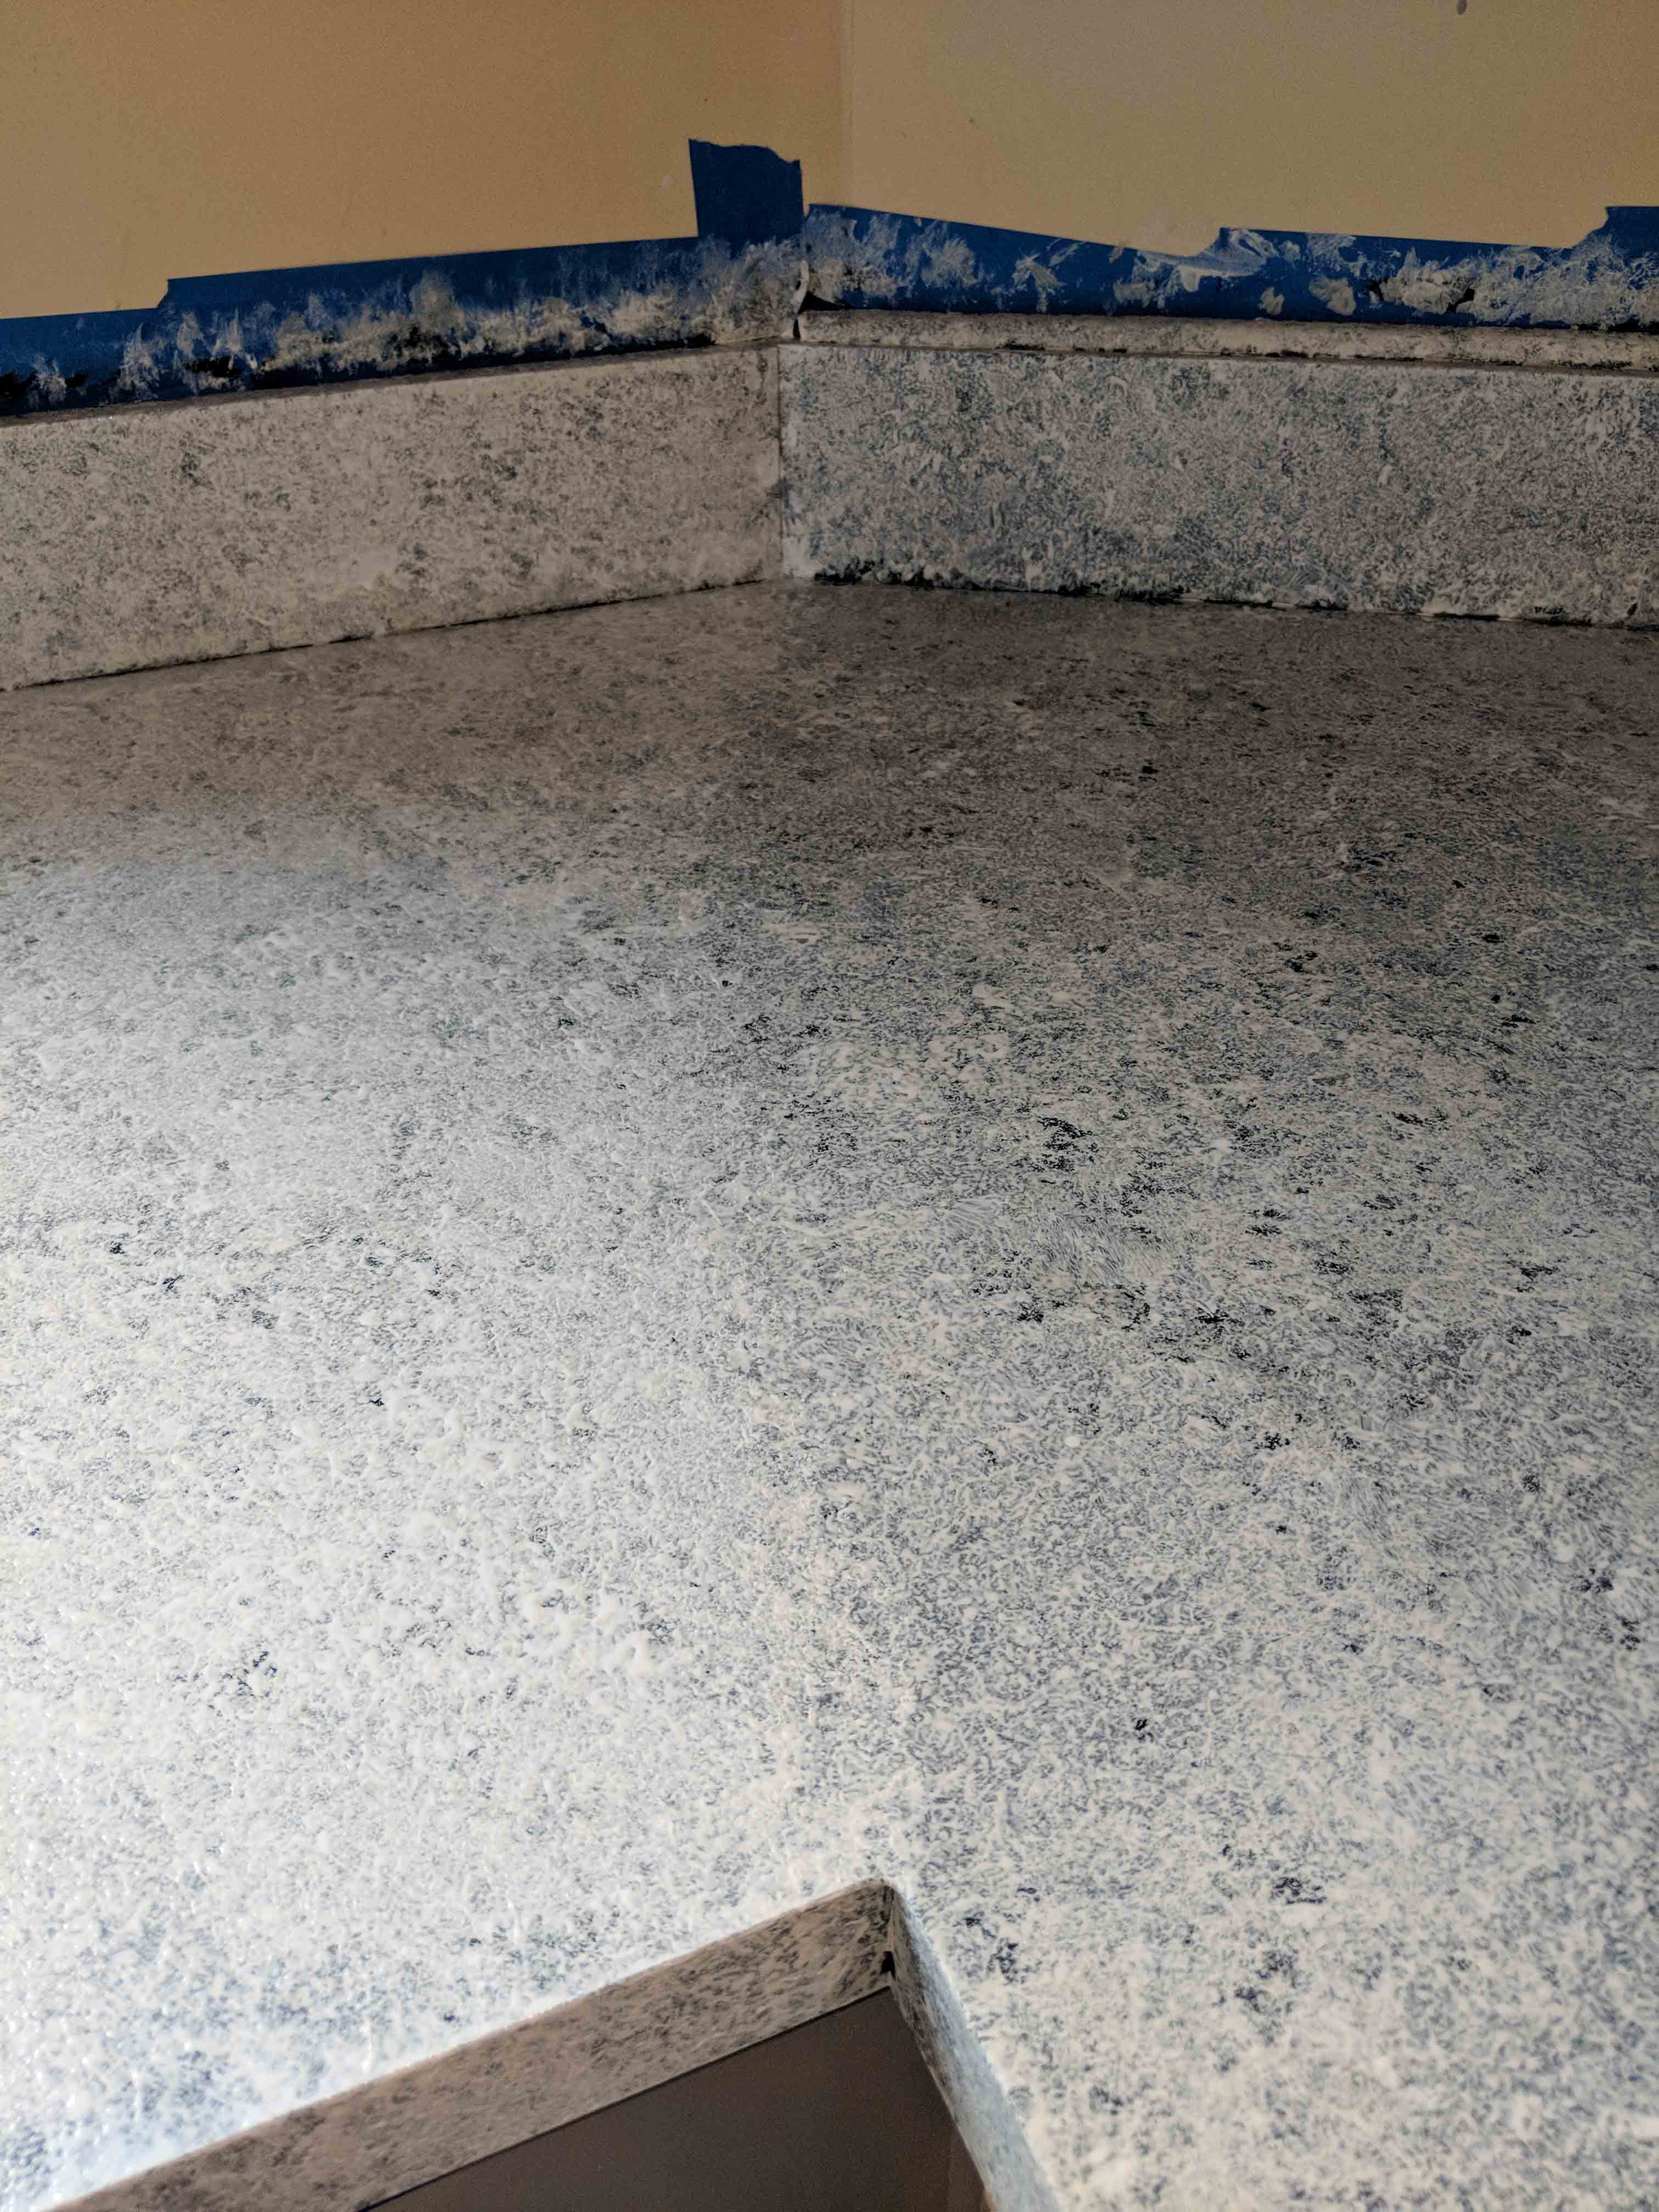
It came out better than we thought it would! It doesn’t look quite like granite in person but we’re pleased with how it turned out:

The craziest thing is that the top coat has bits of glitter in it. Yes, people, we put GLITTER on our counter top. See how it sparkles?! (Ok, it’s a little hard to capture the sparkles. I almost wish it had more glitter on it.)
And here is the finished product! Thambi approves! It looks even more natural with all our kitchen stuff on the countertops.
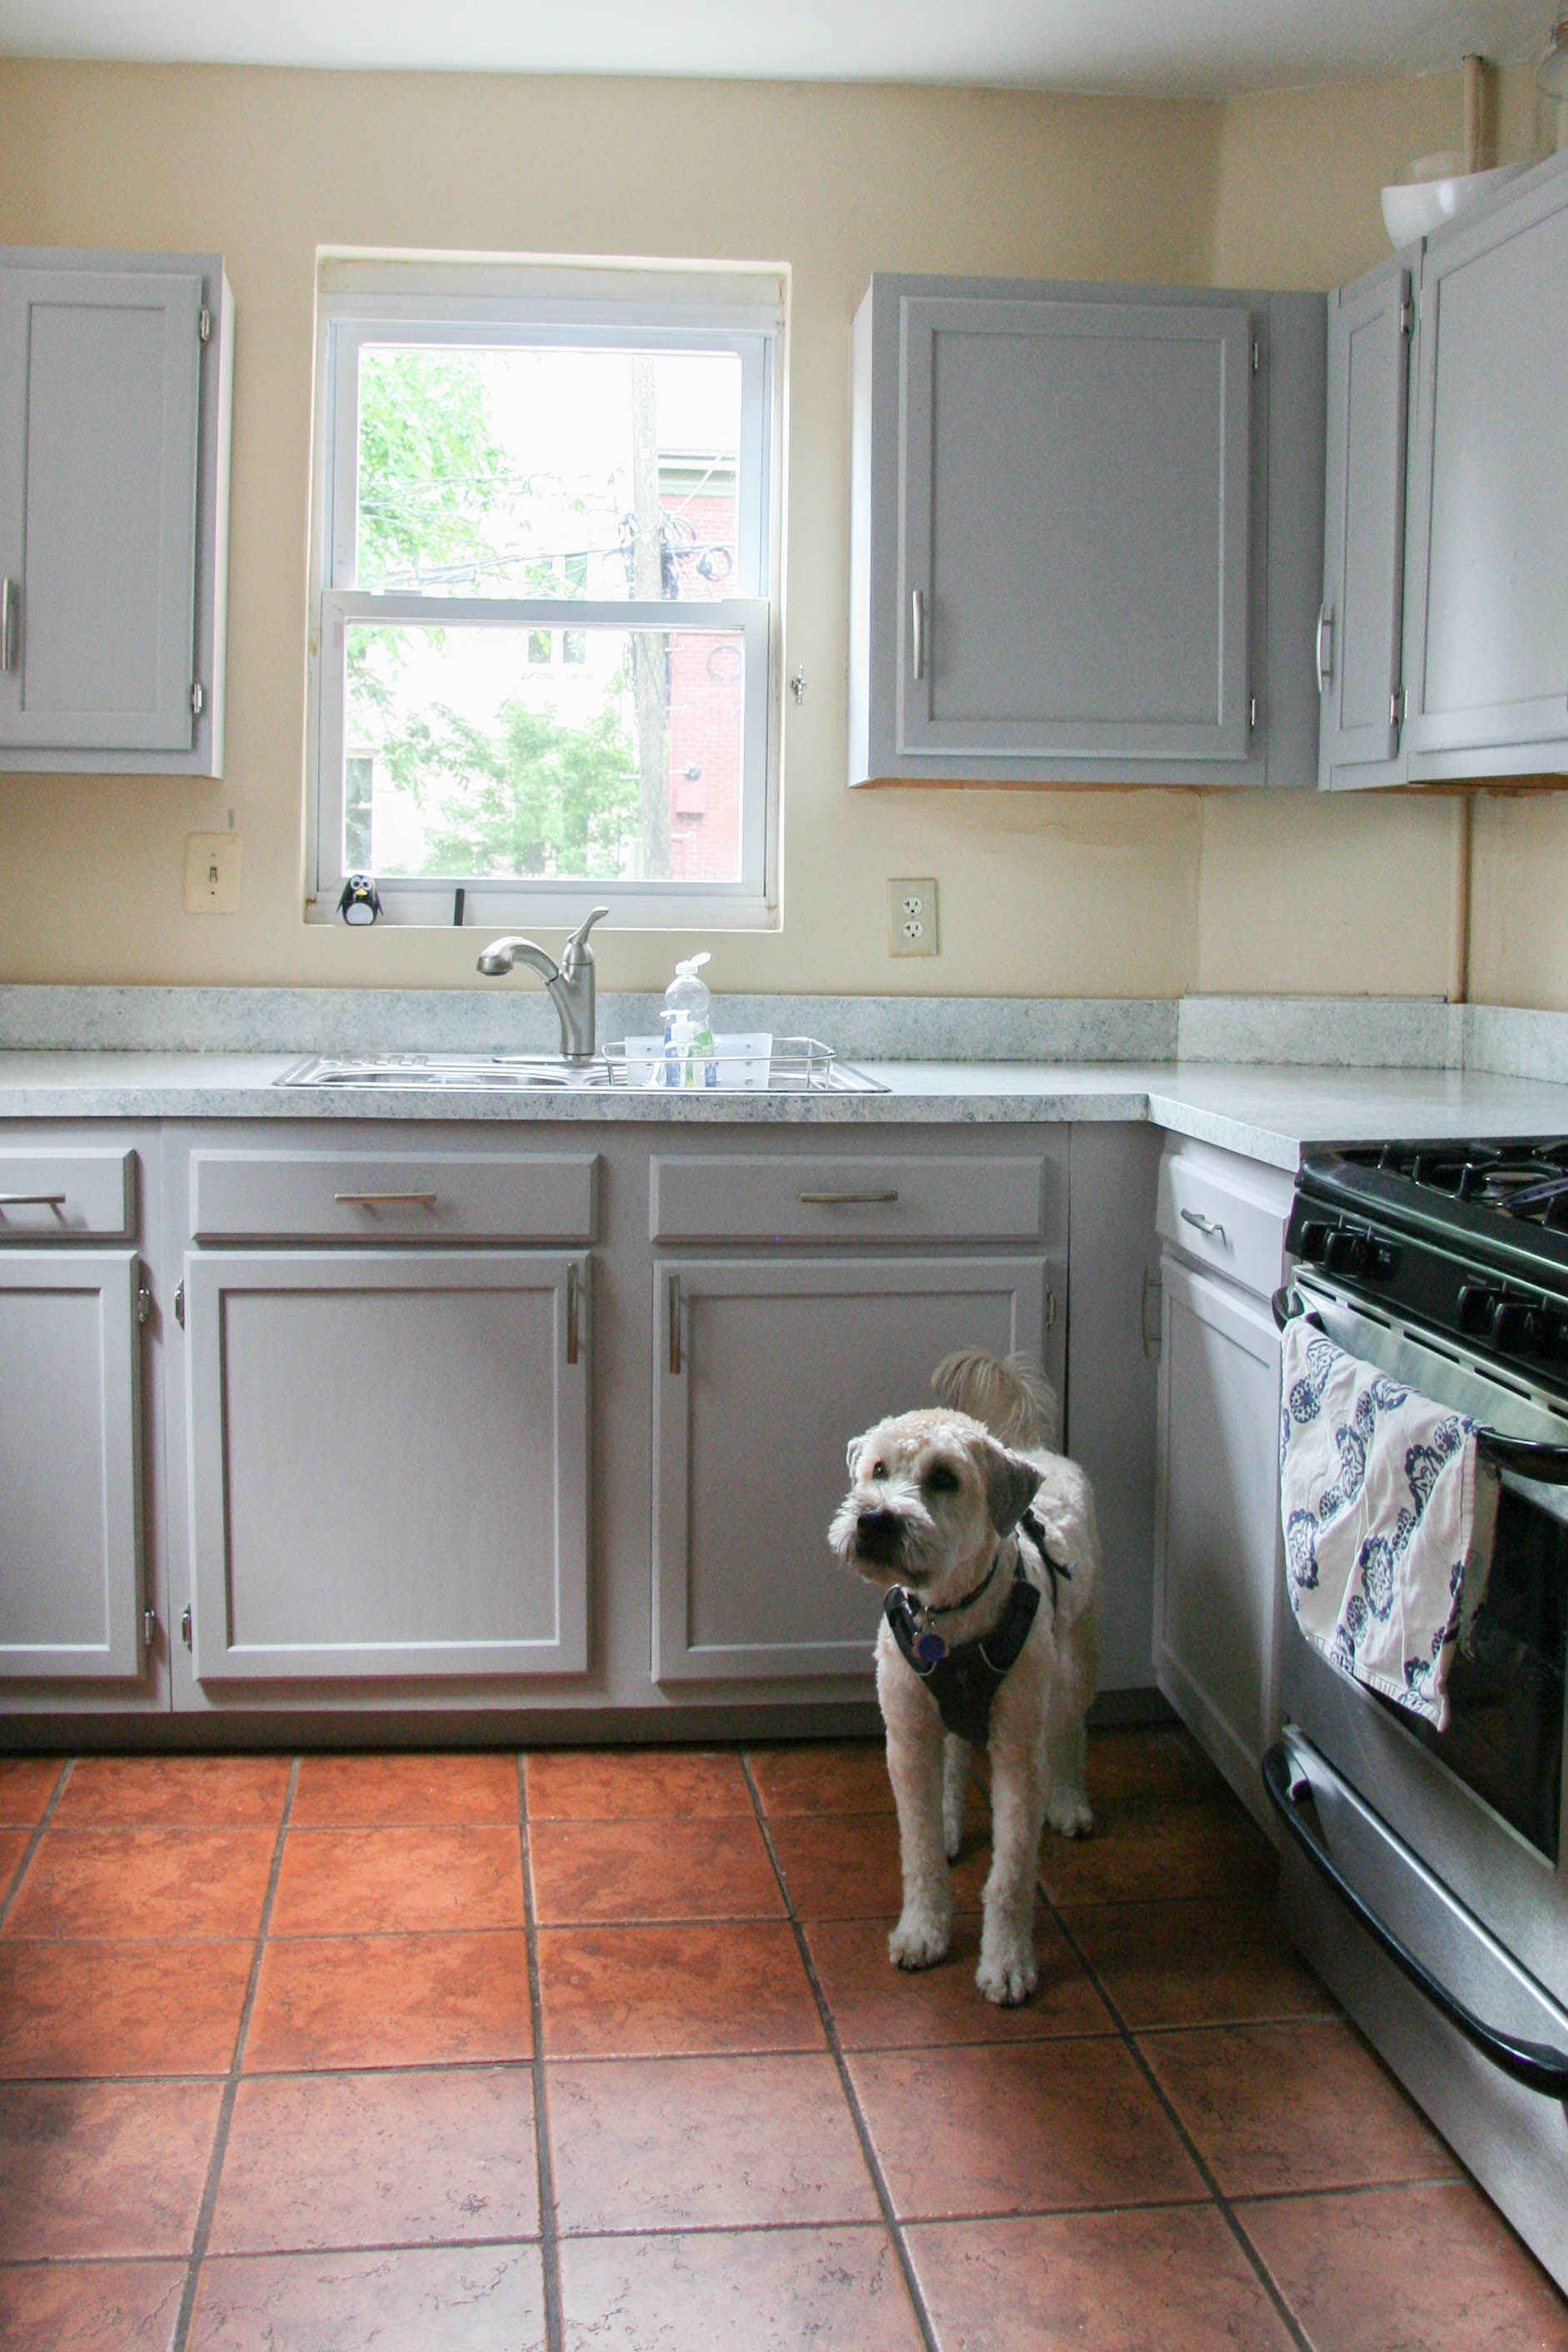
Now I like being in the kitchen more. It’s amazing what a little paint can do and I wish we had done this sooner! All in all, it wasn’t too expensive. The two kits combined cost around $150. For us, the hardware was the most expensive cost coming in around $200, even though we bought the cheapest brushed nickel options available at Home Depot.
And now…a puppy picture.
We didn’t get many pics of Thambi during this process. But it is sunny & summertime here in DC so here is a pic of Thambi visiting Congressional Cemetary on a lovely summer day. It sounds morbid but they let dogs run around its 30 fenced-in acres which are beautifully landscaped thanks to the doggy entrance fee. So it’s a win-win for everyone!
