Hello friends! This is our last post of 2018 and looking back, I think we have done a good job decorating and making our space feel warm and inviting imho. There haven’t been any big projects, just furnishing here and there. Because we are enjoying just living in the house, I think we aren’t going to kick off the big kitchen and basement reno in 2019. We do have some smallish projects lined up though so expect some updates in 2019!
Also, I decided to delete my personal Facebook account last week so I am trying to figure out whether anyone will actually know there is an update. I do have an RSS feed but not sure whether many folks know how to use that. Should I start an instagram account just for RRH? Should I create an email distro? Tell me your preference in the comments or text/email me if you like.
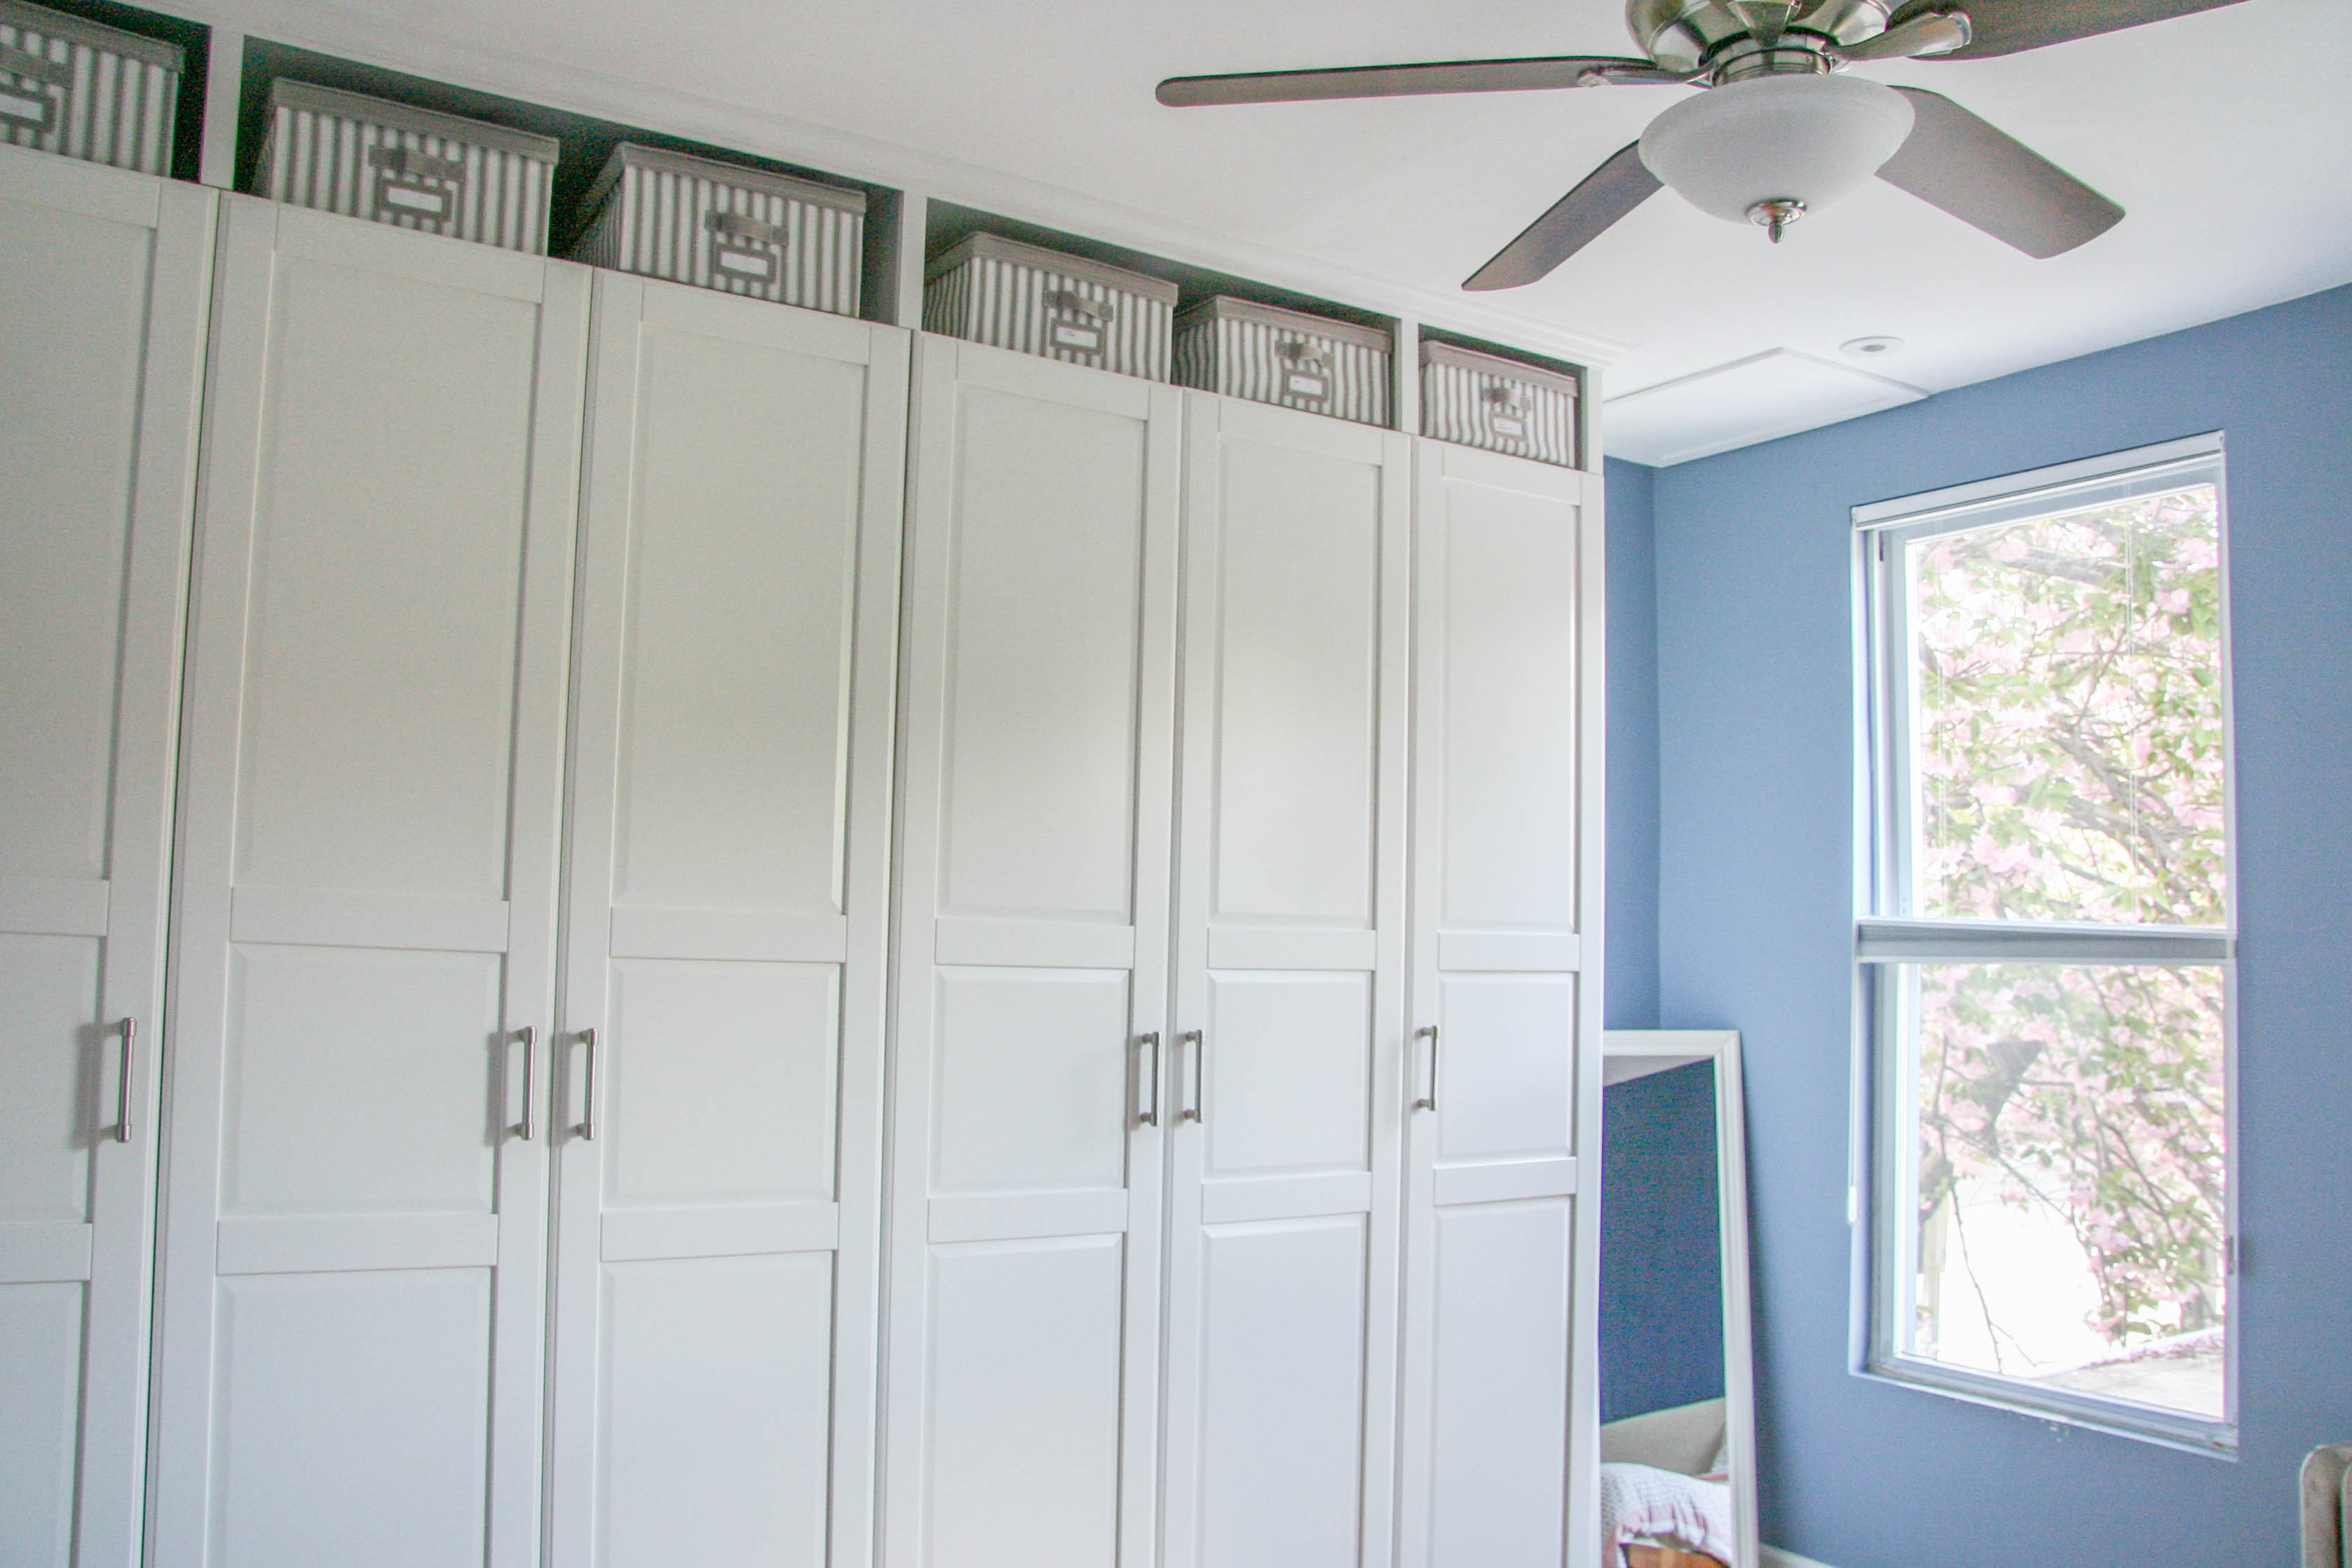
On to the update! So, back in 2016, we ikea-hacked a wardrobe to look builtin.
You can read about Phase I in this post from 2016. It looked like this:

Earlier this year, Mike added some cubbies & trim at the top. Read about that in Phase II from April.

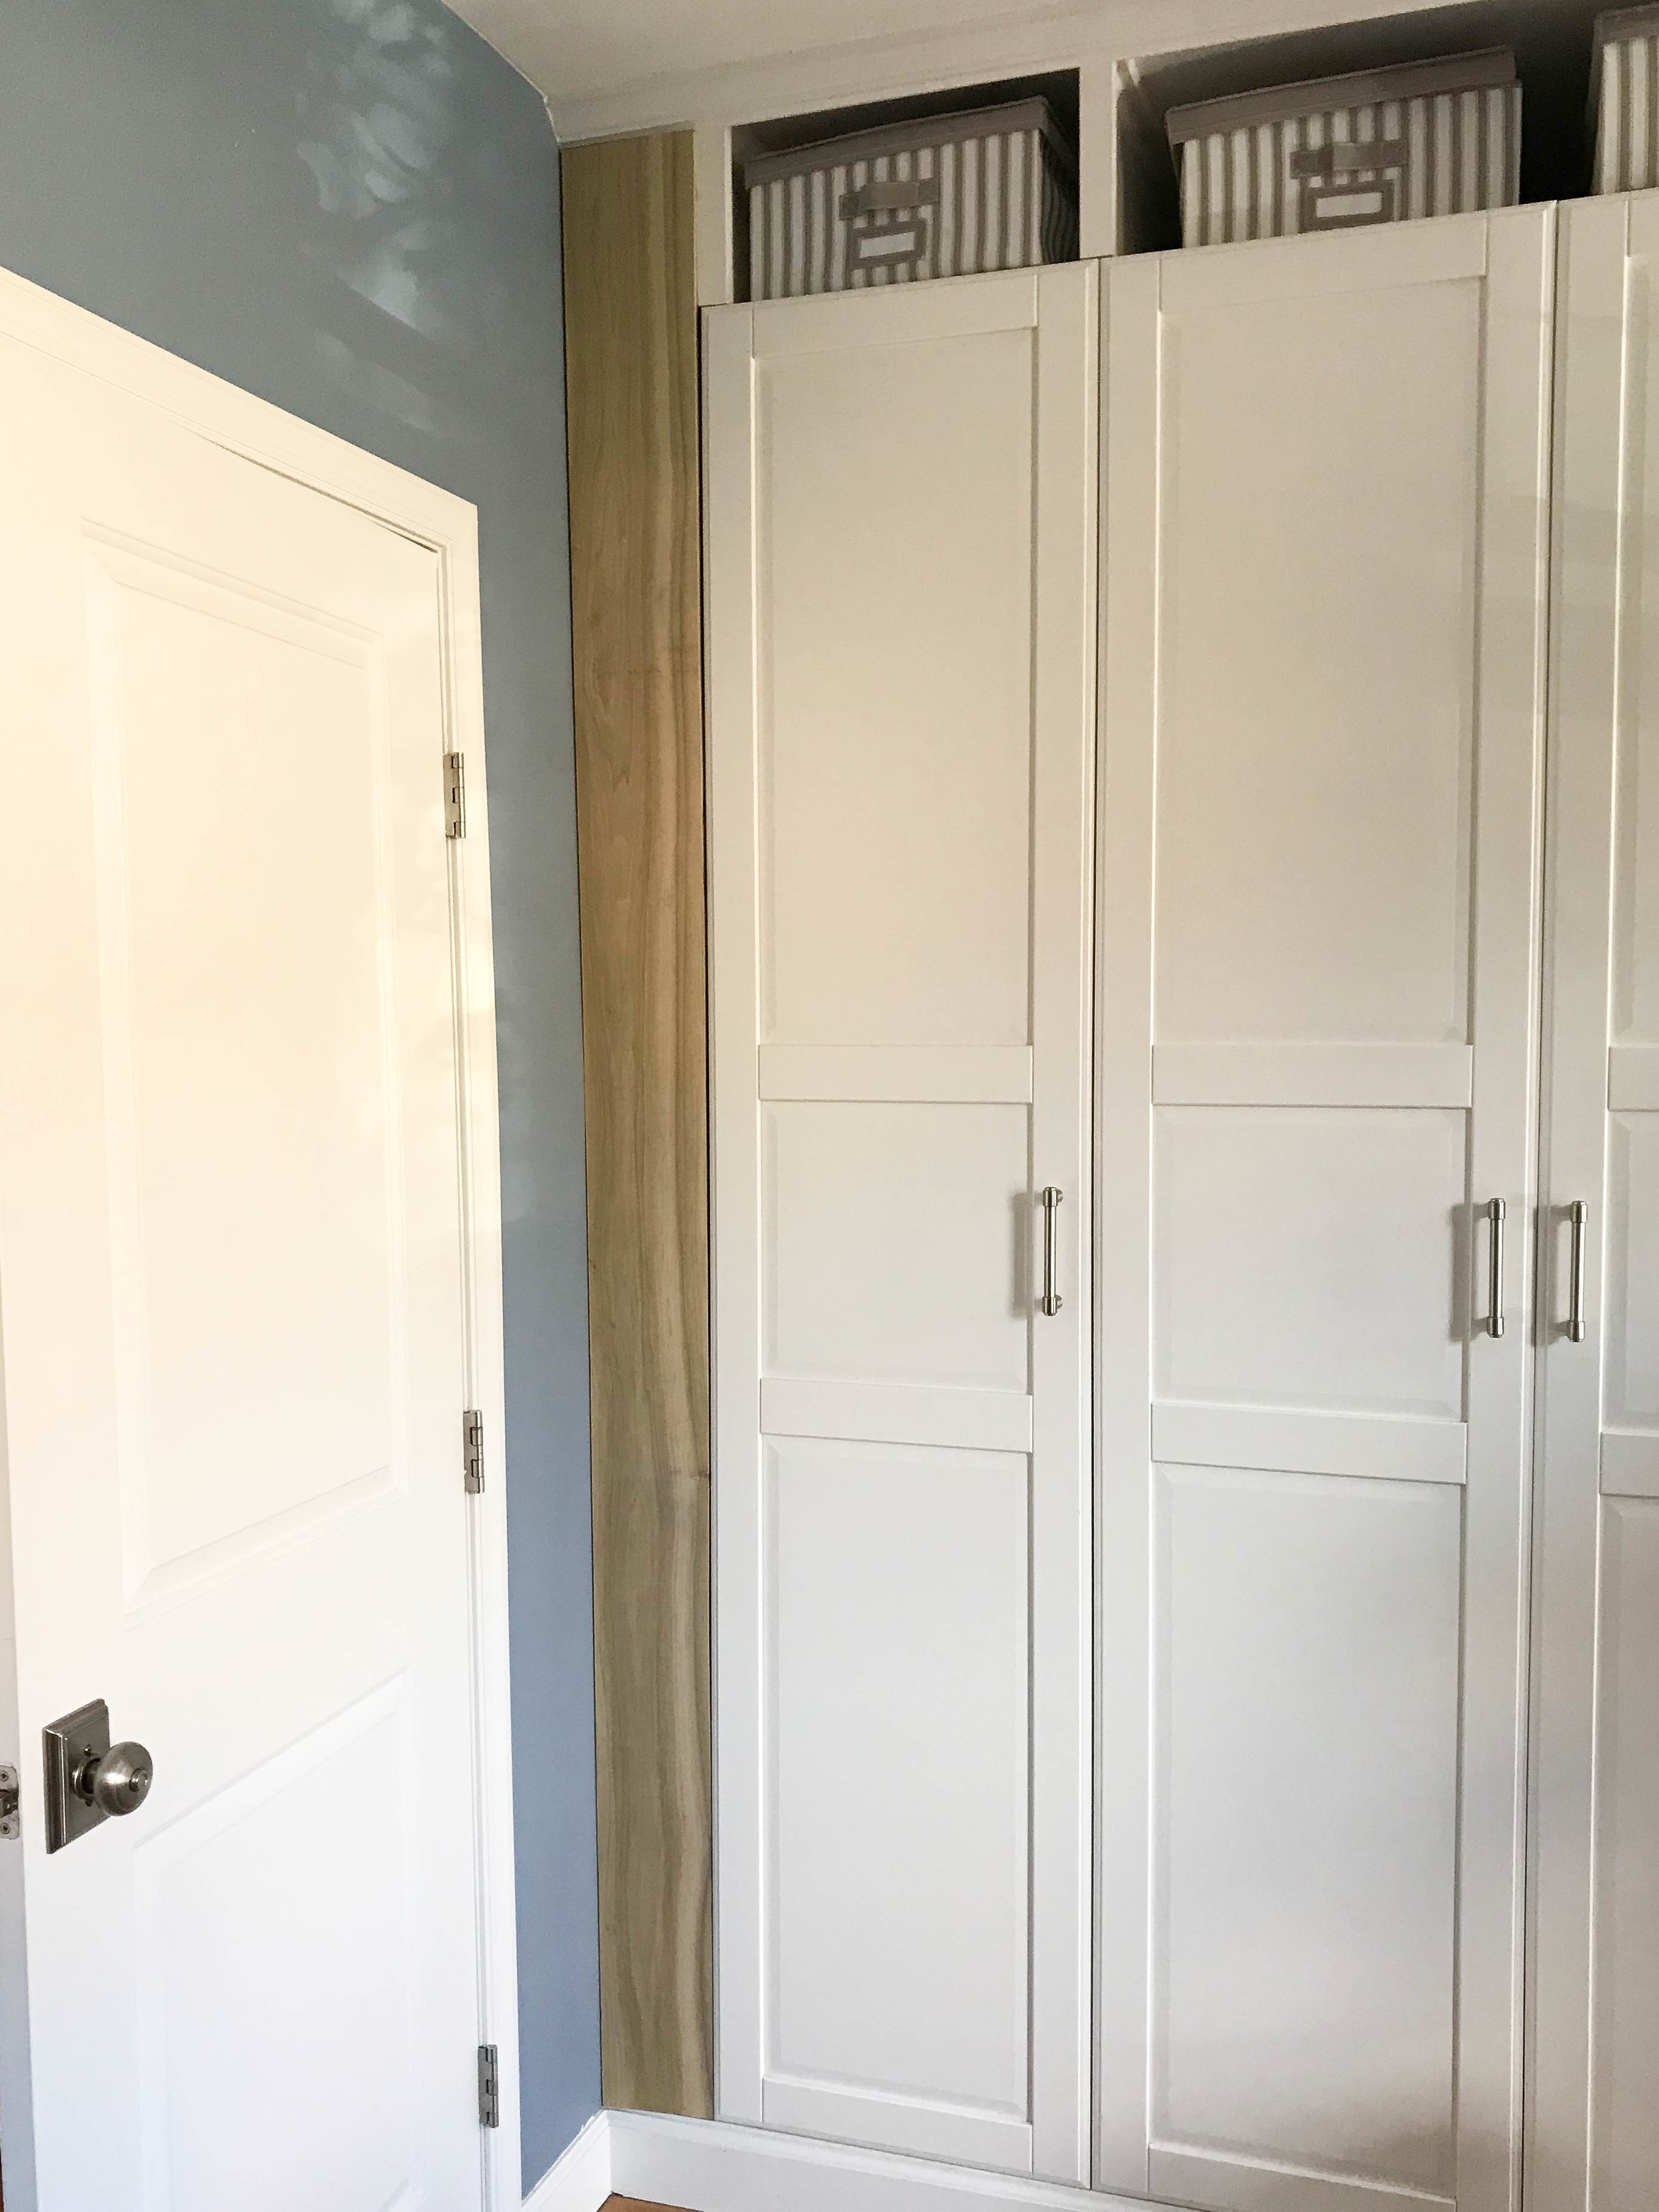
So what is left you ask? When we installed the wardrobe, we left a gap on the left side. This was so we could store a full-size ironing board and because there was a handy electrical outlet on the left wall. The last phase was to close this in to complete the built in look.
Ironing cubby hole
You can see the ironing board in the gap.

First, Mike carefully shaped wood to fit flush to the wall & wardrobe:

He painted it and added some hidden hinges on the inside so that it swings open:

Finally he notched out a little handle so we can open and close the door. It’s so subtle that one barely notices it from across the room. They just see a lovely builtin wardrobe! Looks so chic and expensive, but it isn’t! Well, it is chic, just not expensive…

I actually didn’t do anything on this project besides take some before & after shots, so good job, Boo!
Finishing touches
We are at the point now where many of the rooms are pretty much finished and just need some decorative knick-knacks and artwork. I thought I take a long time picking out furniture but figuring out artwork is even worse. It’s hard for me to intentionally shop for pieces right now. I’m mainly going for the “randomly happen upon things” approach. But that approach has yielded some good finds!
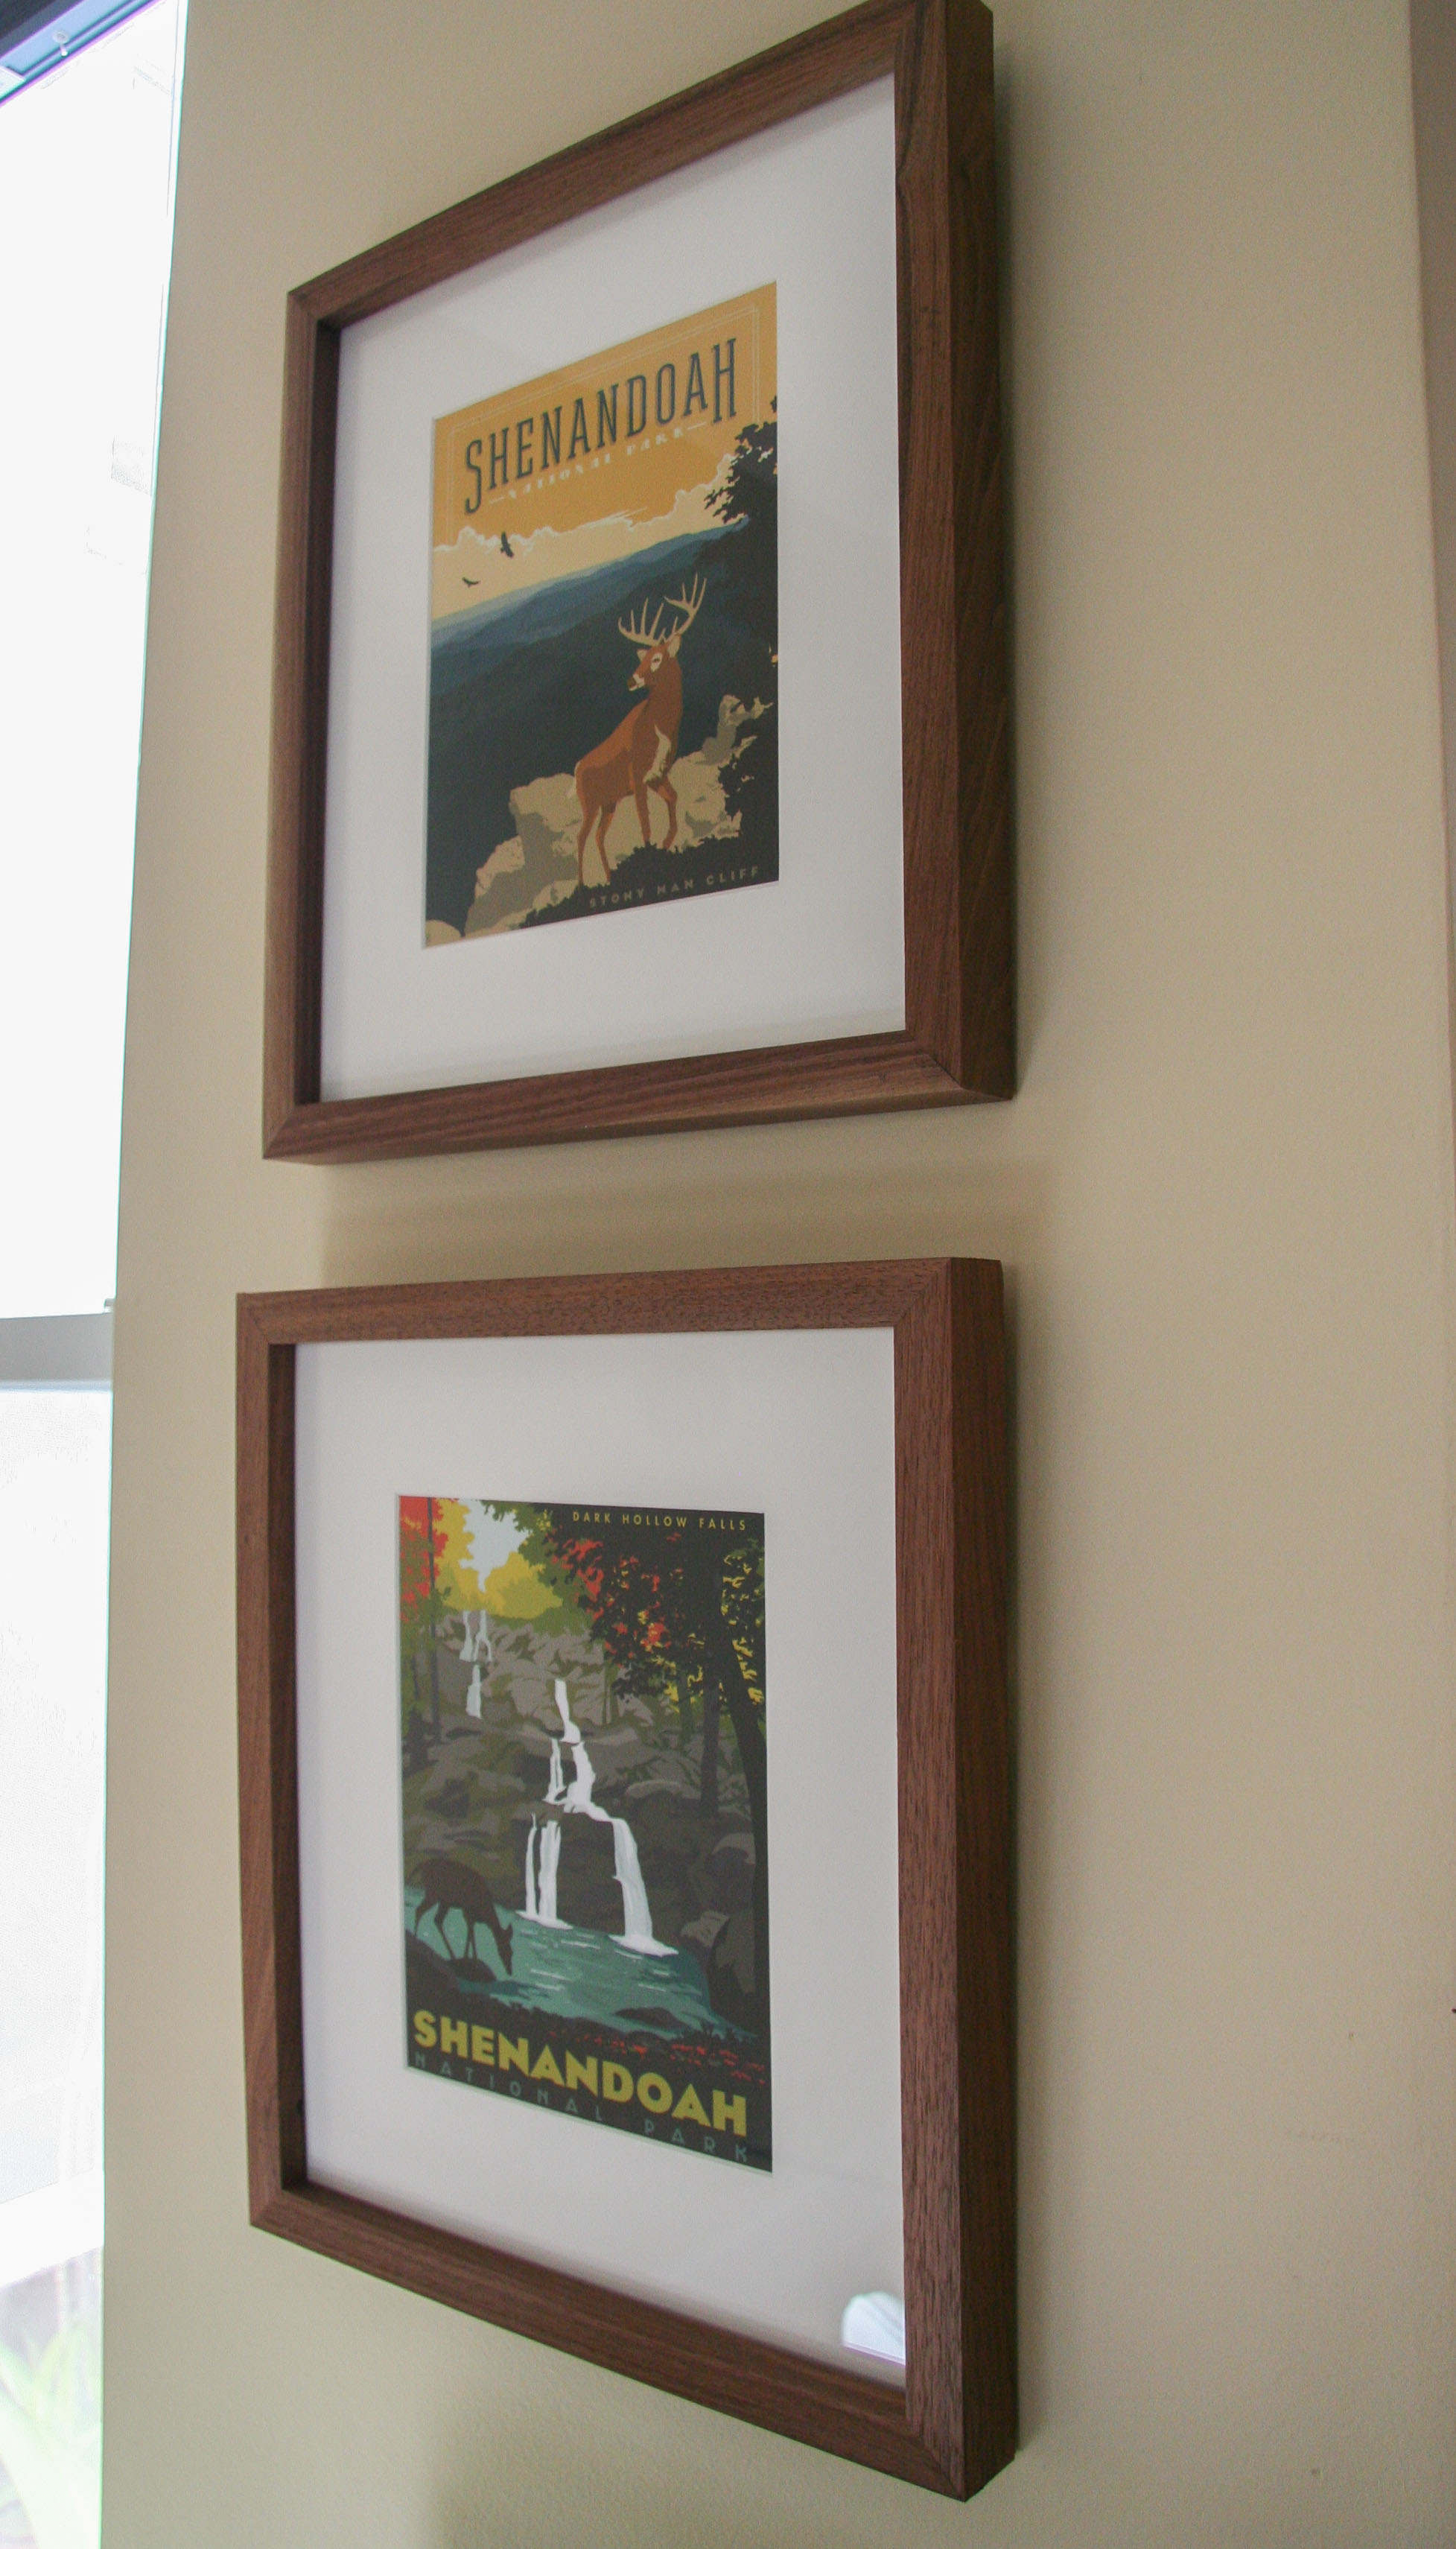
Last June, we went to the Shenandoah for a glamping trip. You may recall a certain bear cushion that I showcased last time. We also bought these cool prints (I think they were 20 bucks each) from the gift store there. The walls in our living area are a pretty bland butter-like color which is why I am incorporating more colorful pieces in all the decor. I tried Framebridge to get them matted & framed, which was much cheaper than going to a frame store and remarkably easy. It still wasn’t cheap though so I might only splurge on Framebridge for certain pieces.

I bought this cute bird in snow pic at an art stall at an Christmas event in DC. It was already matted so the frame is a cheap one from Target! This one is in our ensuite bathroom. The artist website is DS Water Colors.

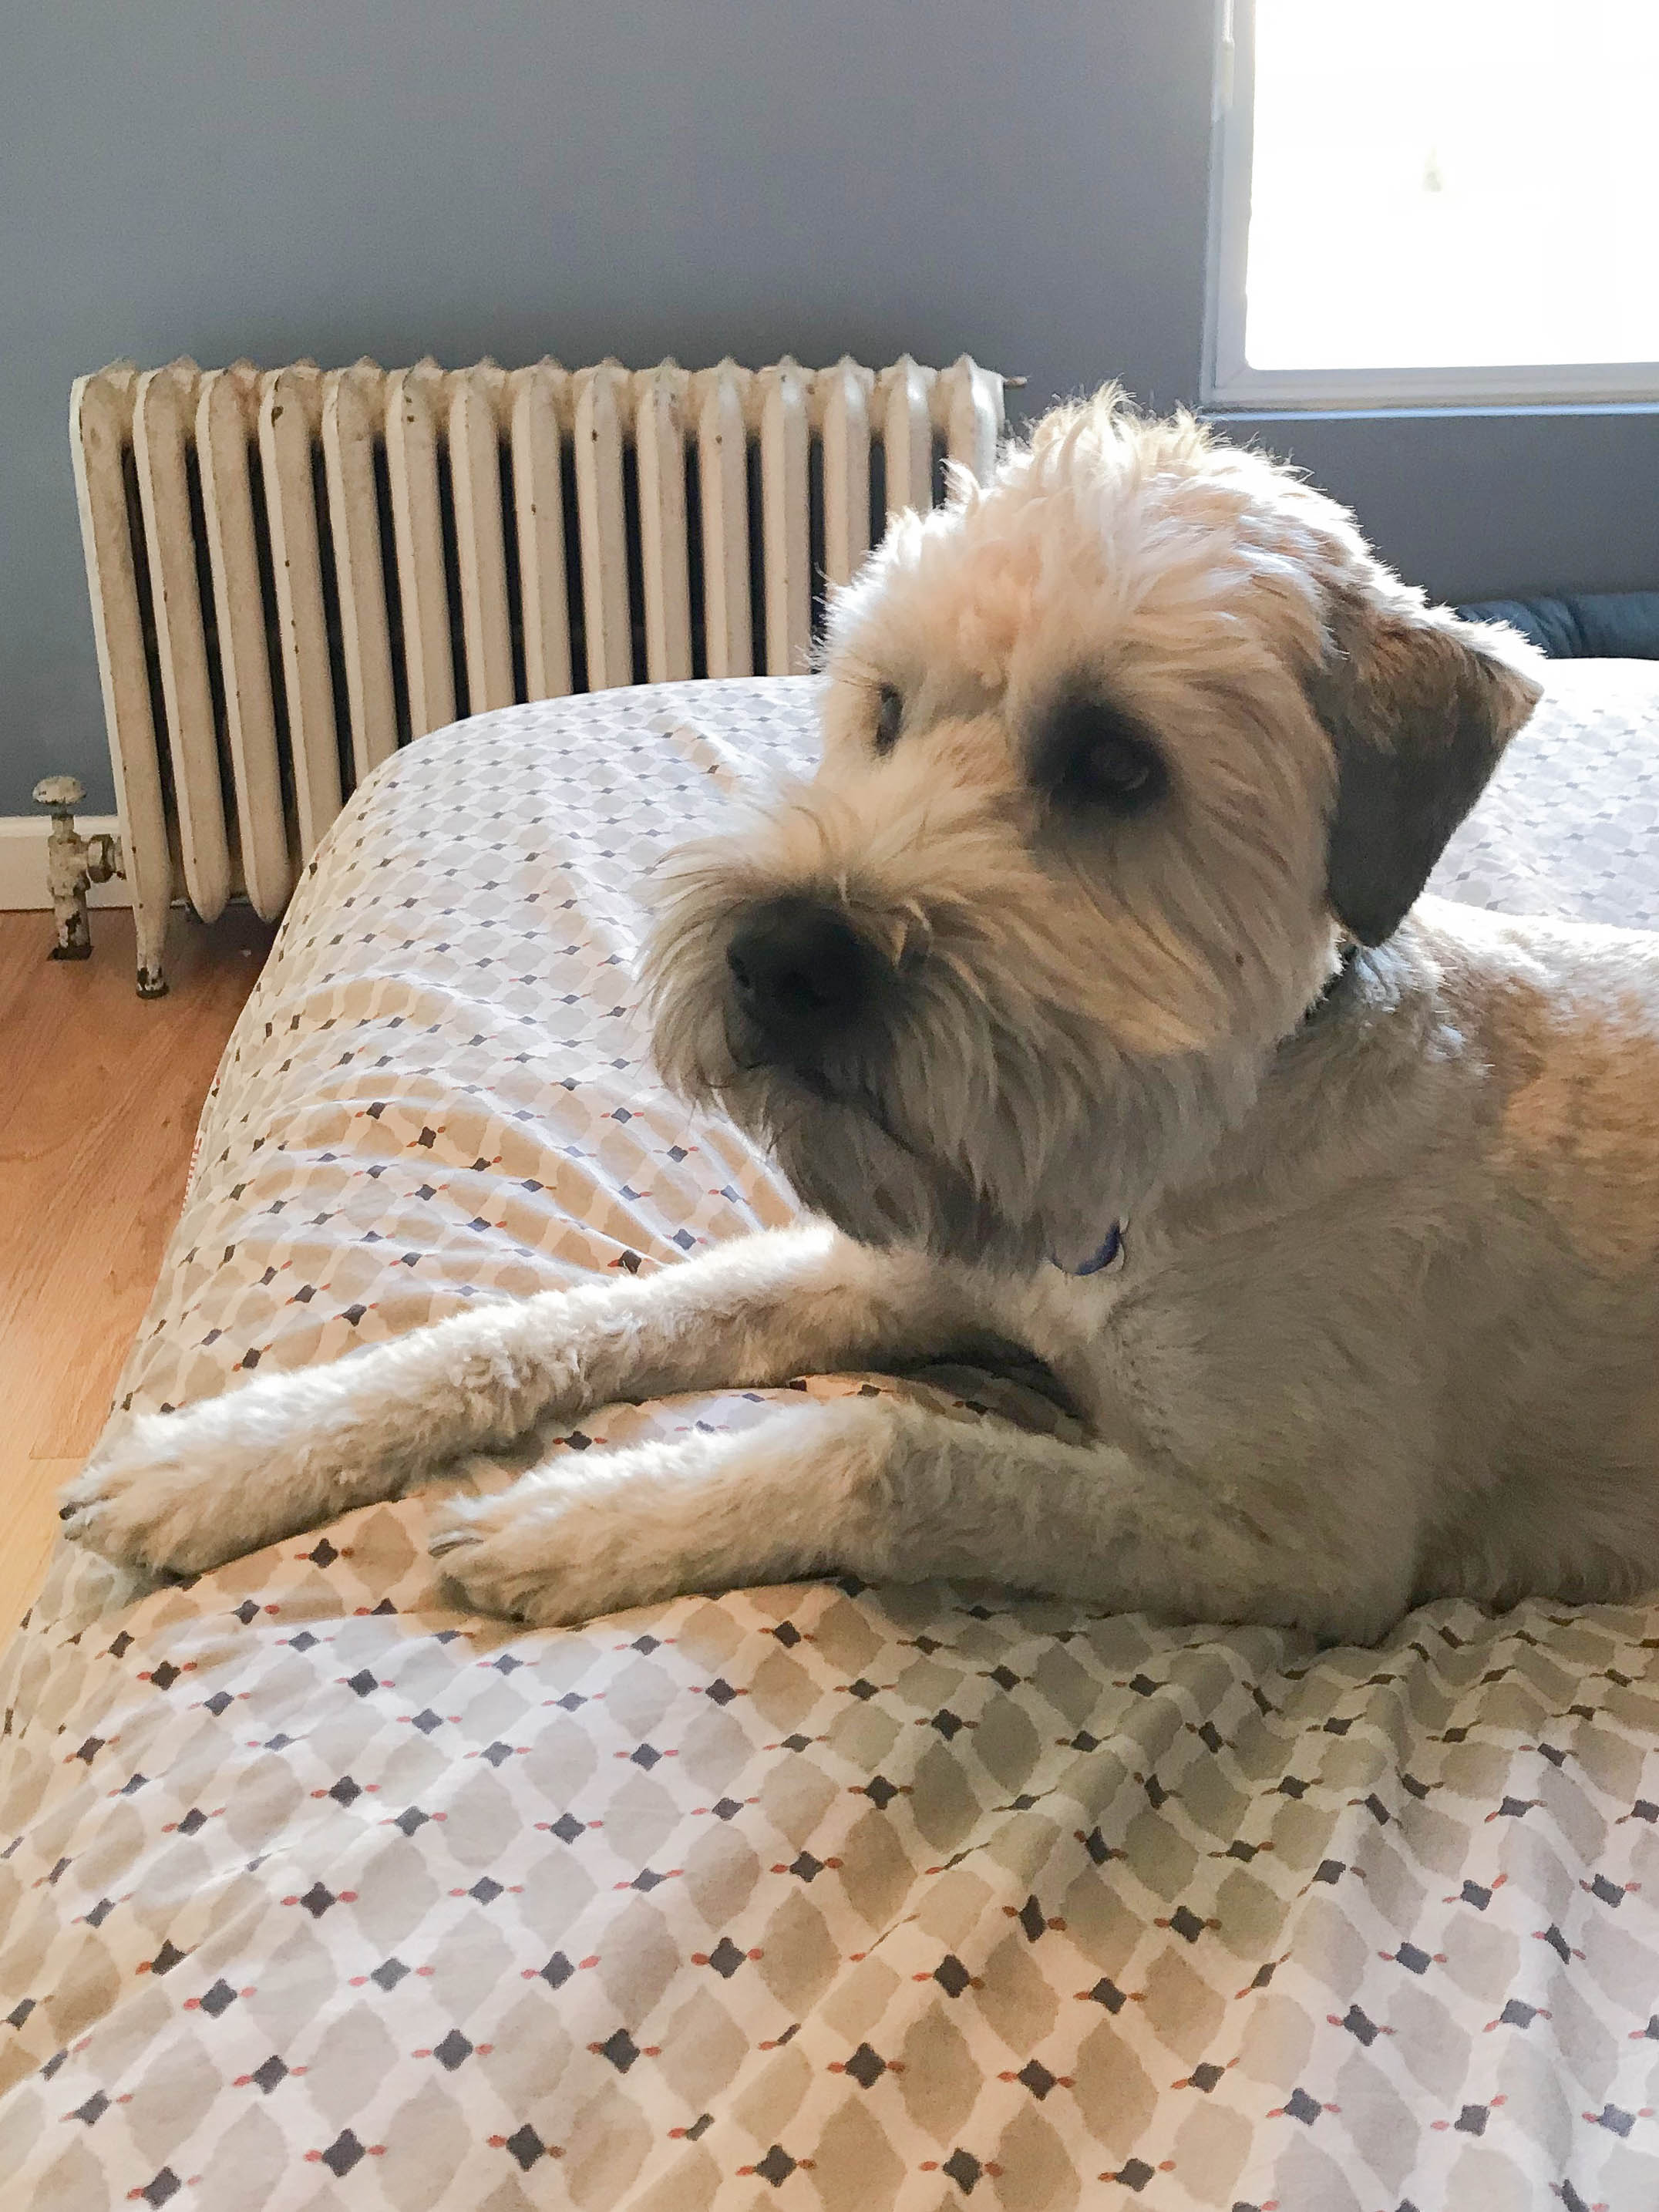
And now…a puppy picture.
Here is Thambi watching Mike at work creating the ironing board cubby. He is a captive audience.
