Hello friends! In this post, we continue on our journey to make the windows more pretty. A few months ago, we added trim to the windows in the living room. You can see that post below:
I decided I wanted to add a cornice to pull the room together a bit more and to hide some of the window treatment hardware. So what’s a cornice, you ask? It’s a type of valance - a window treatment that covers the top of the window - but has more of a box-like construction. We used this post that I found on Pinterest for inspiration: DIY Cornice!
Here’s a picture of what the window looked like before.

Design & Build
We had a slight issue in matching the design from the post because there is a box in the right corner that hides some duct work. I sketched out a modified design using this cute little personal whiteboard I recently purchased from Quartet:

Mike made all the cuts to the wood we bought from Home Depot and we nailed the wood structure together.

After getting several fabric swatches, I settled on this vaguely geometric pattern from Spoonflower. This roughly mirrors the geometric pattern in our living room rug. You may recall that we used Spoonflower removable wallpaper for the guest bedroom. I was quite pleased with the quality of the fabric & design .

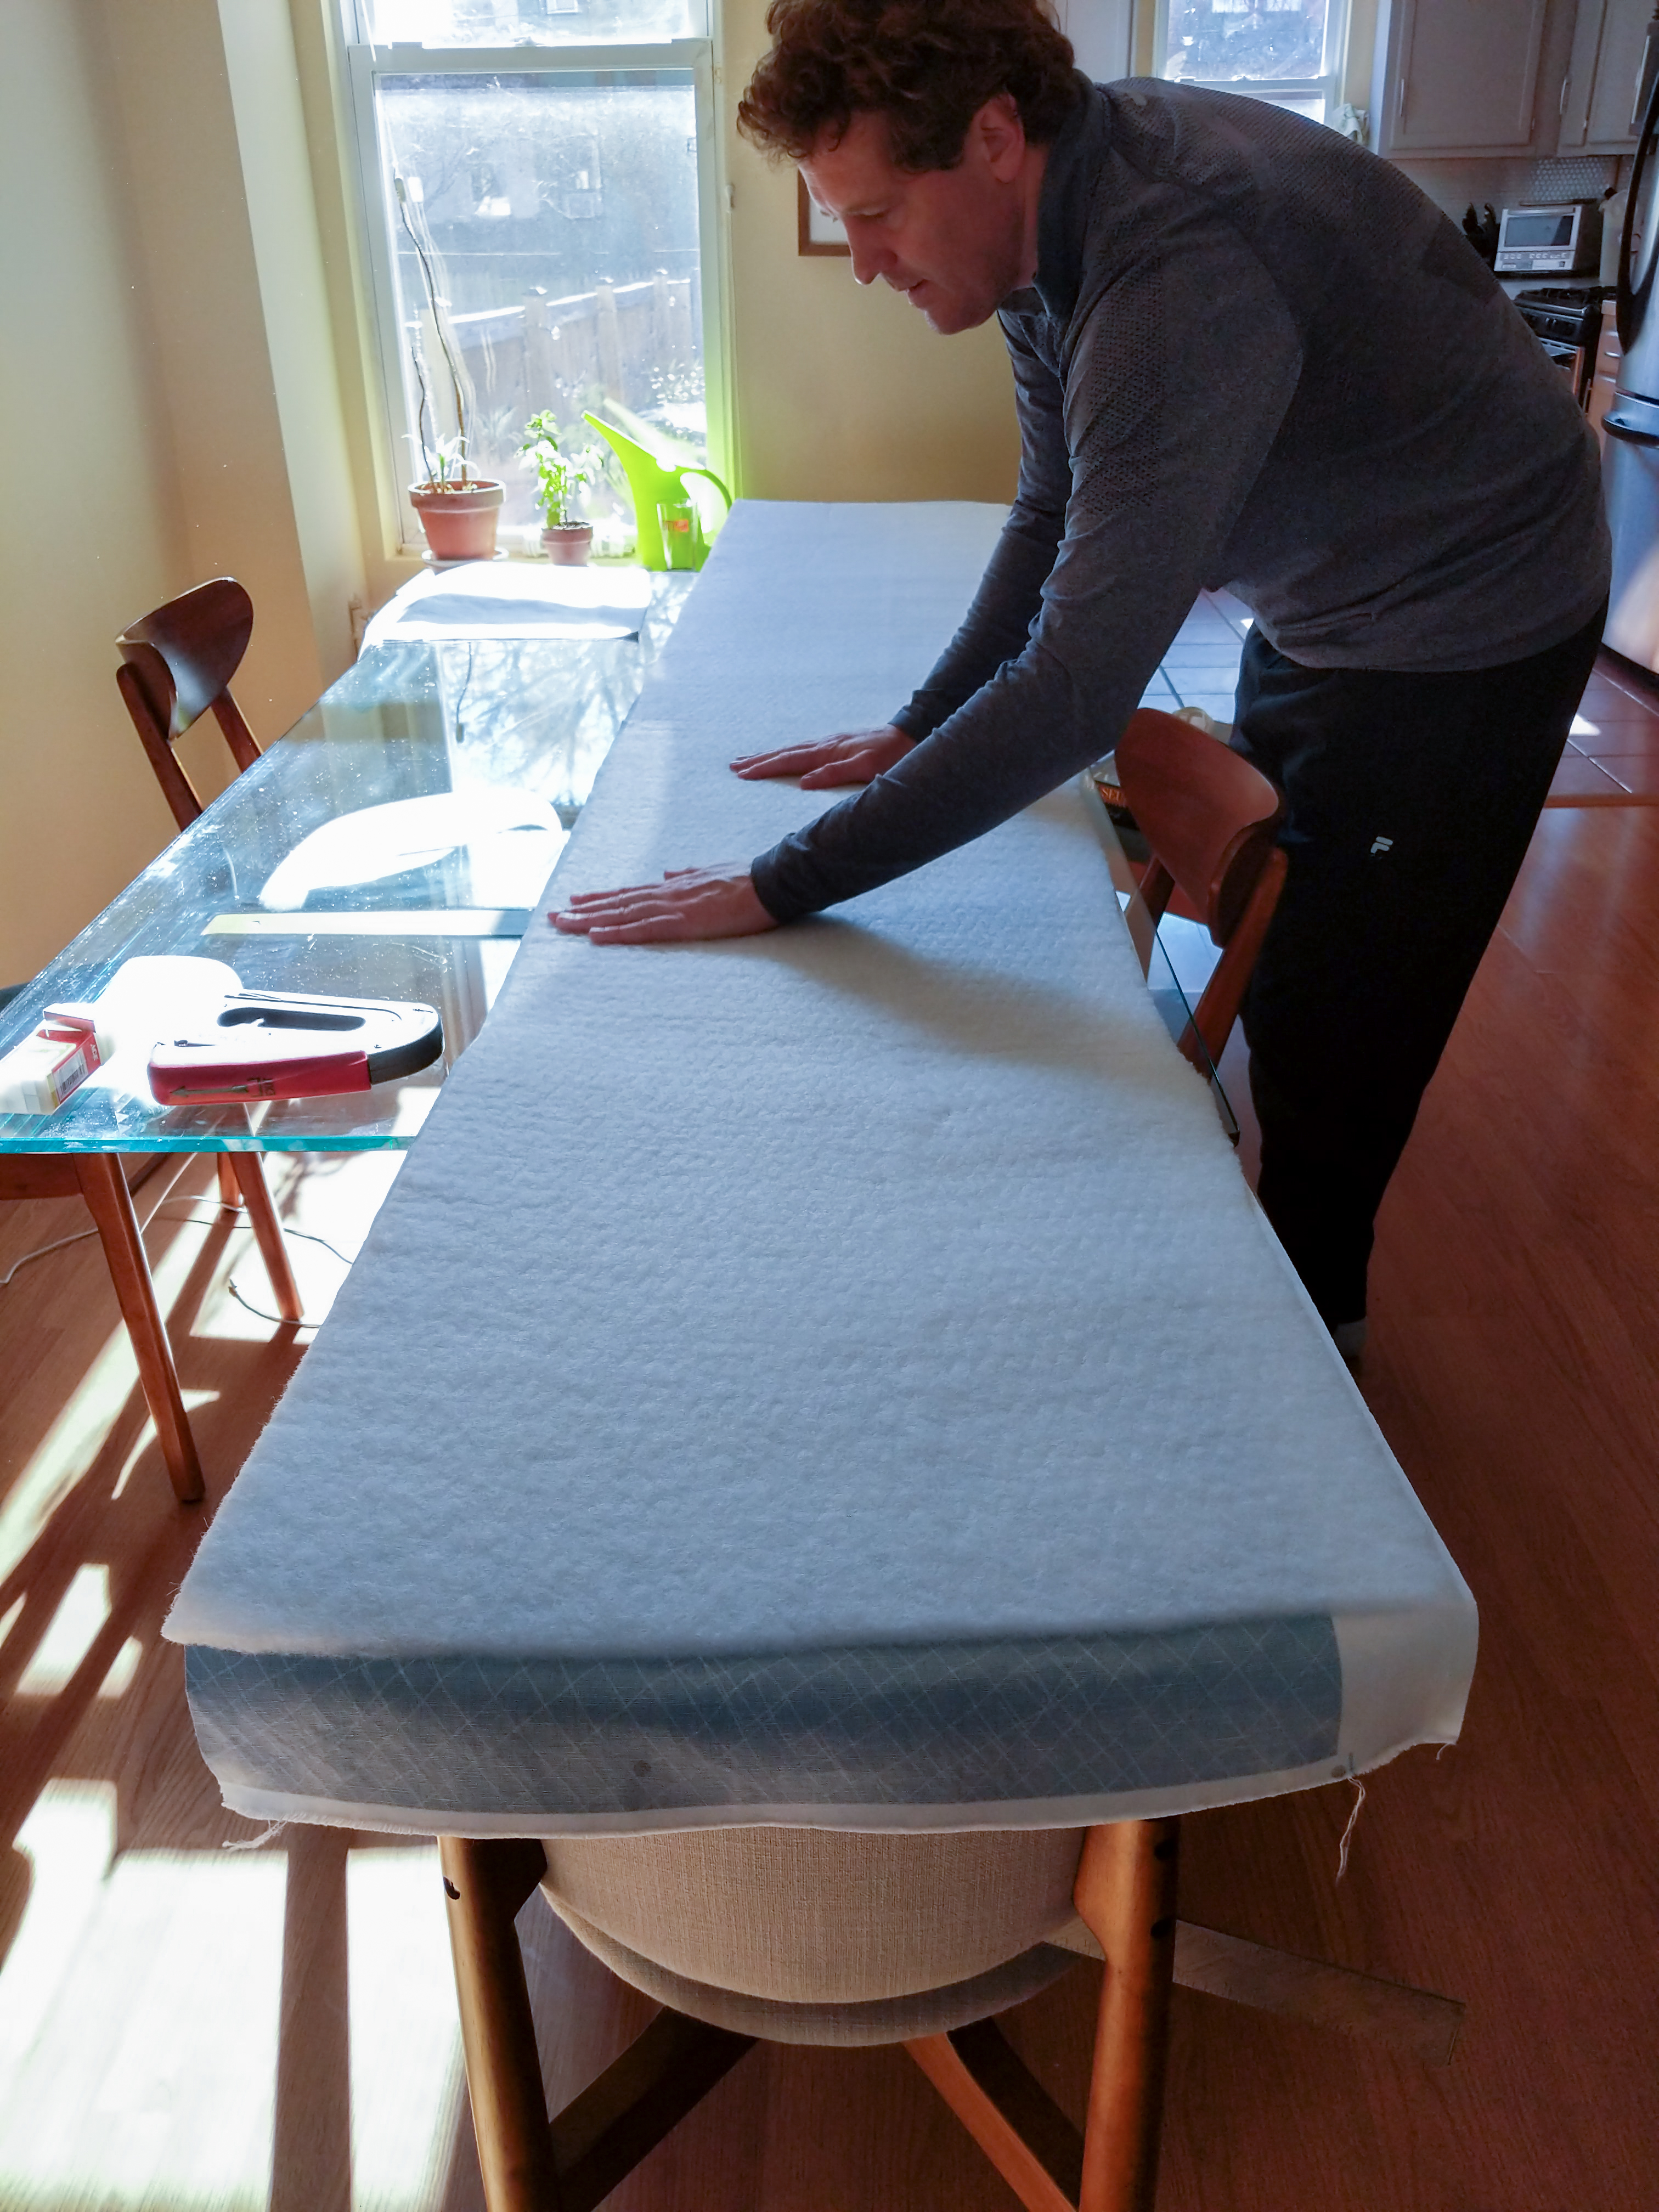
Next, we covered the cornice with the fabric & batting to give it that upholstered look.

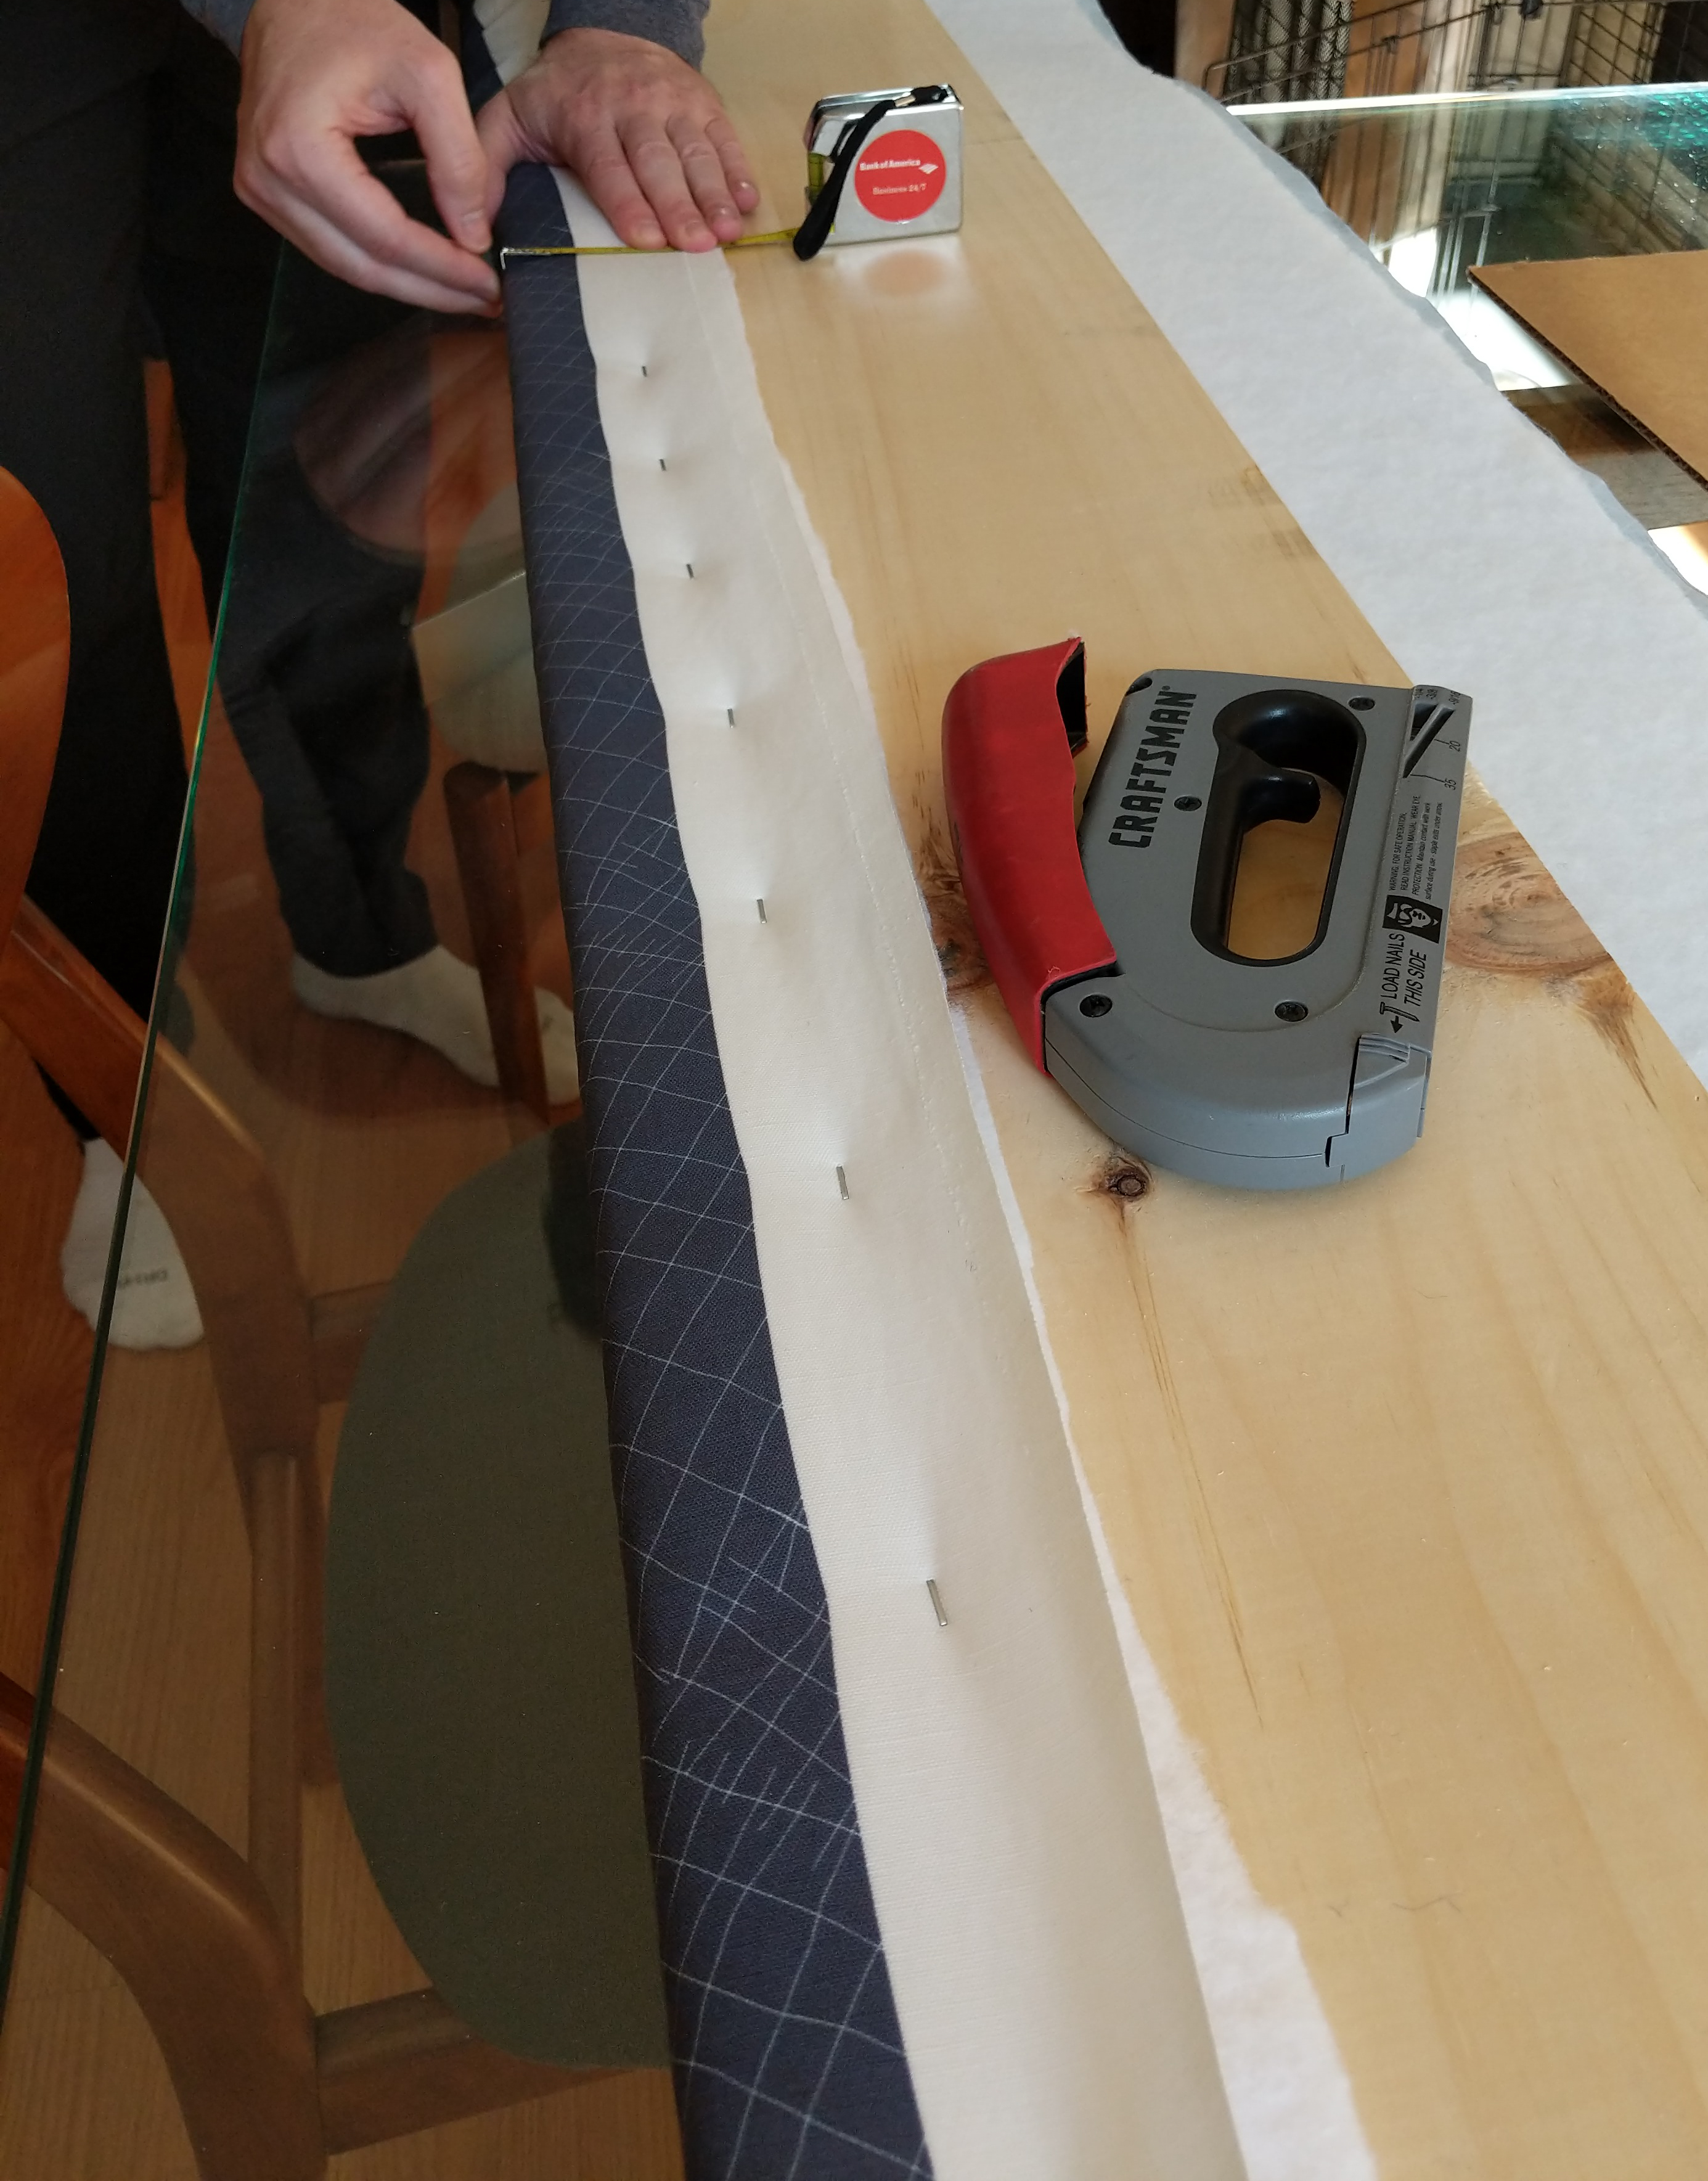
Next step, a lot of pulling the fabric and batting to get it taut, and stapling!

The corners were a little tricky, but we did some basic pleating.

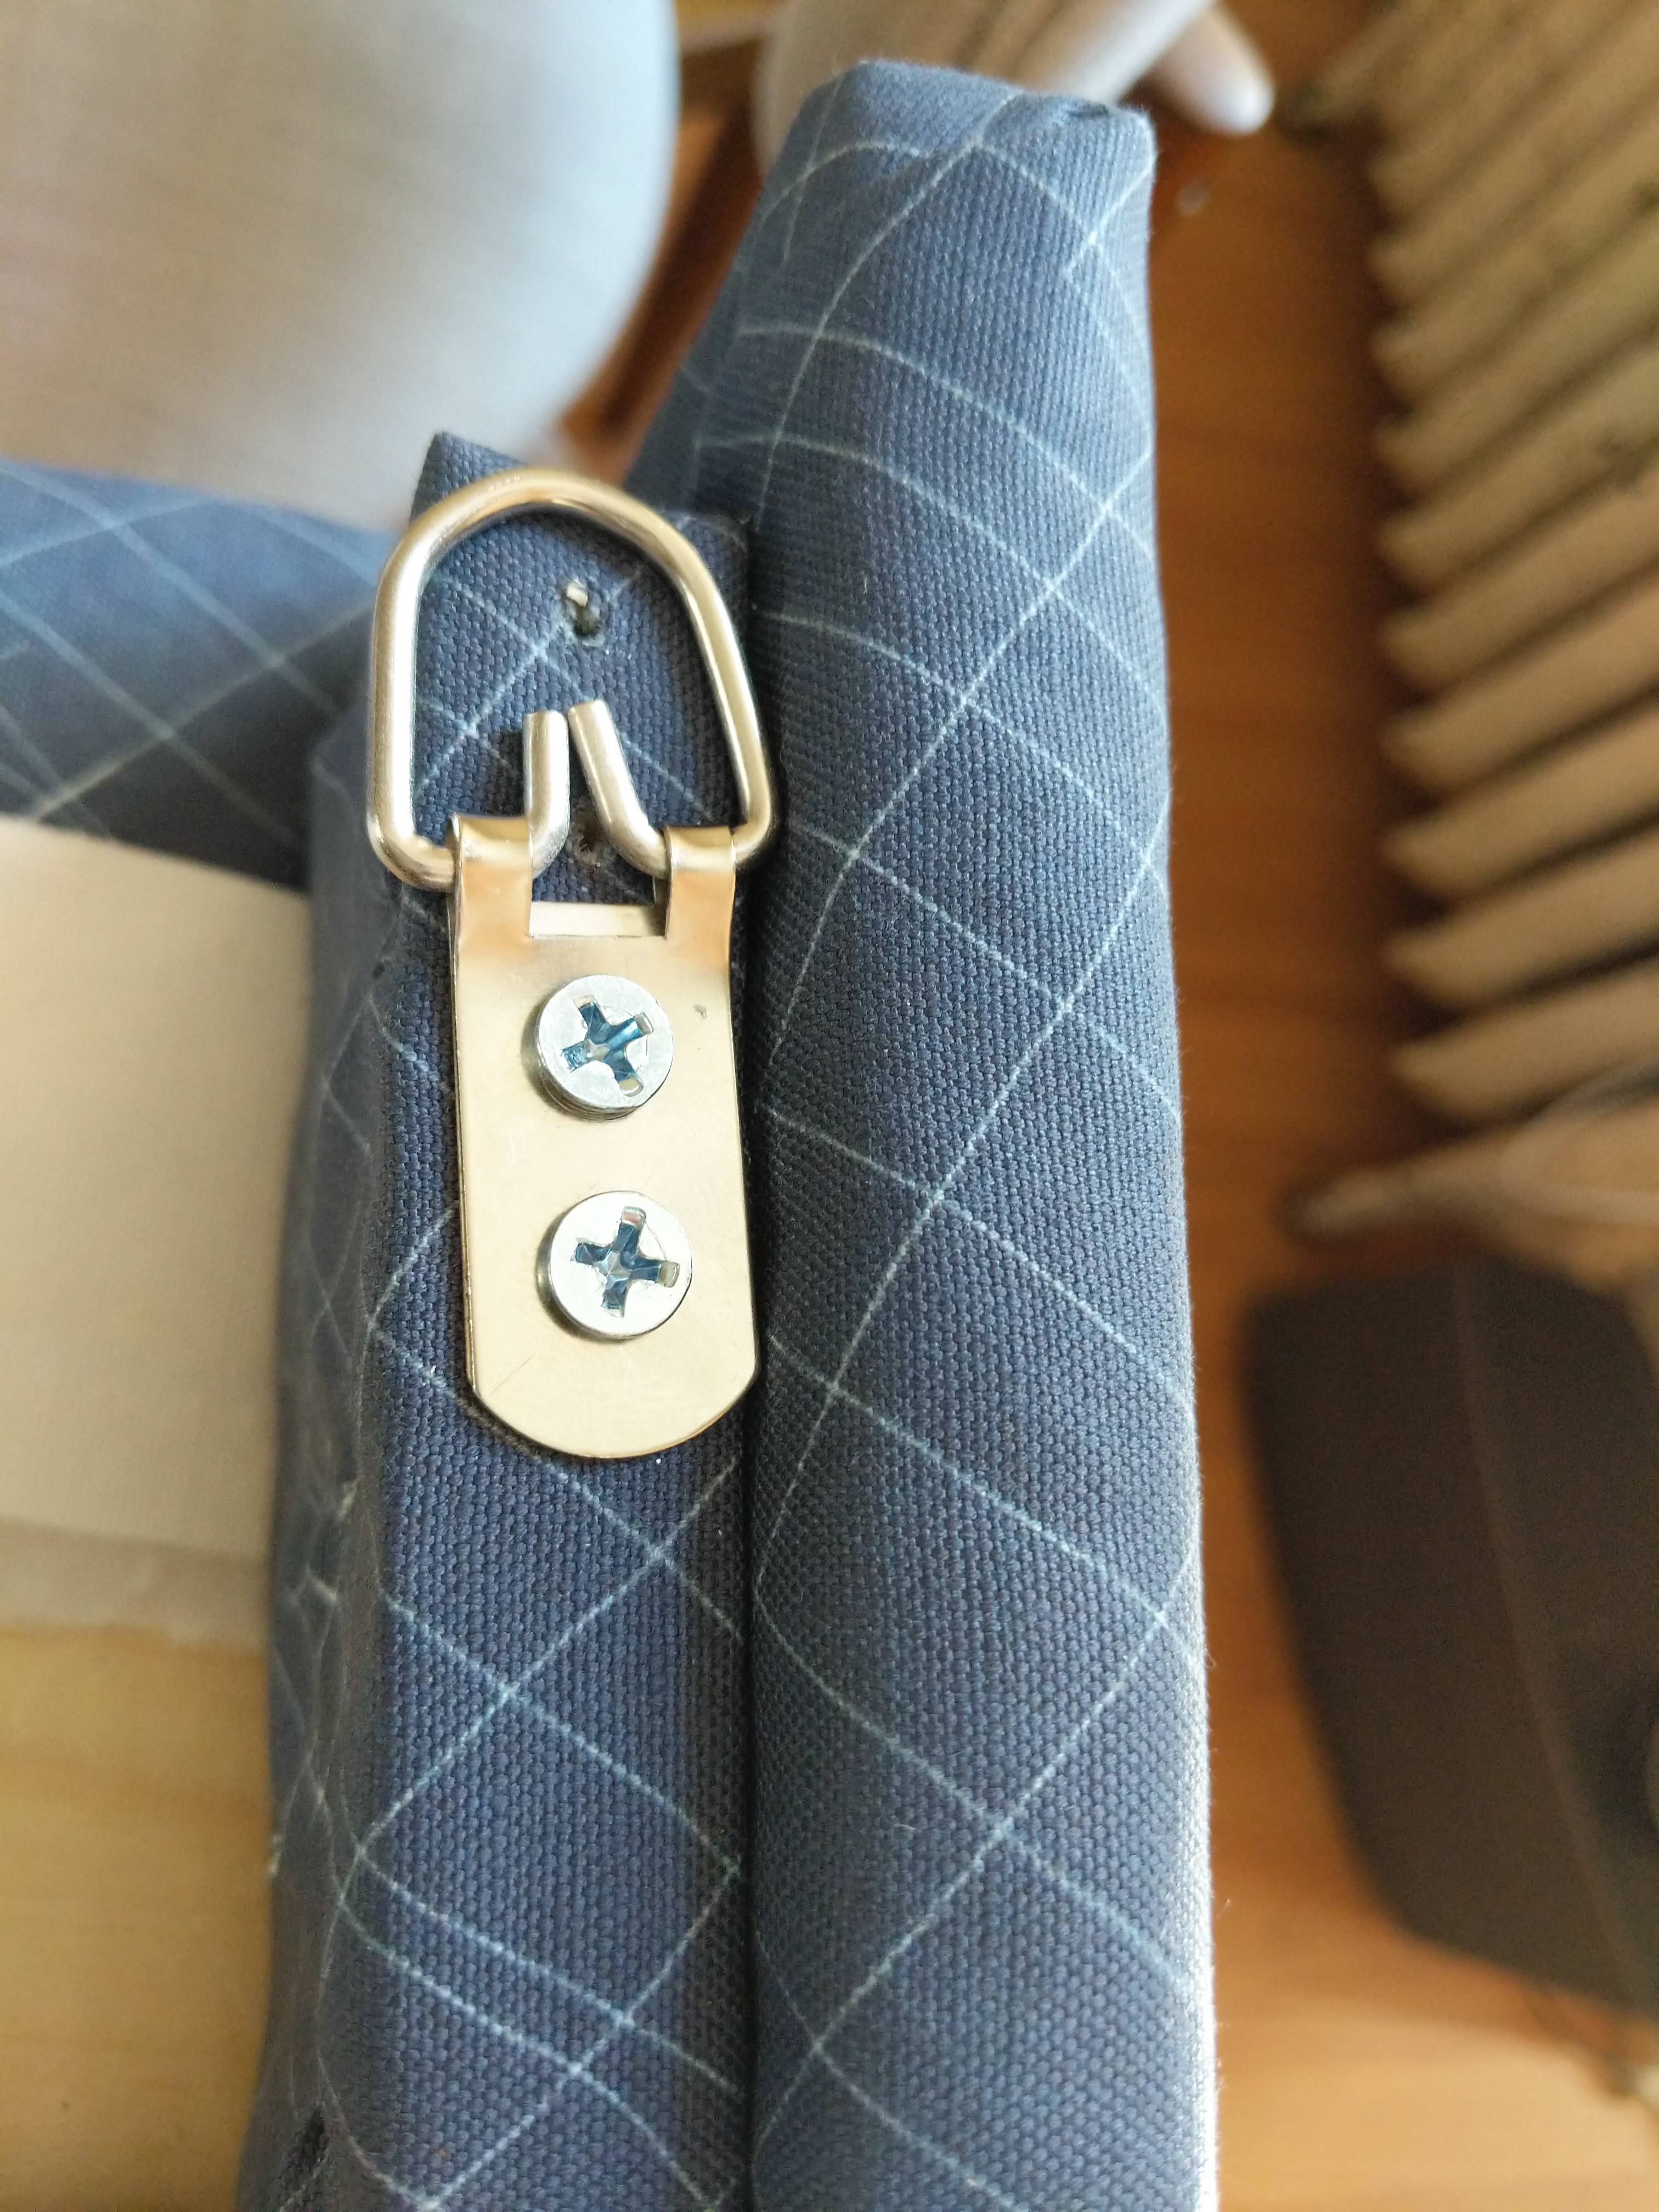
The original post just mounted the wood blocks for the D-rings. We covered them in fabric in case anyone looks up behind the cornice. Then we mounted the D-rings.

The finished product
I didn’t bother to get out my SLR but you can see the finished product in the photos below! I think it came out pretty well and it was actually pretty easy! It also sits pretty tightly against the wall and the modification for dealing with the box worked out quite well! We’ll make valances for the master bedroom next!


And now…a puppy picture.
Thambi was pretty chill during this project. Here’s a picture of him watching us mount the cornice, with our new Christmas tree and garland in the background. Happy Holidays to all!
